contact us

Drop us a line!

Use the form on the right or email dowdhousestudios@gmail.com


Prairie Grove, AR, 72753
USA

JDowd_SucculentPots.jpg

Journal

News from Dowd House Studios: places to find our pottery, exhibitions, classes & workshops, new forms and exciting projects.

Filtering by Category: Studio

Studio Update

Jenny Dowd

A lot has happened in the past few months! Here are the highlights…

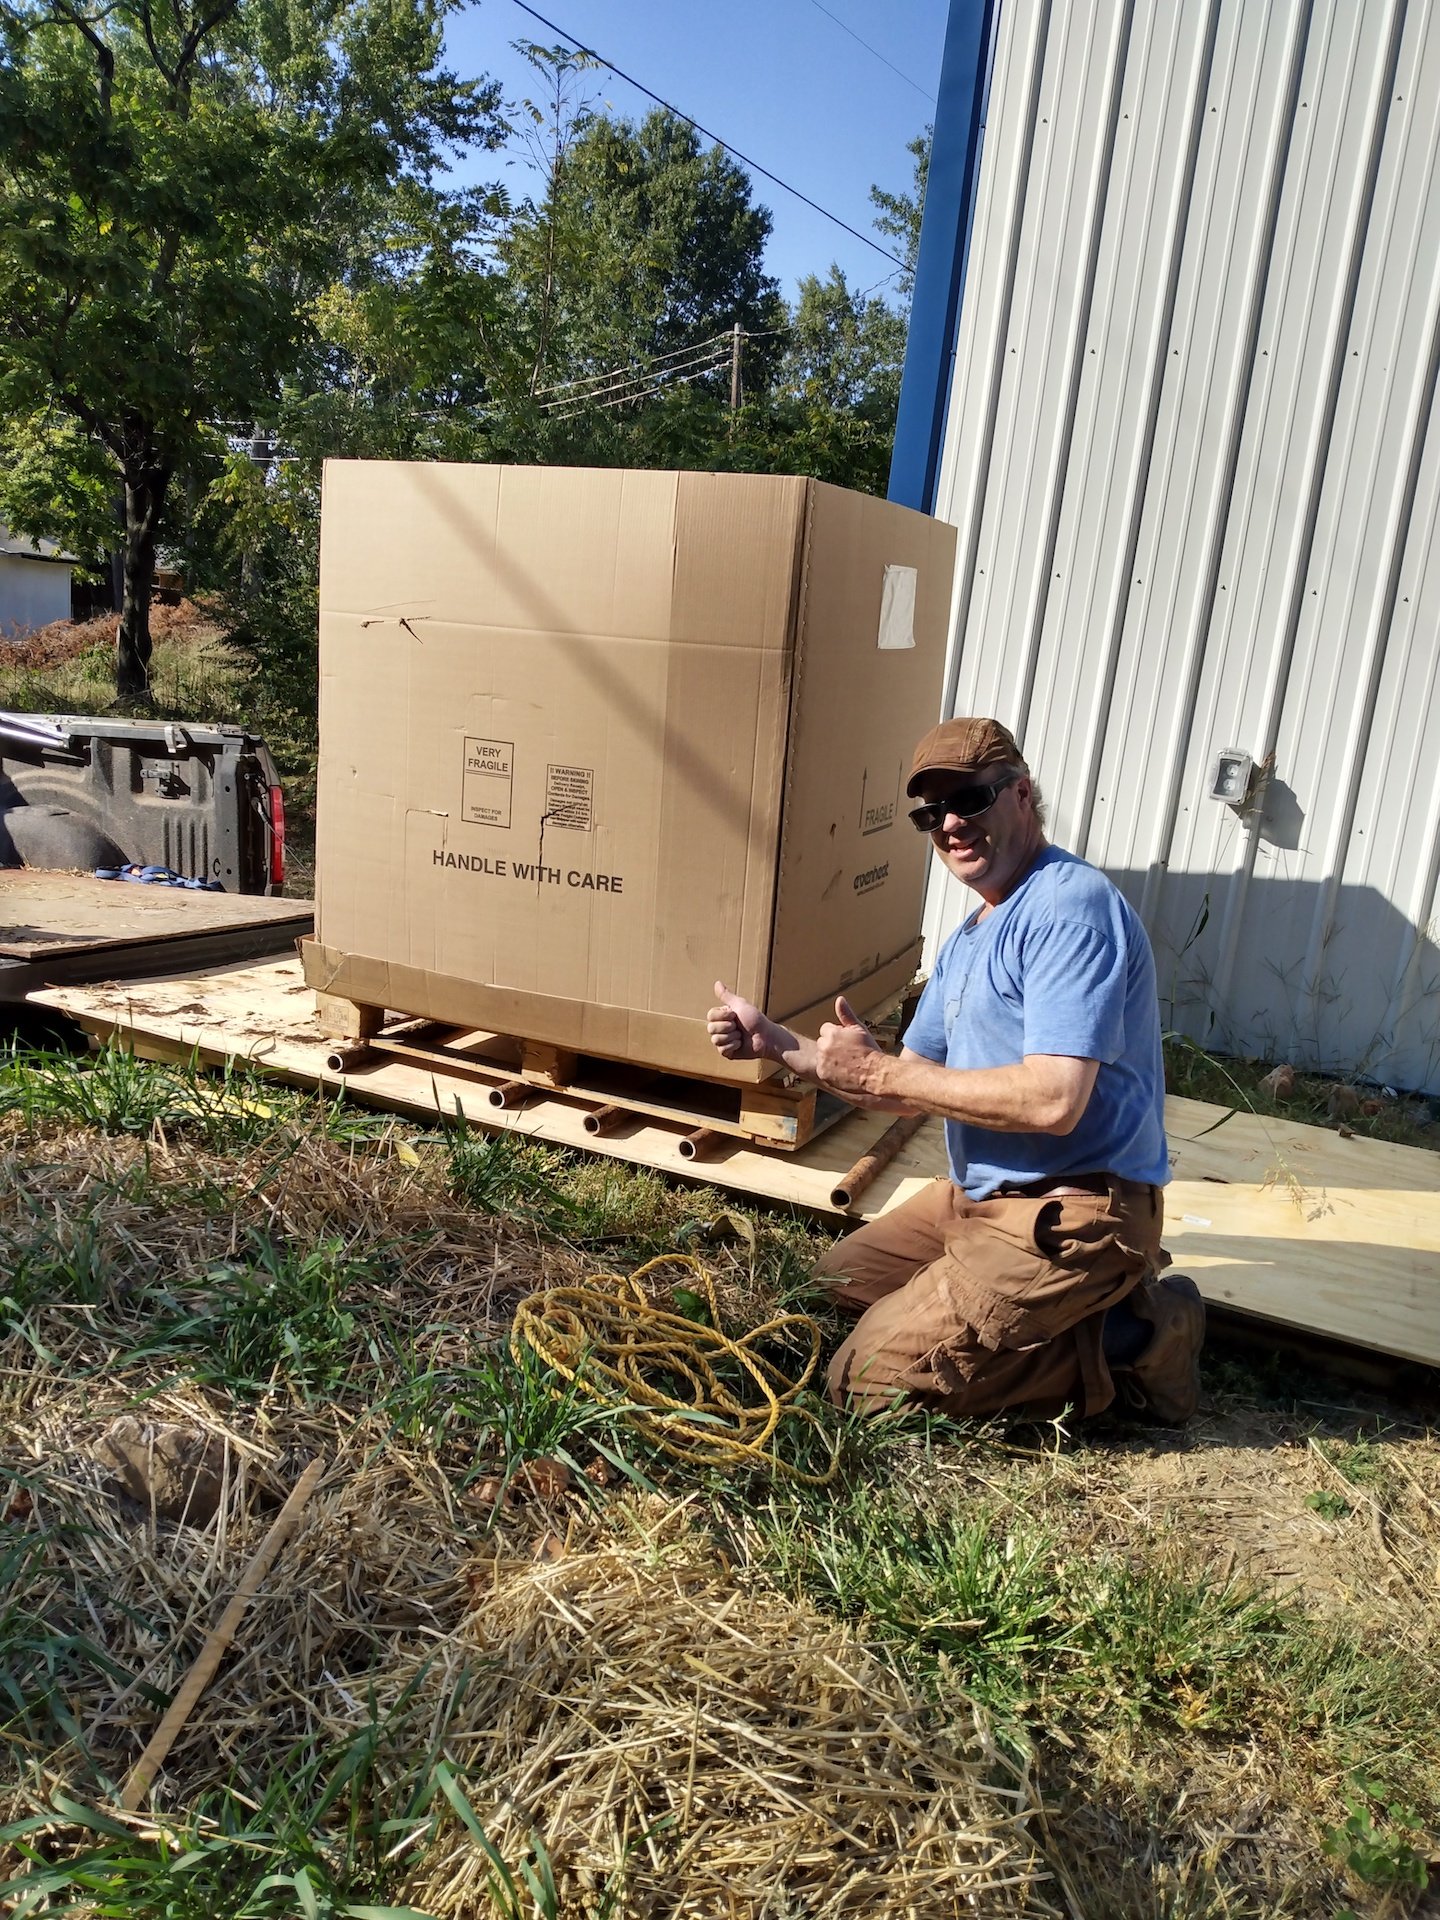
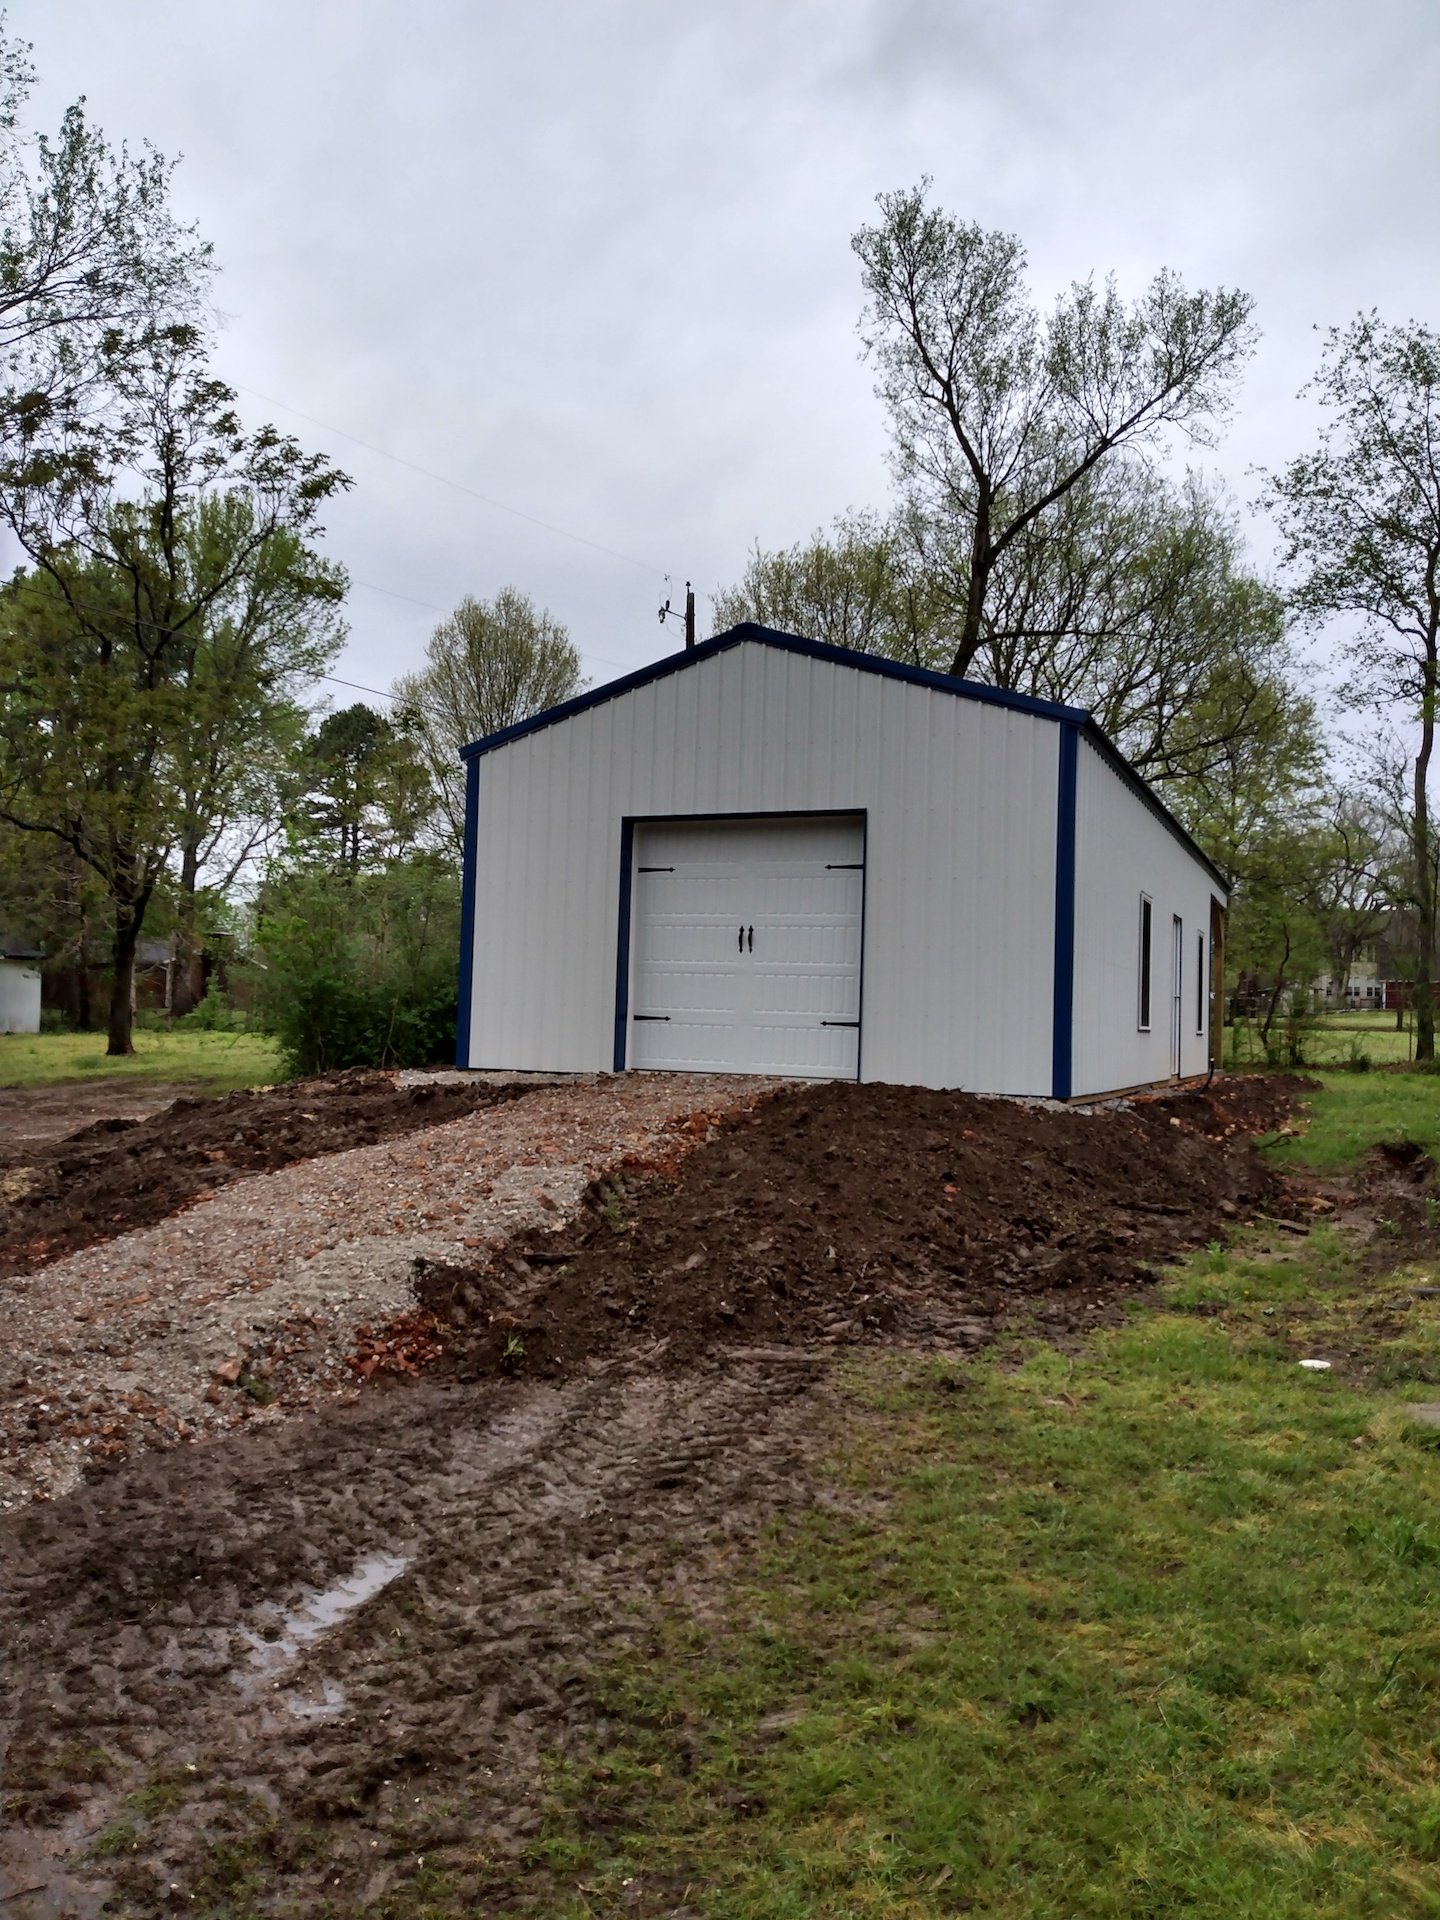
We got a new electric kiln! It’s big, heavy, and awkward, so getting it off of Sam’s truck was an undertaking. We moved it into the studio using Ancient Egyptian engineering - rolling the kiln and pallet on scrap metal rollers. This was actually pretty fun and of course we took a few minutes to Walk Like an Egyptian and to sing that song too…

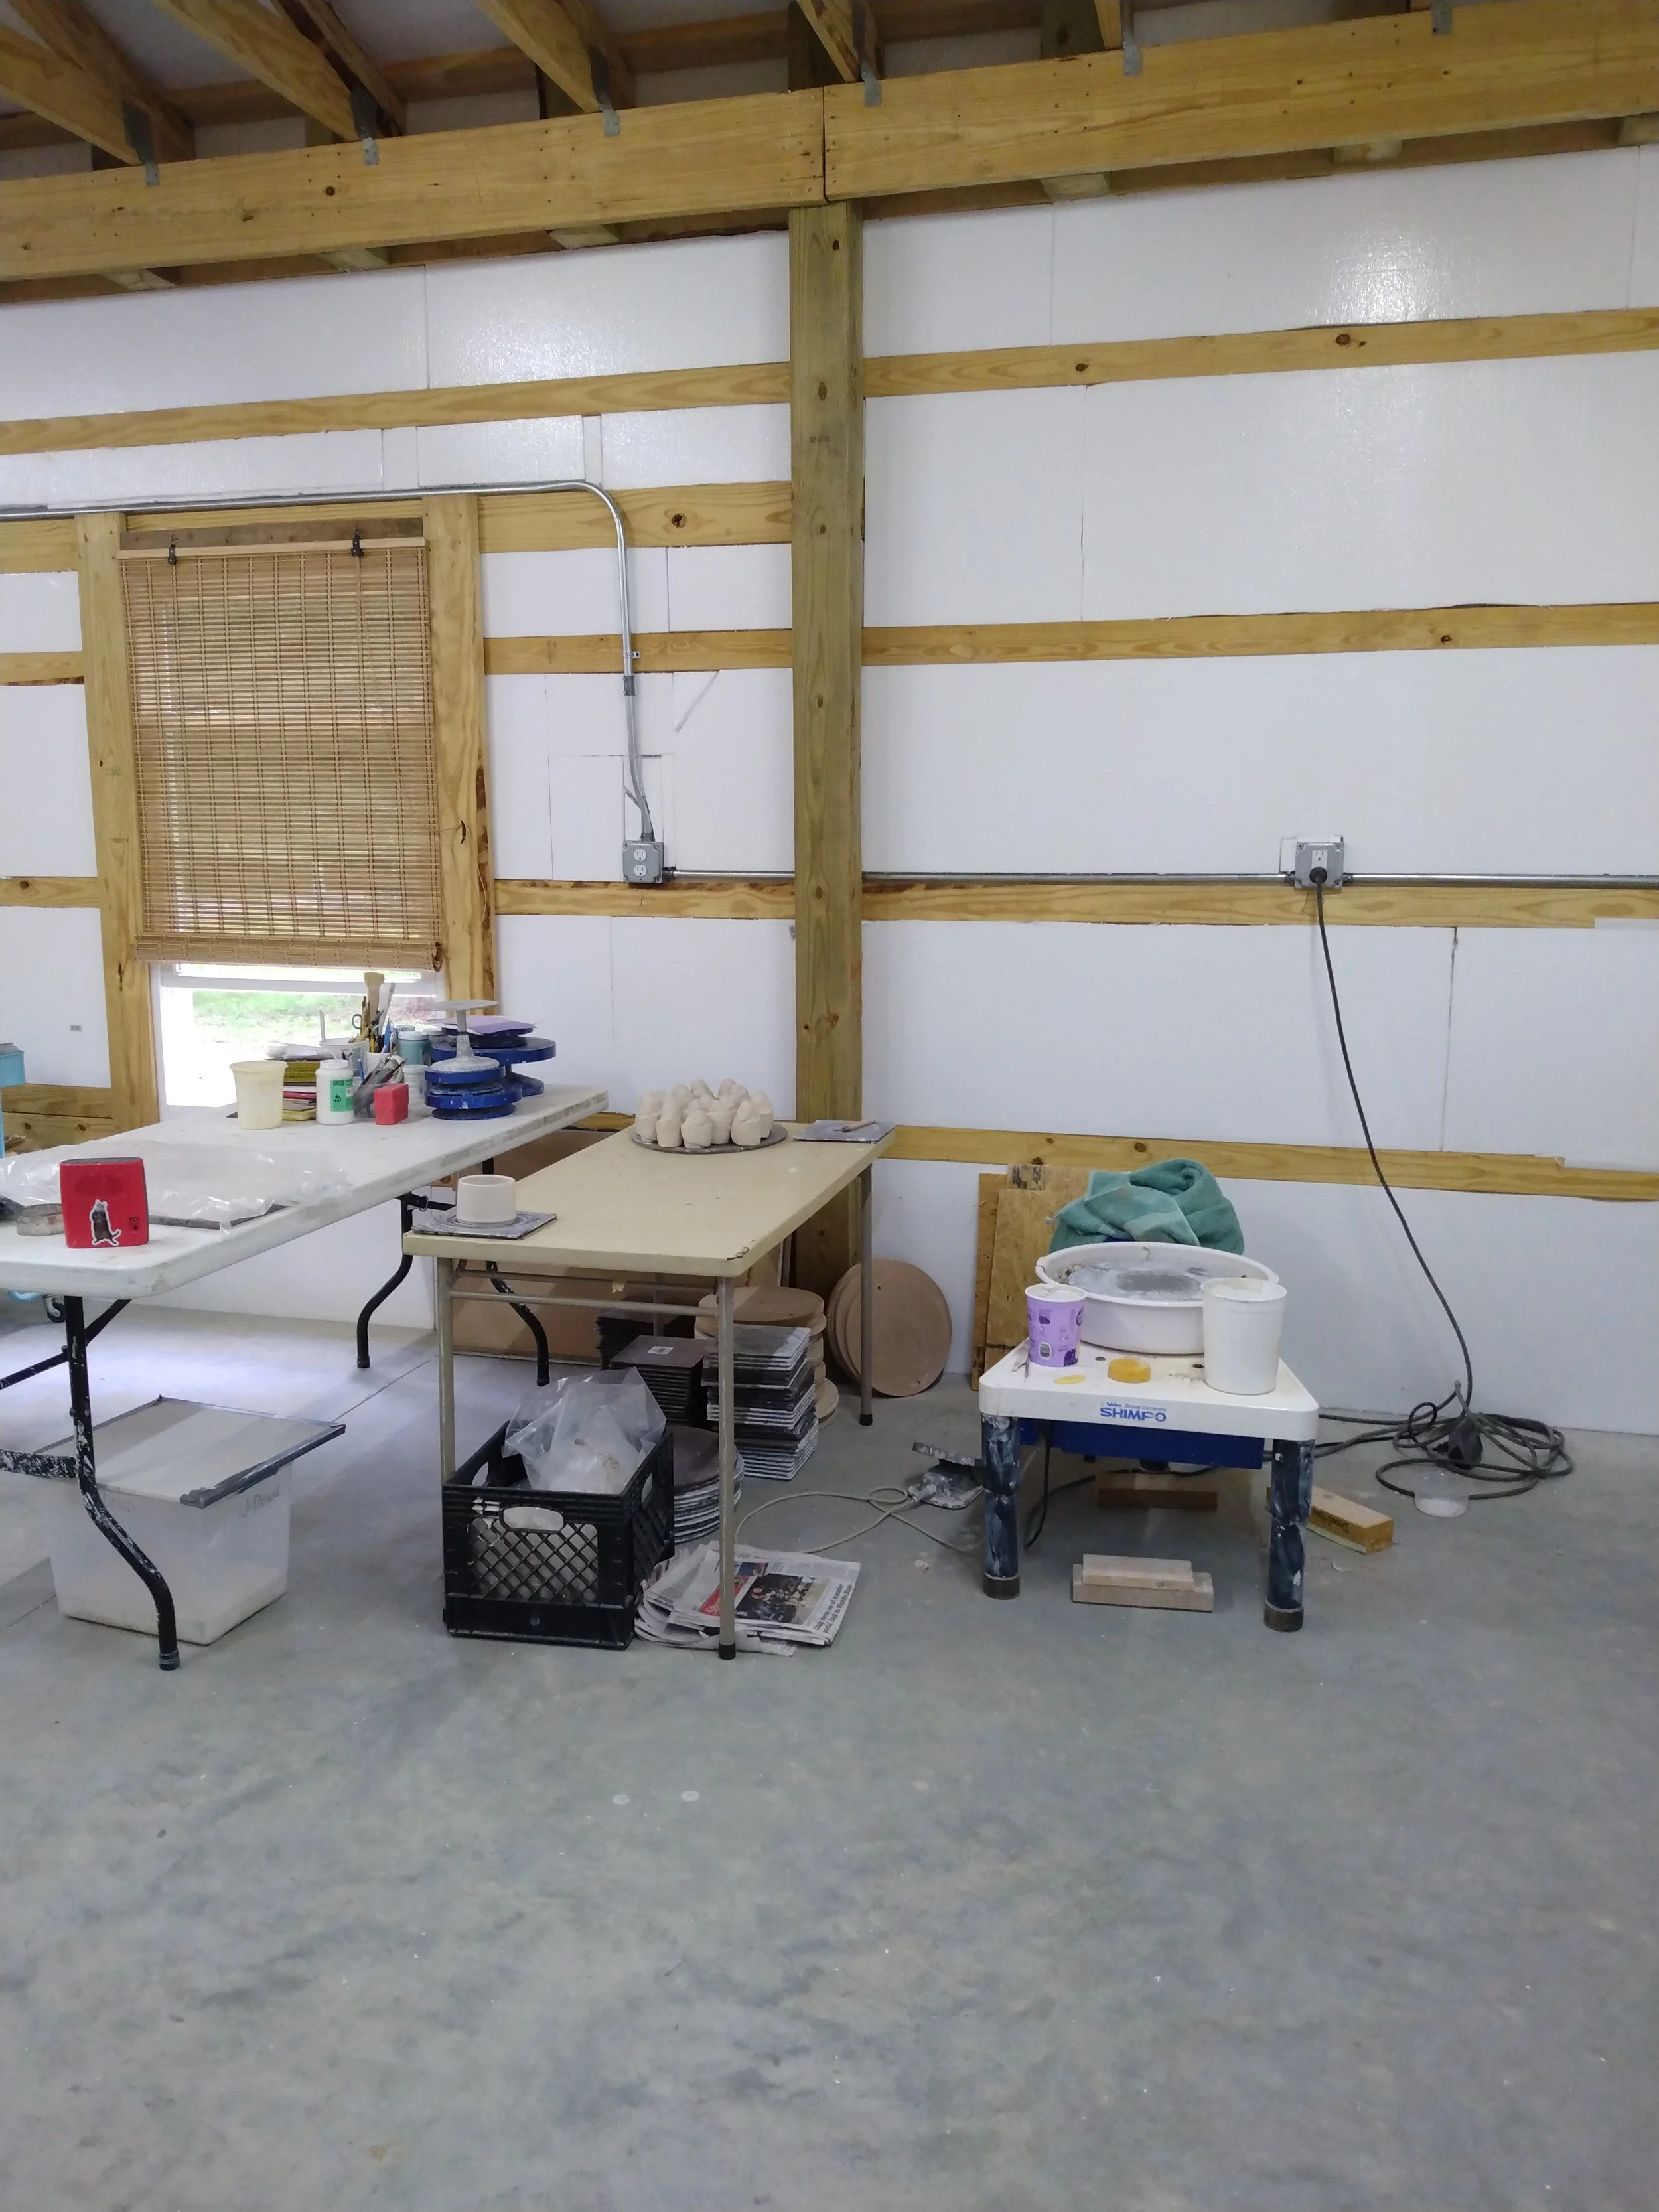
Still need to hook it up, but the kiln is now in its new home with the other kilns (they all need names.) The space is a bit unsettled for the moment, but everything will find a place soon.

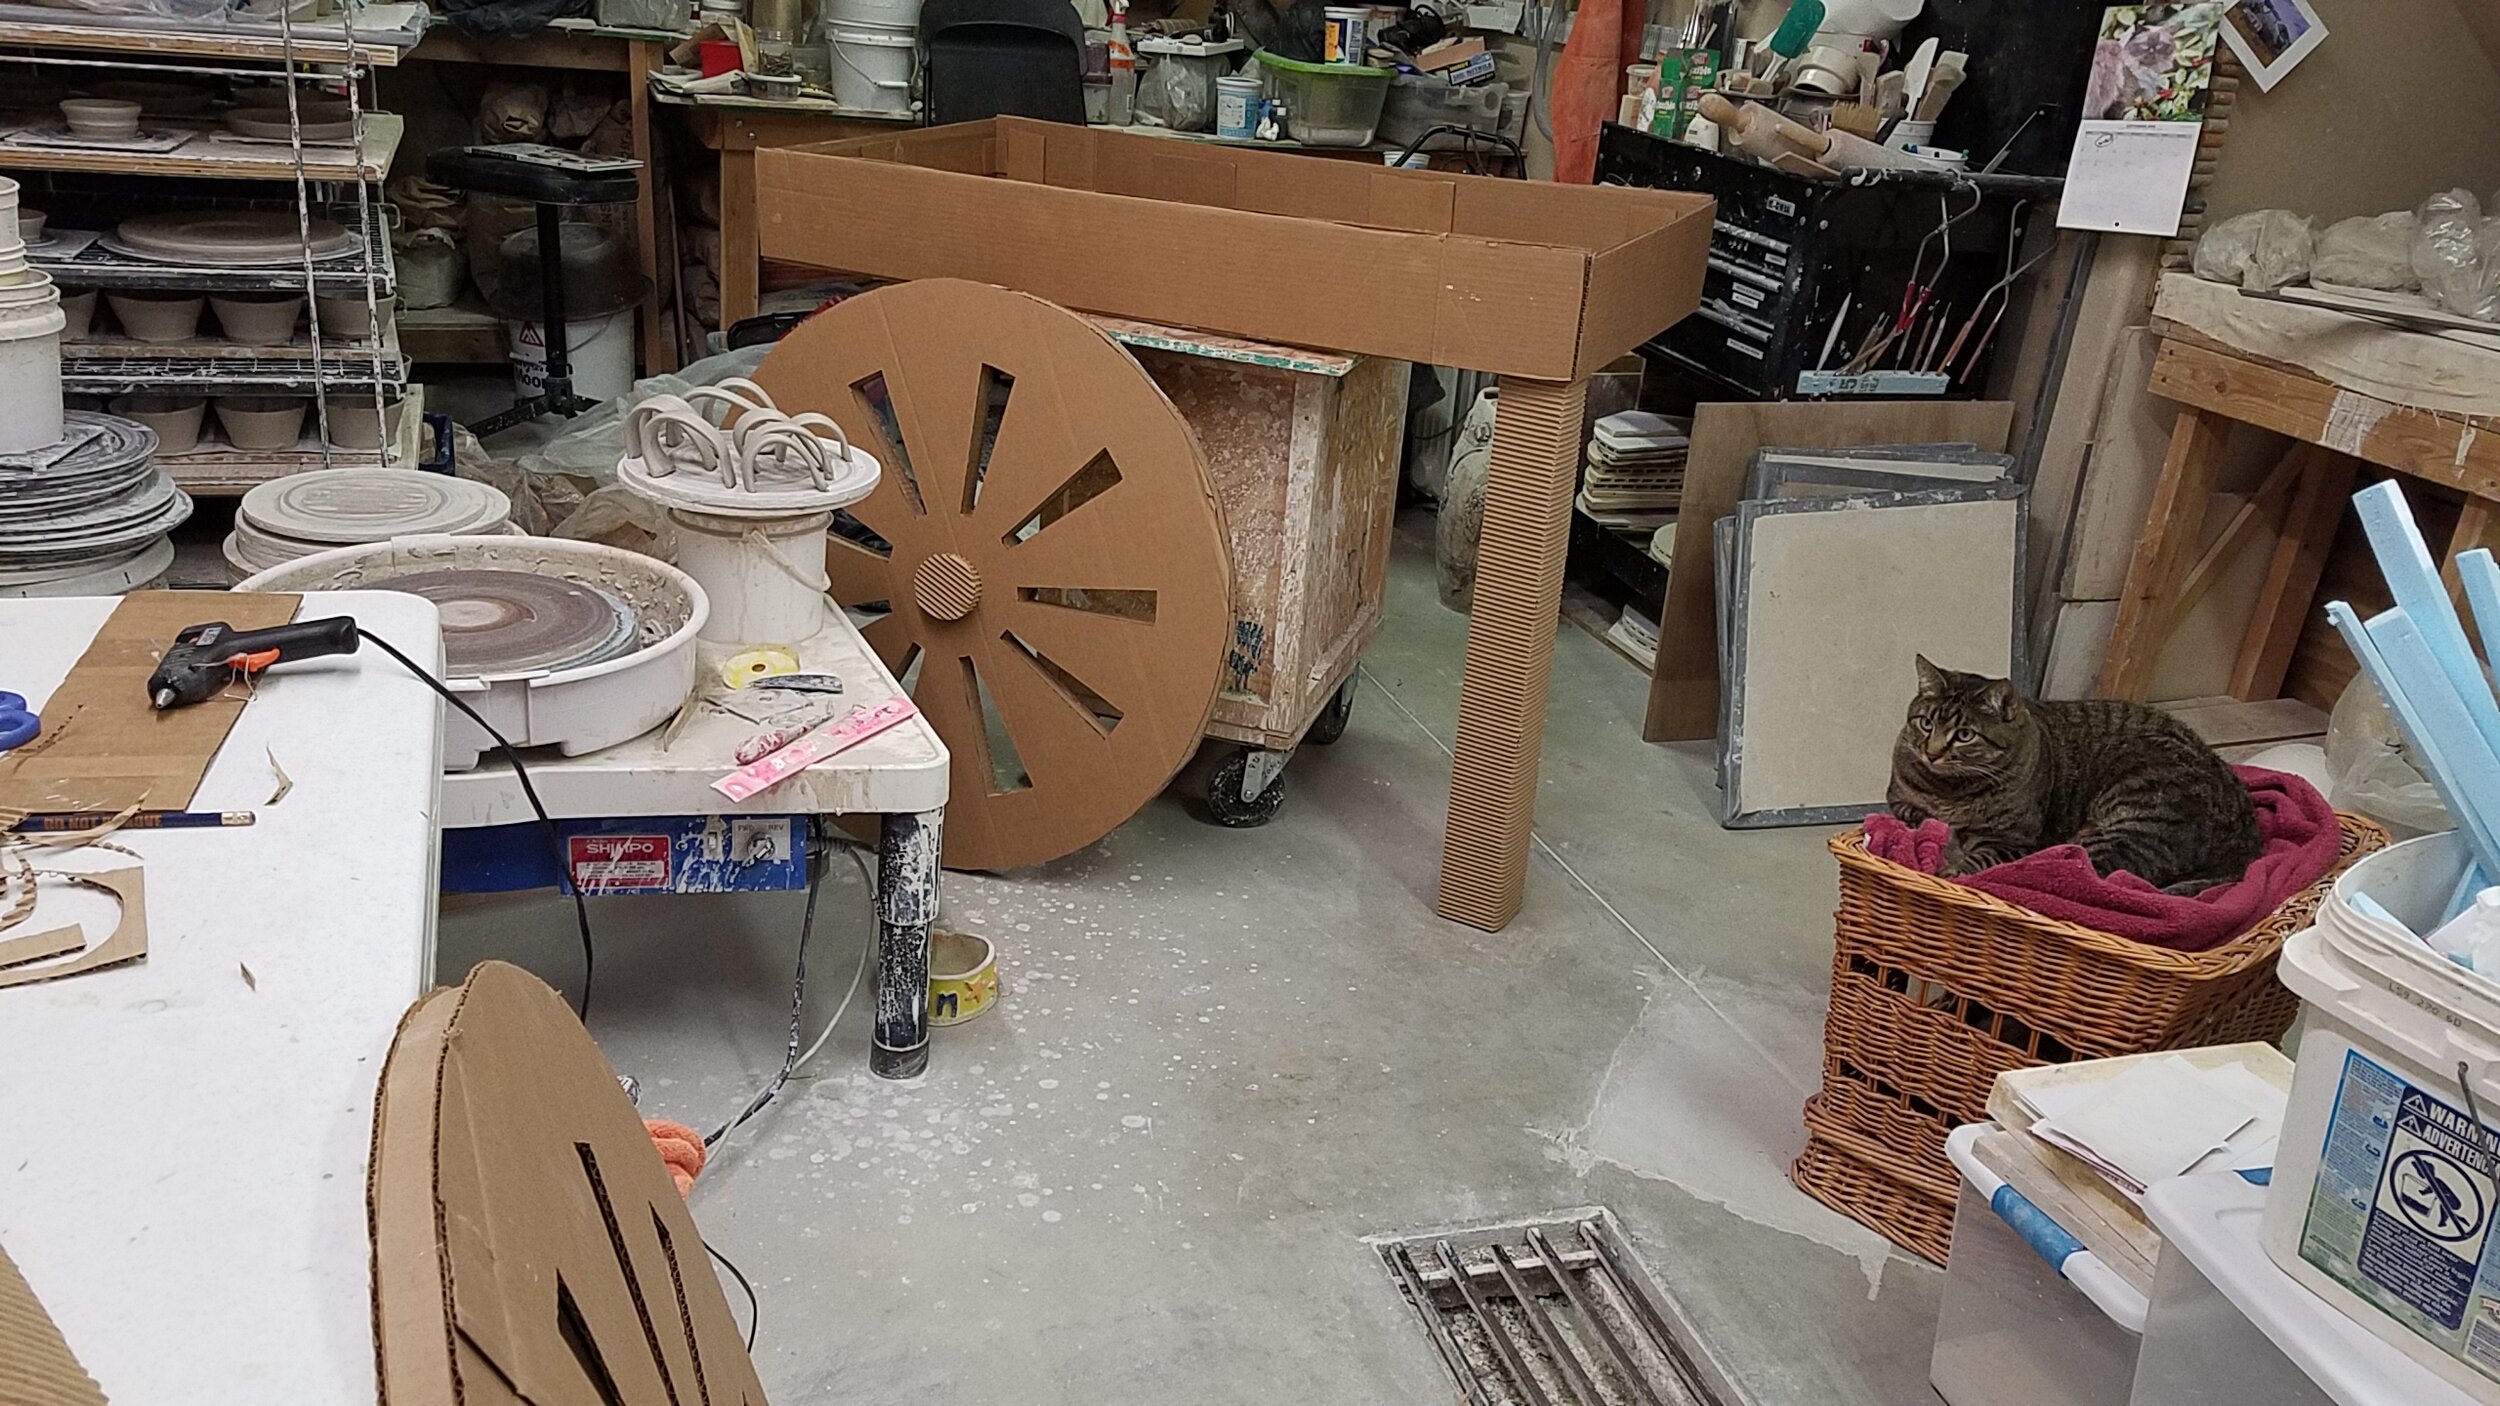
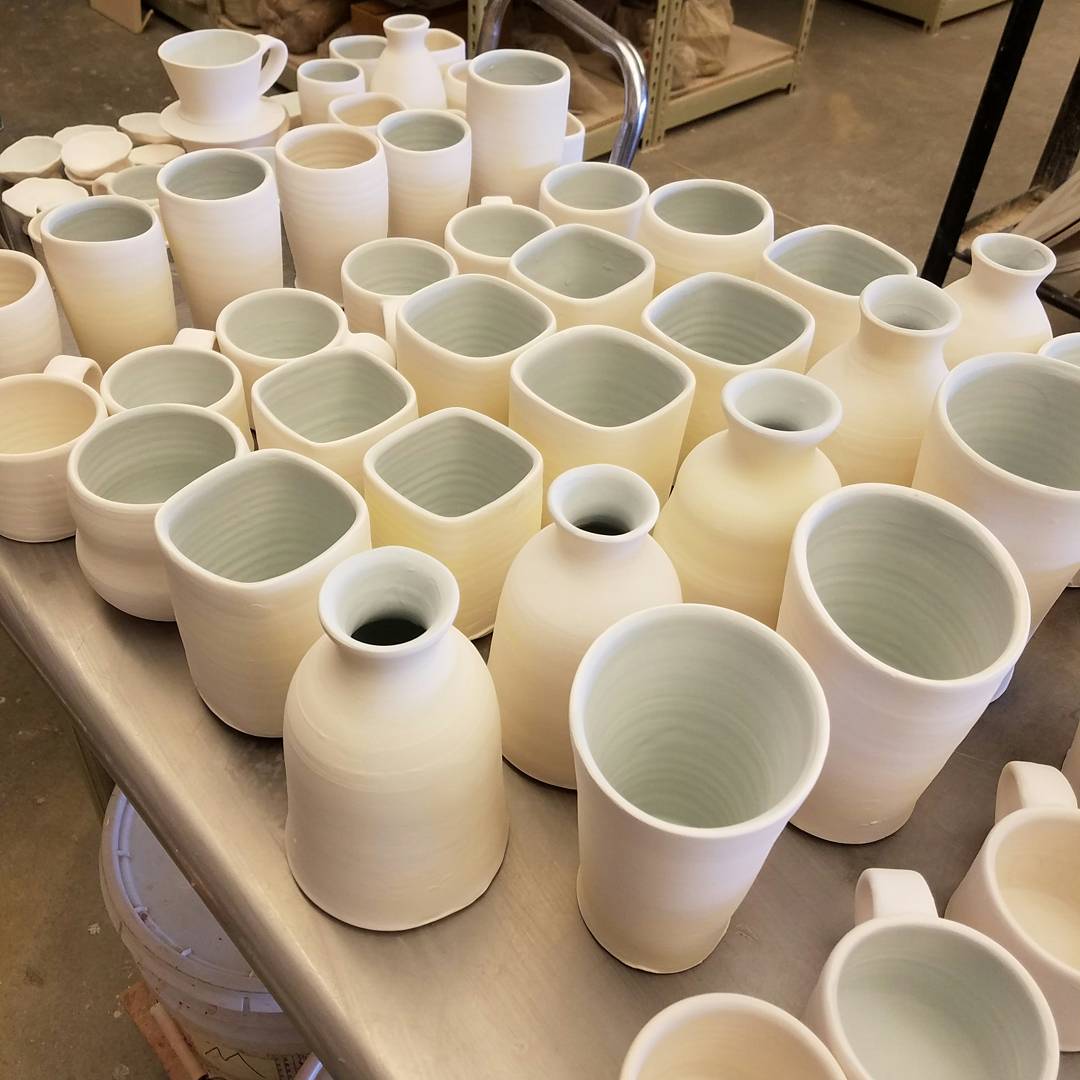
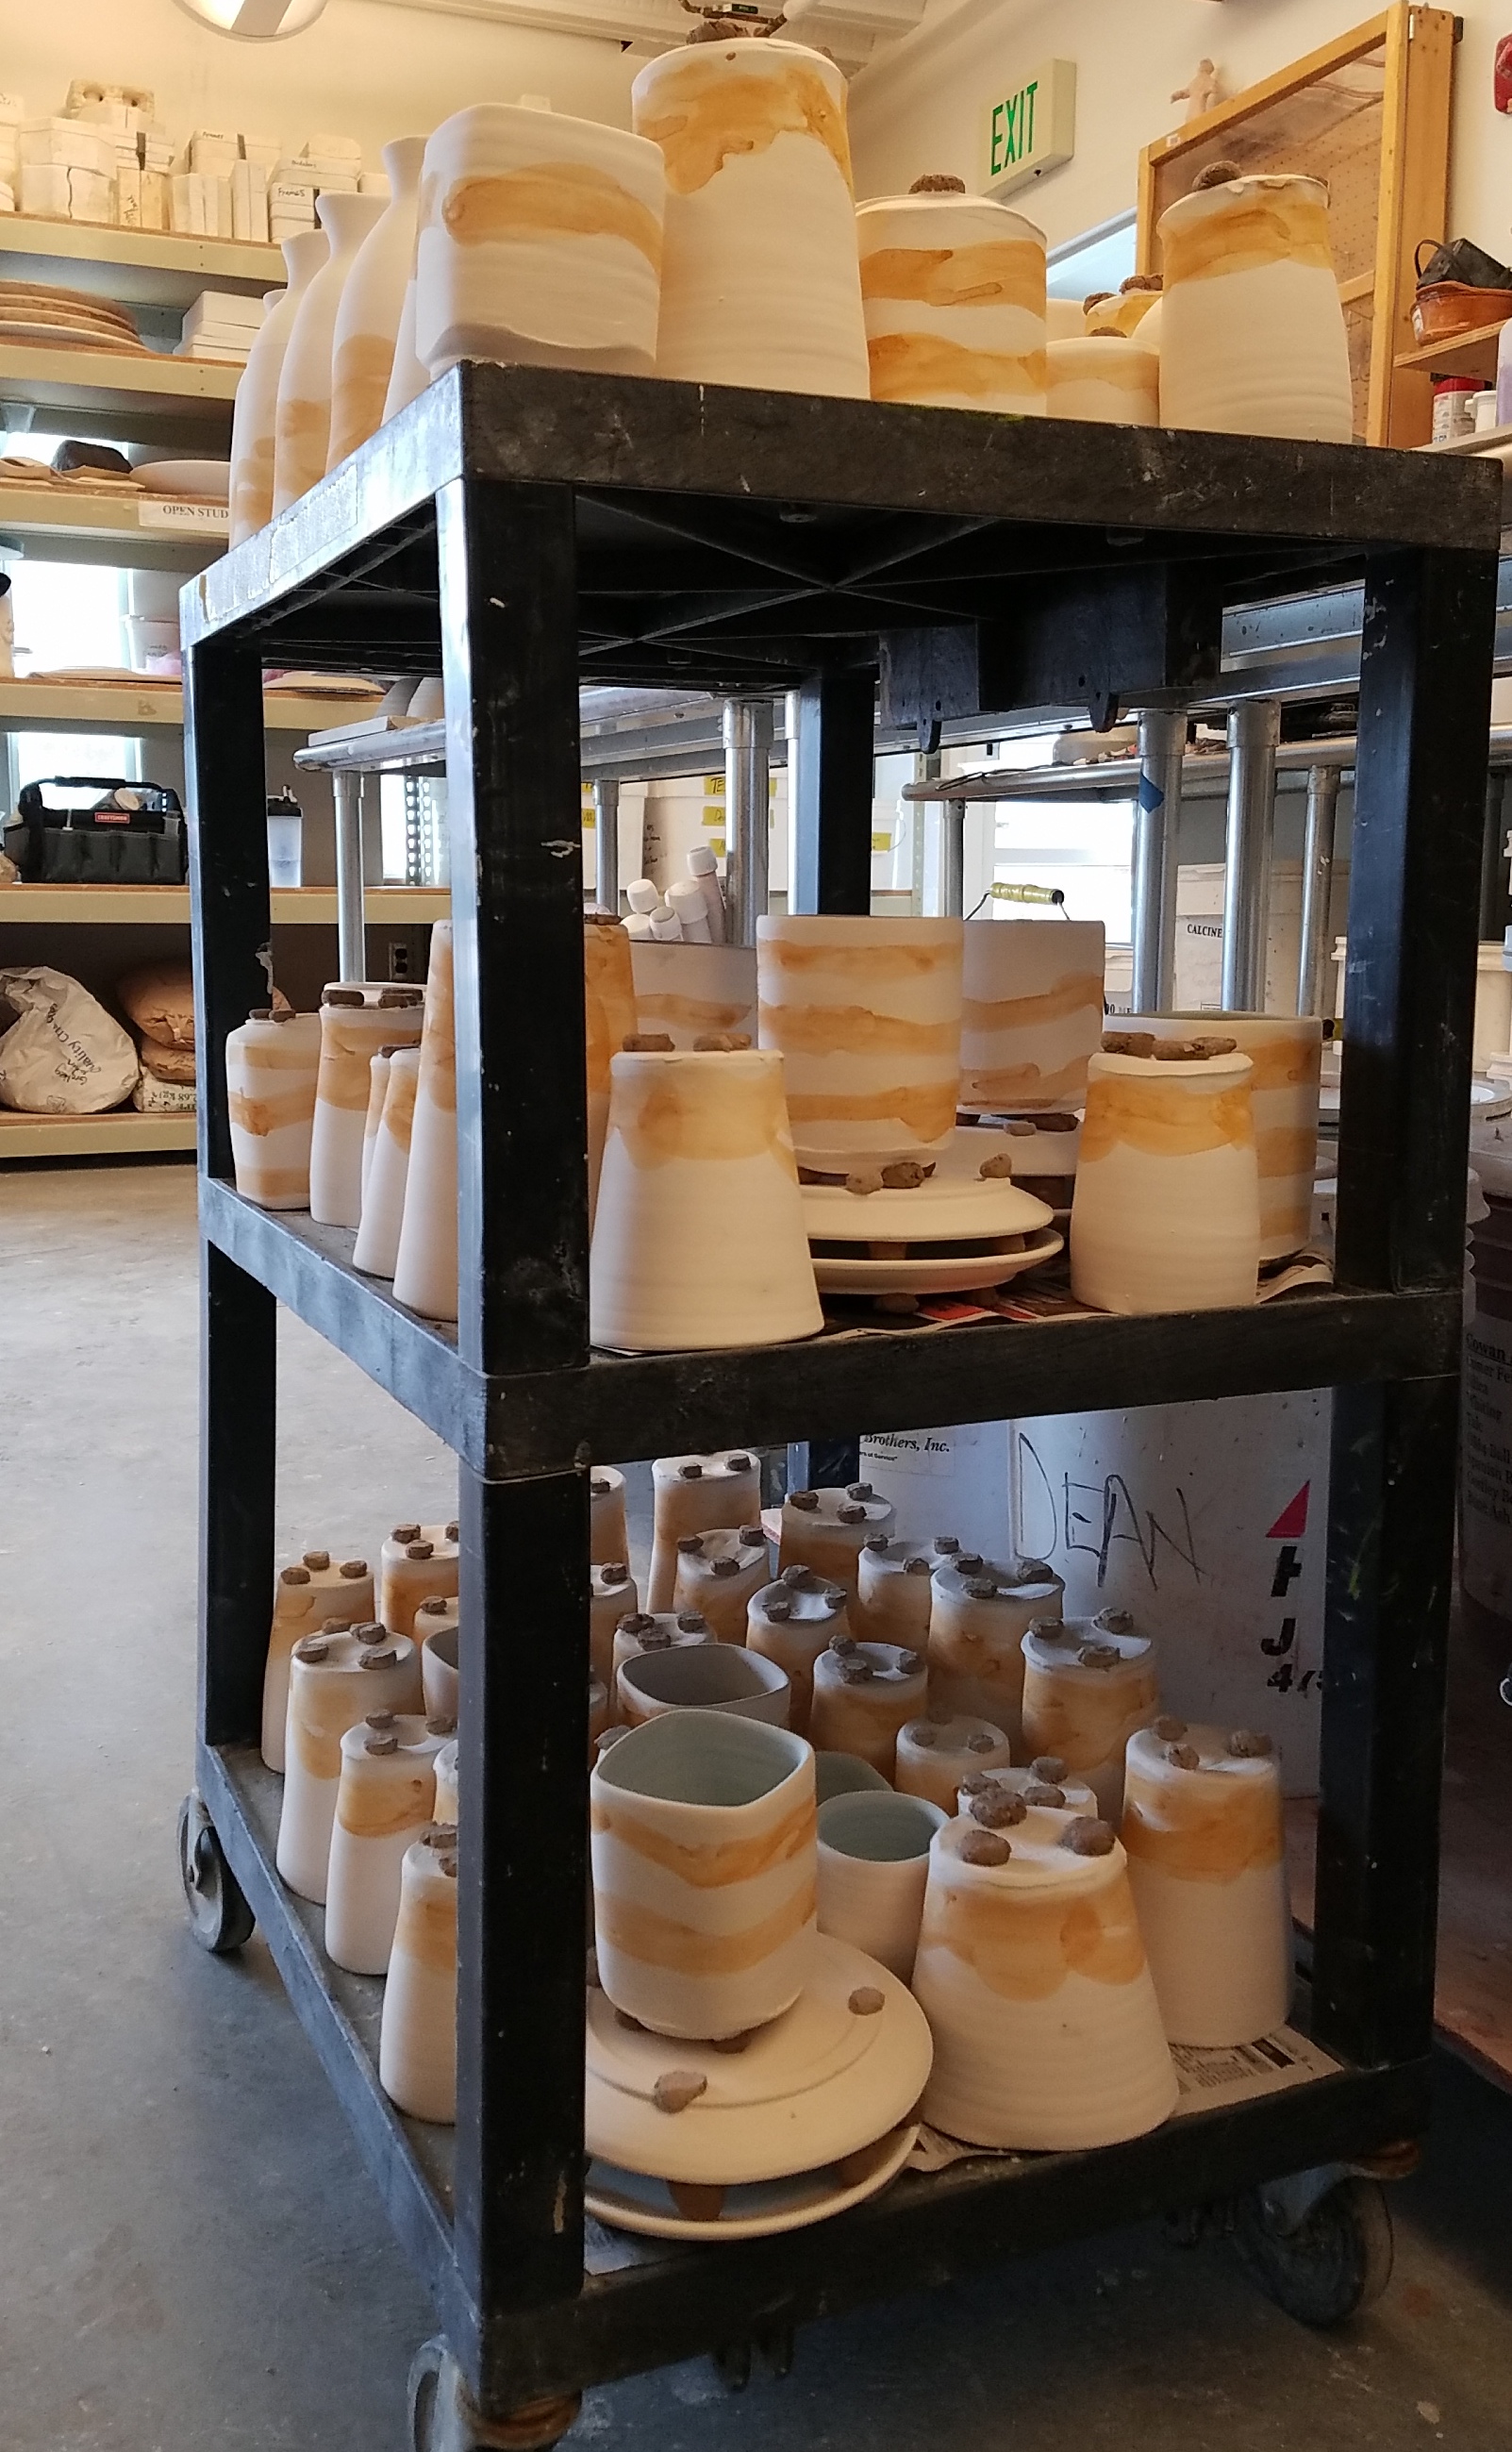
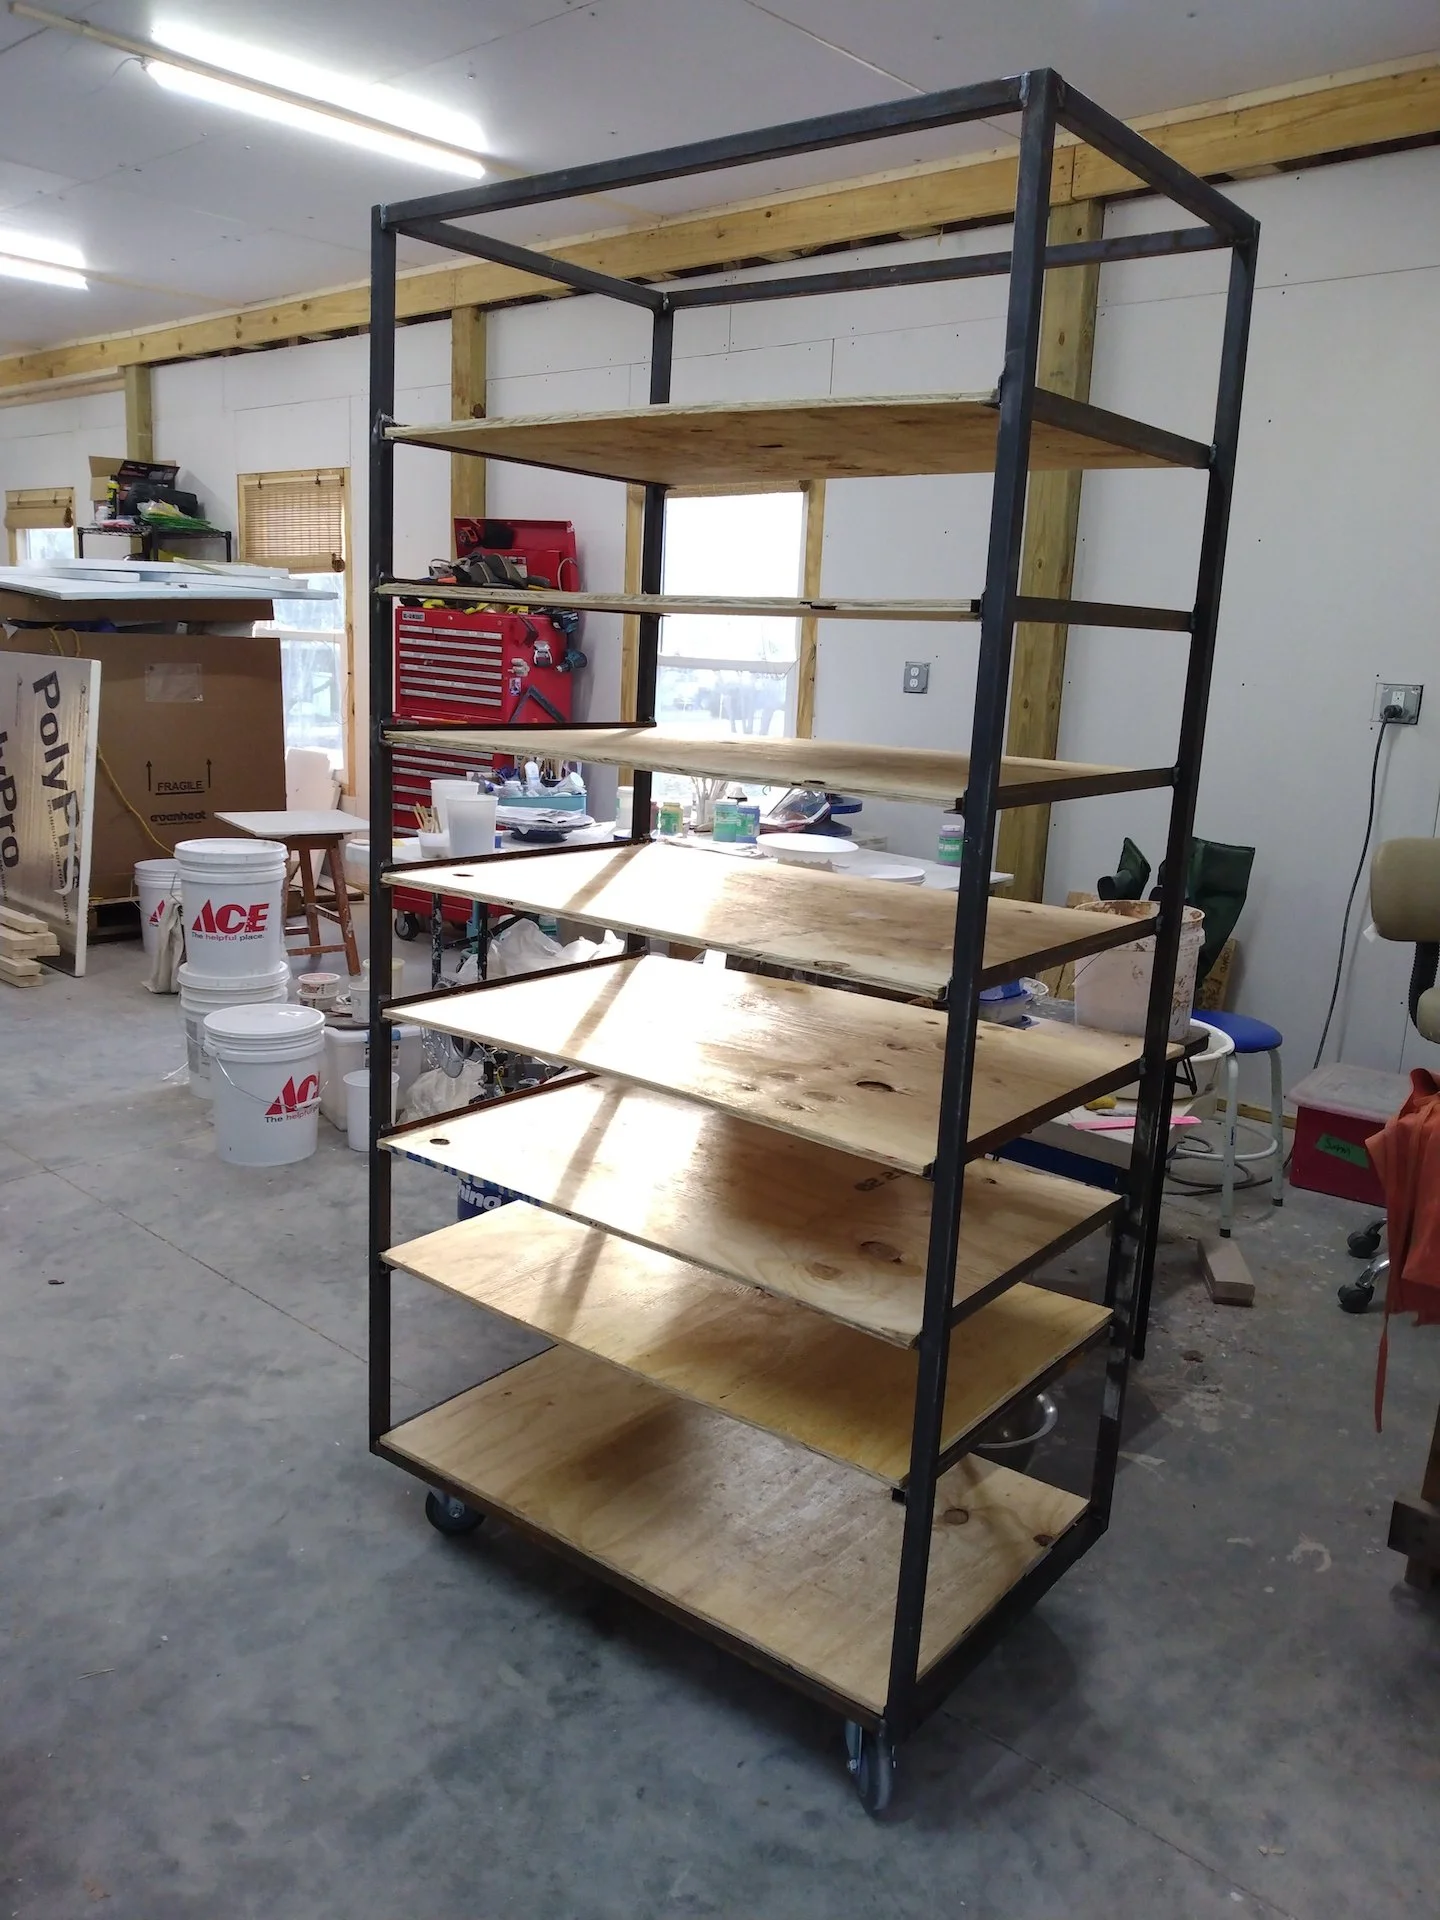
Speaking of finding a place, we’ve been in need of shelving to keep our drying or ready to be fired pottery. Sam welded us a cart…

Up next, this is probably the most important (or at this point, luxurious) item… a studio sink! Complete with clay trap and on-demand water heater. I promise it will never be this clean again. Ever.

Or maybe this is the most important? A tiny bathroom, complete with a sliding barn door (with a handle Sam made once in a blacksmithing class) and a vintage porcelain towel rack (scavenged by my dad)

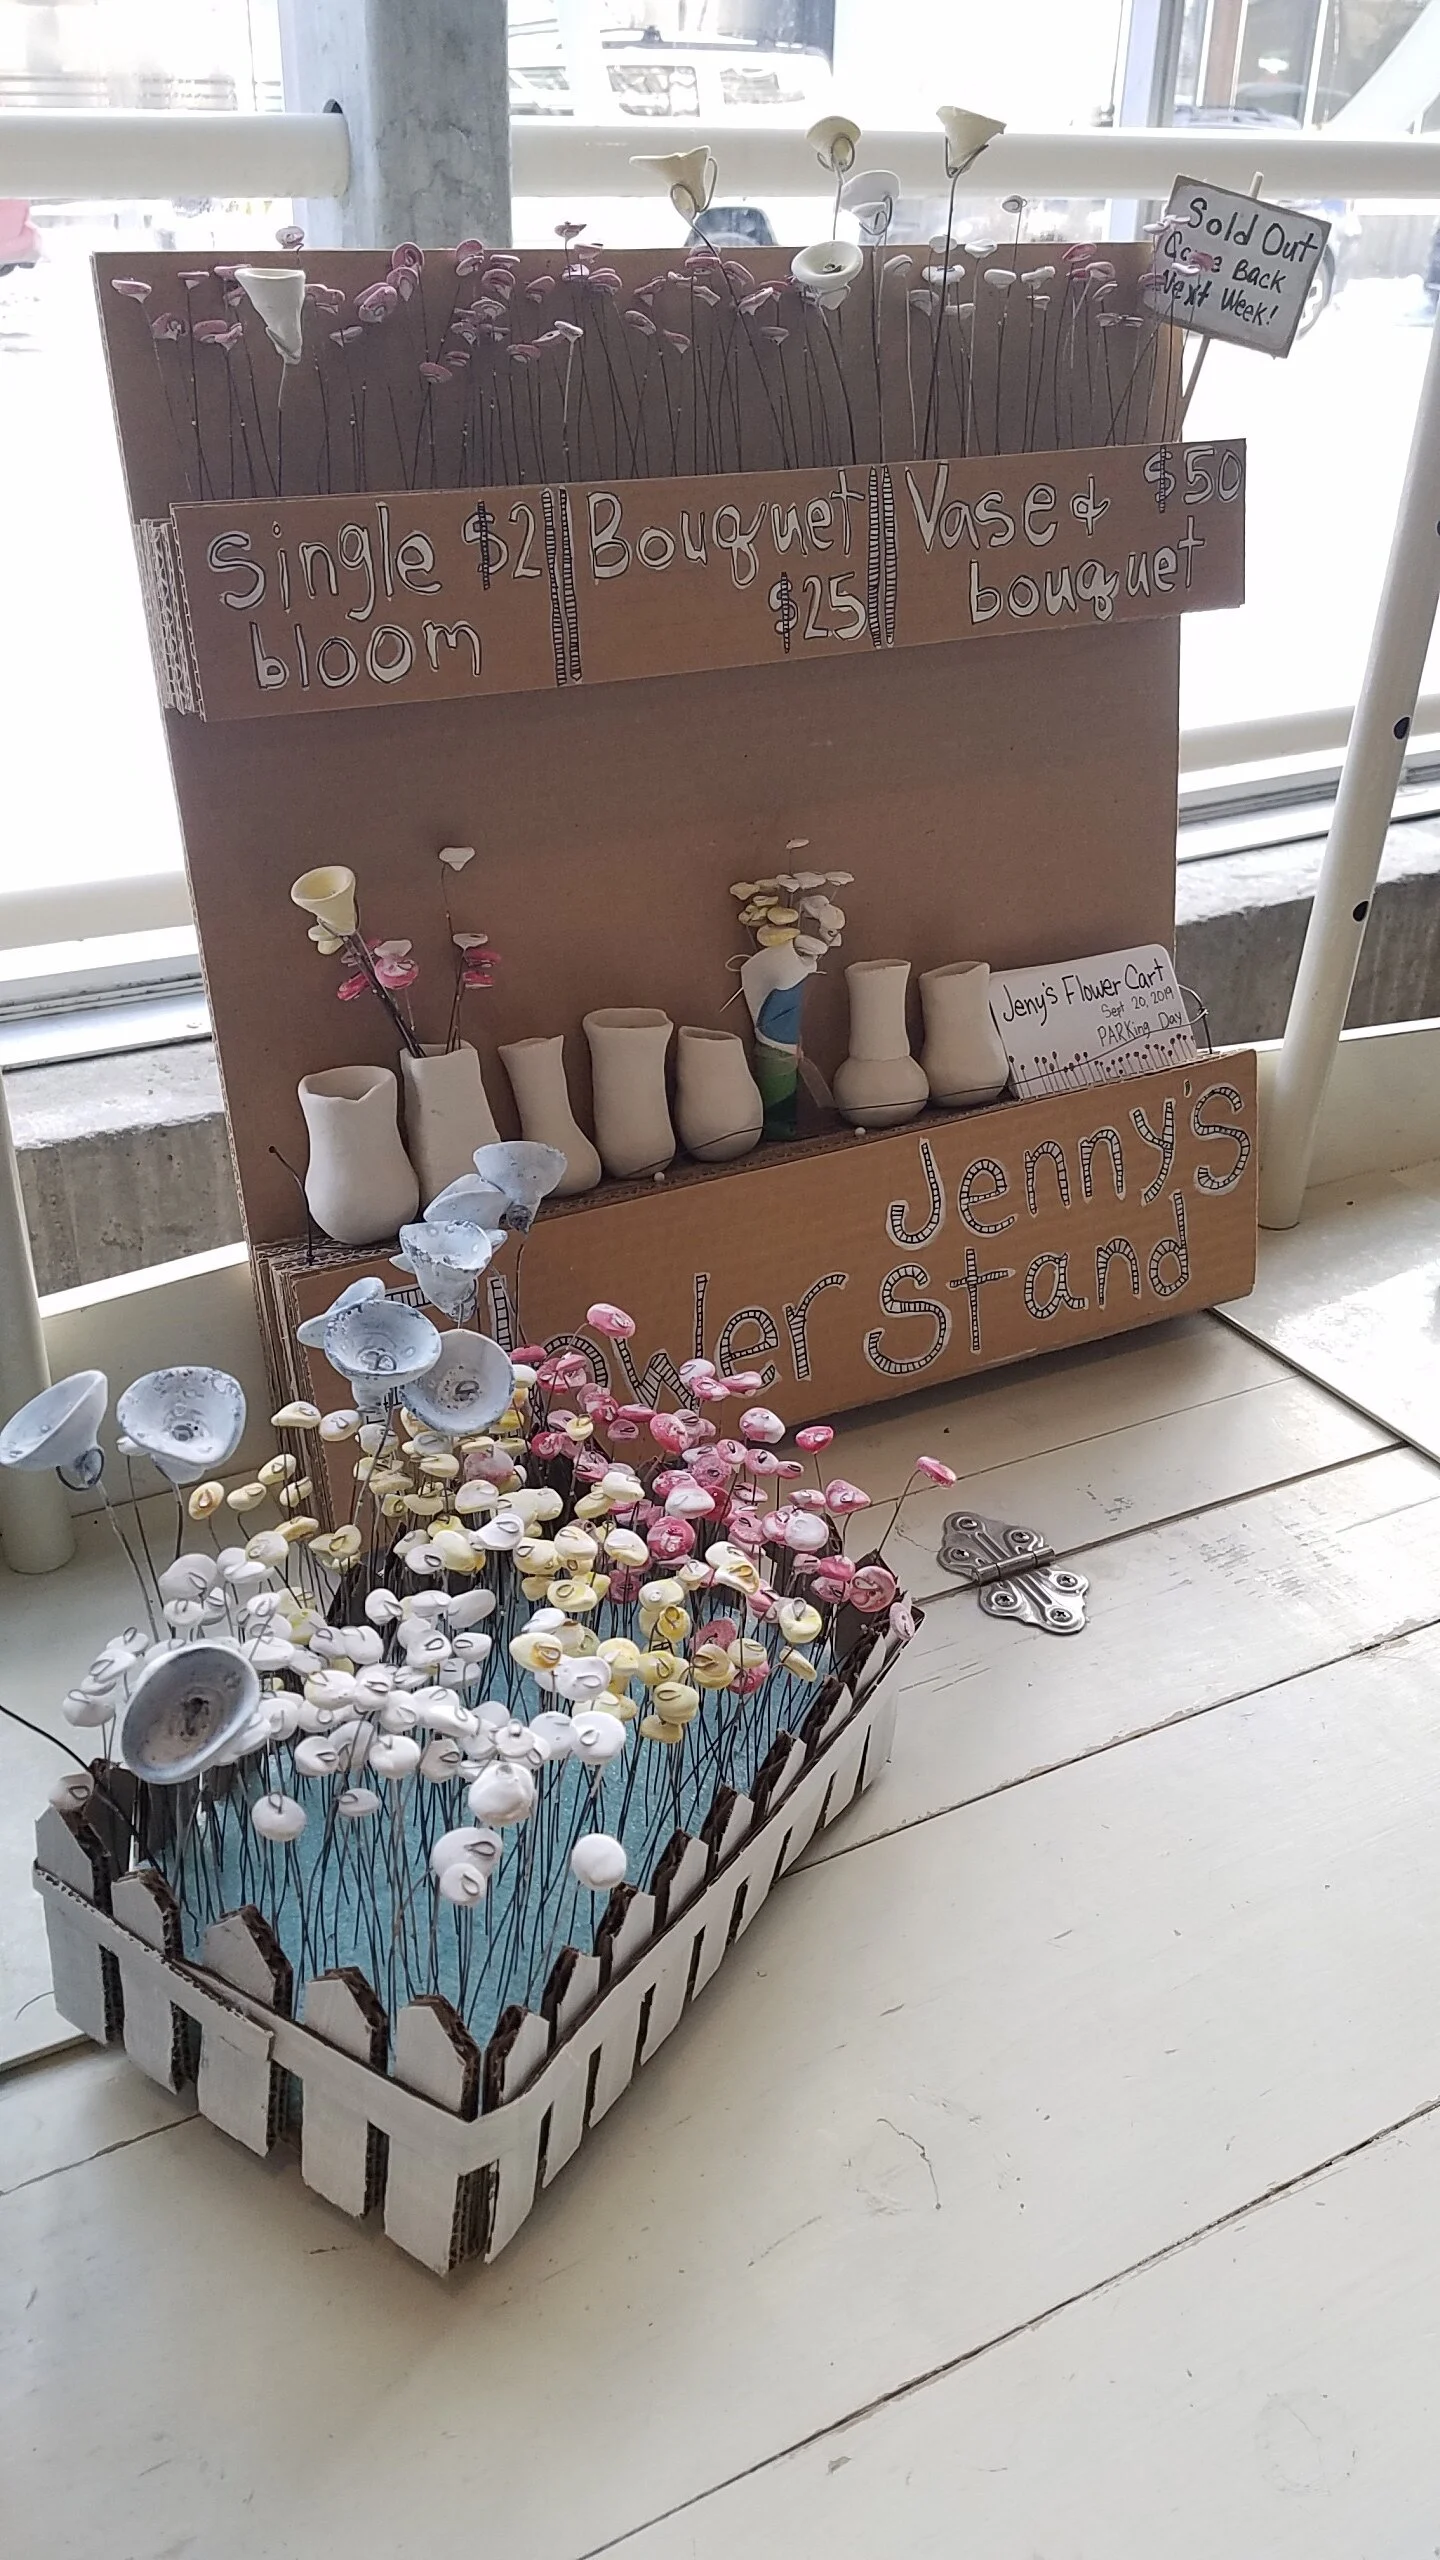
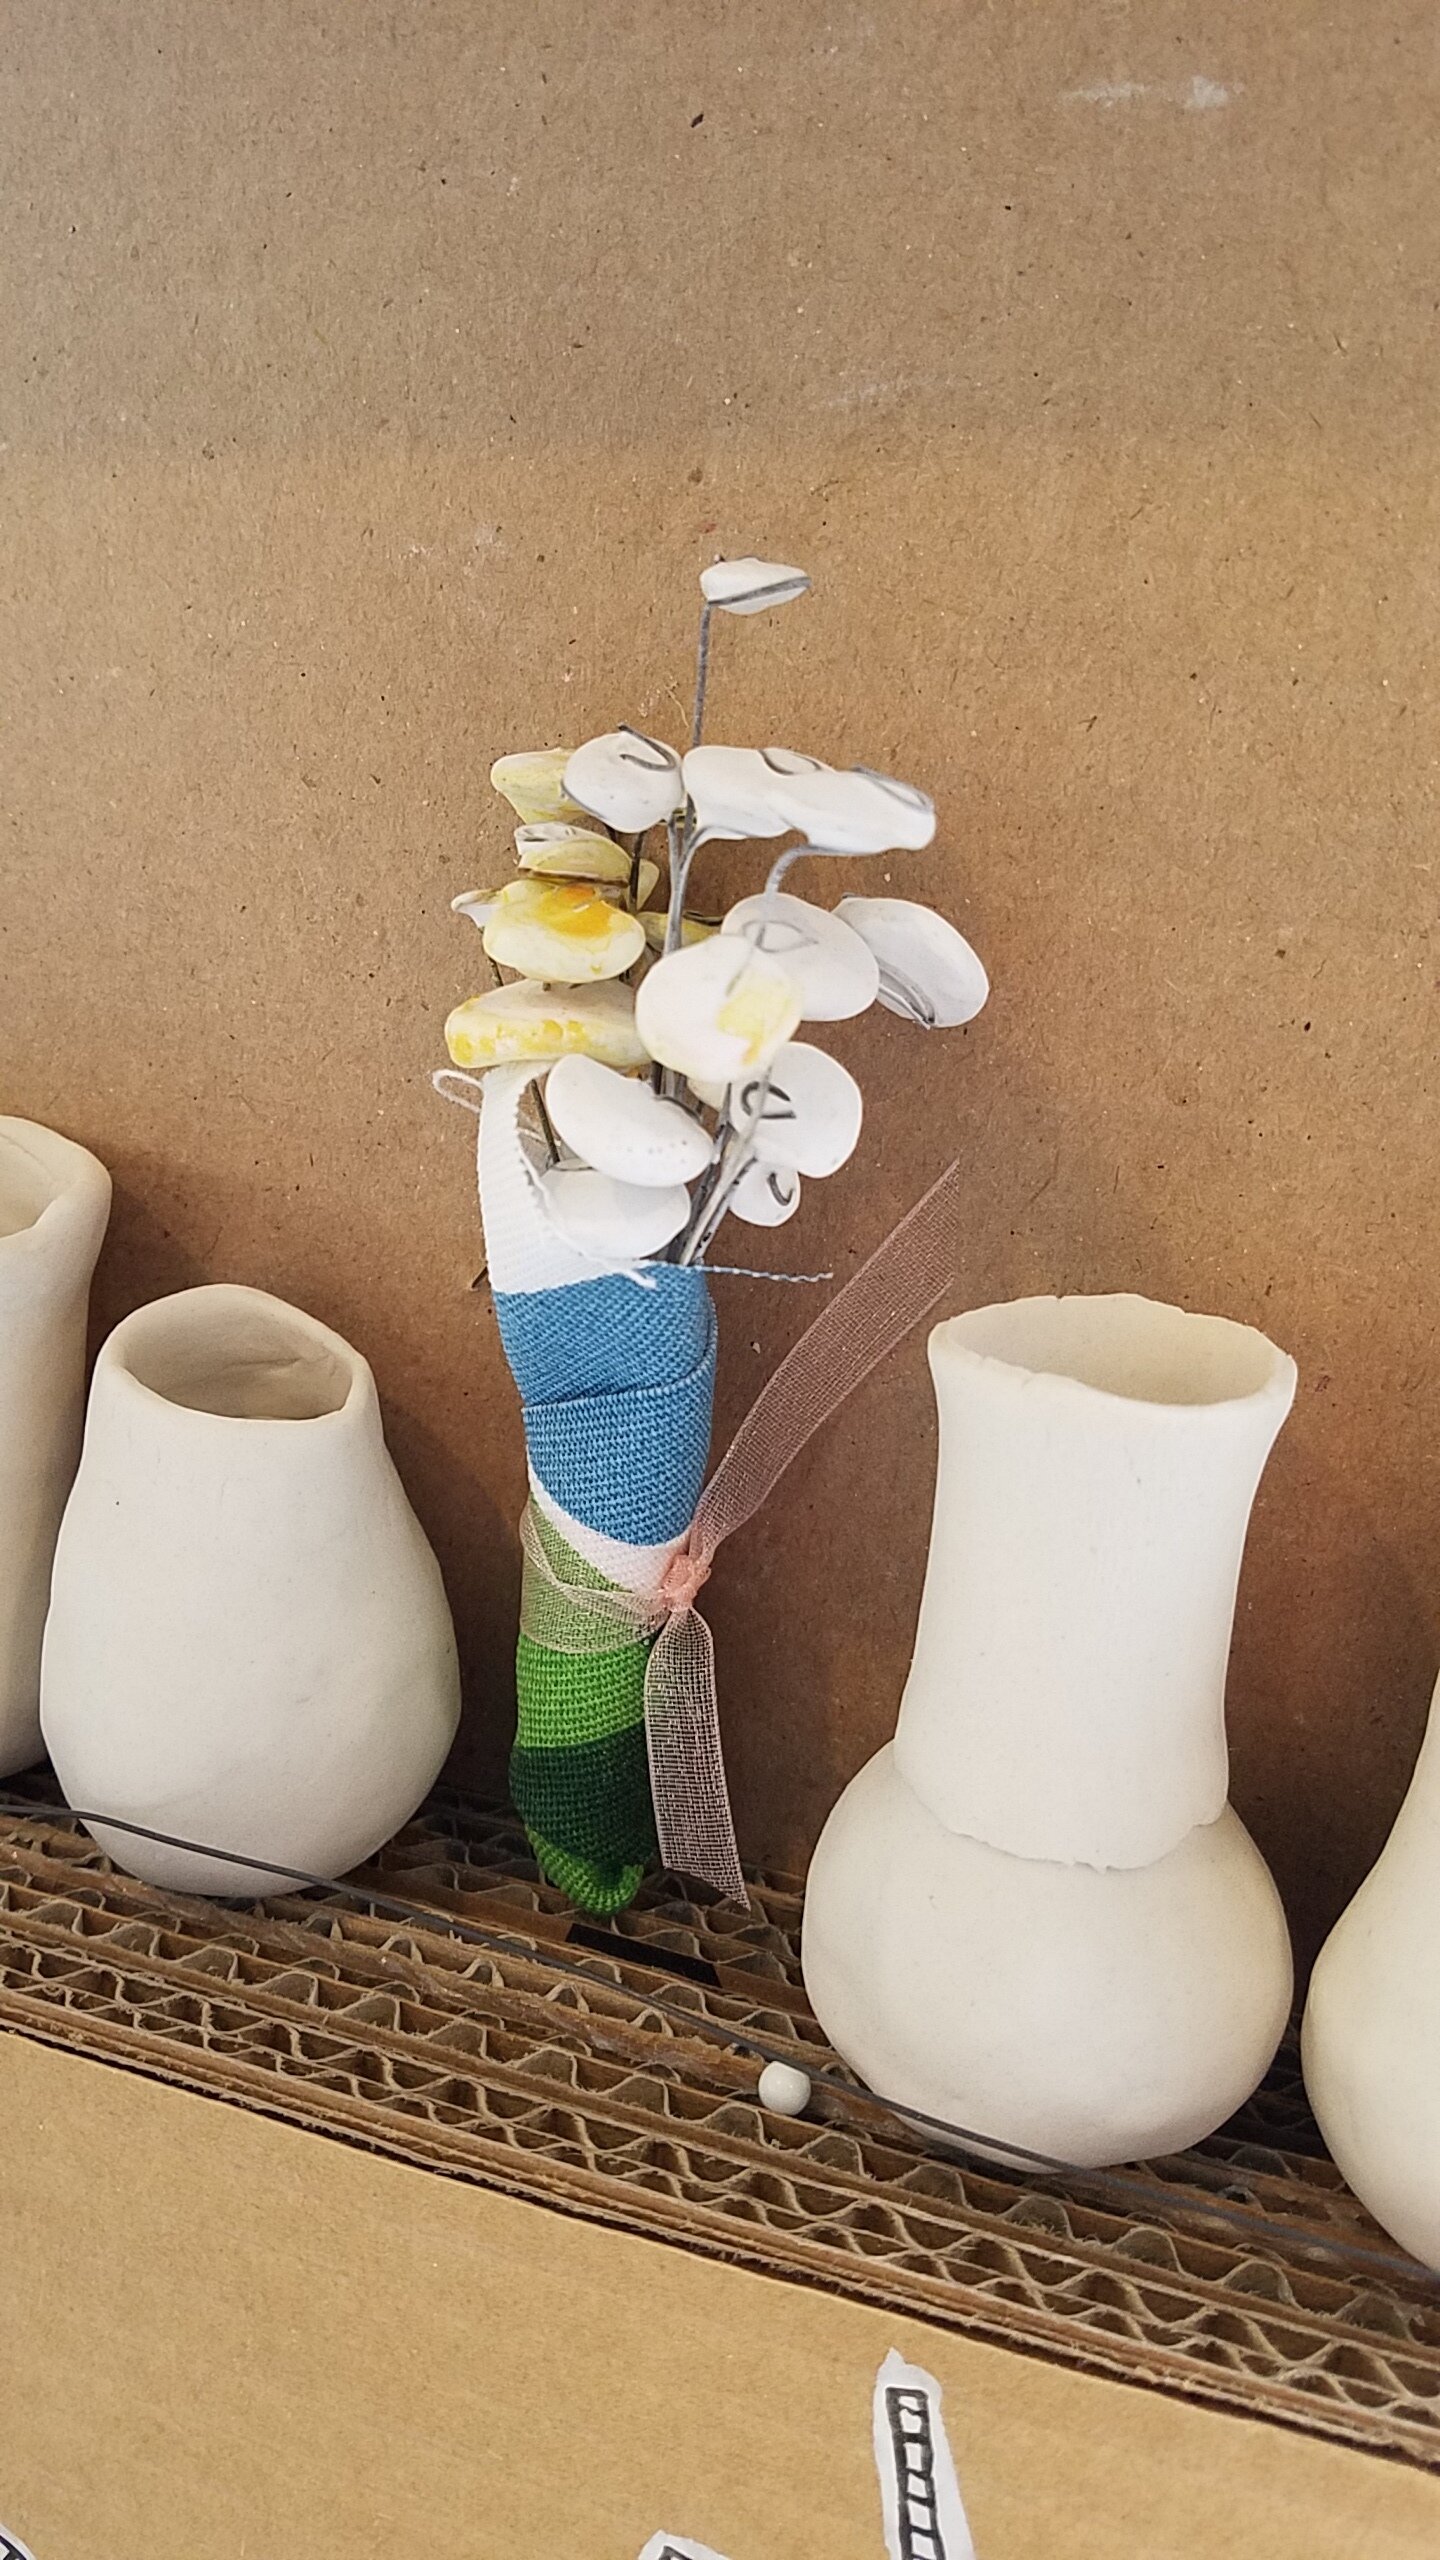
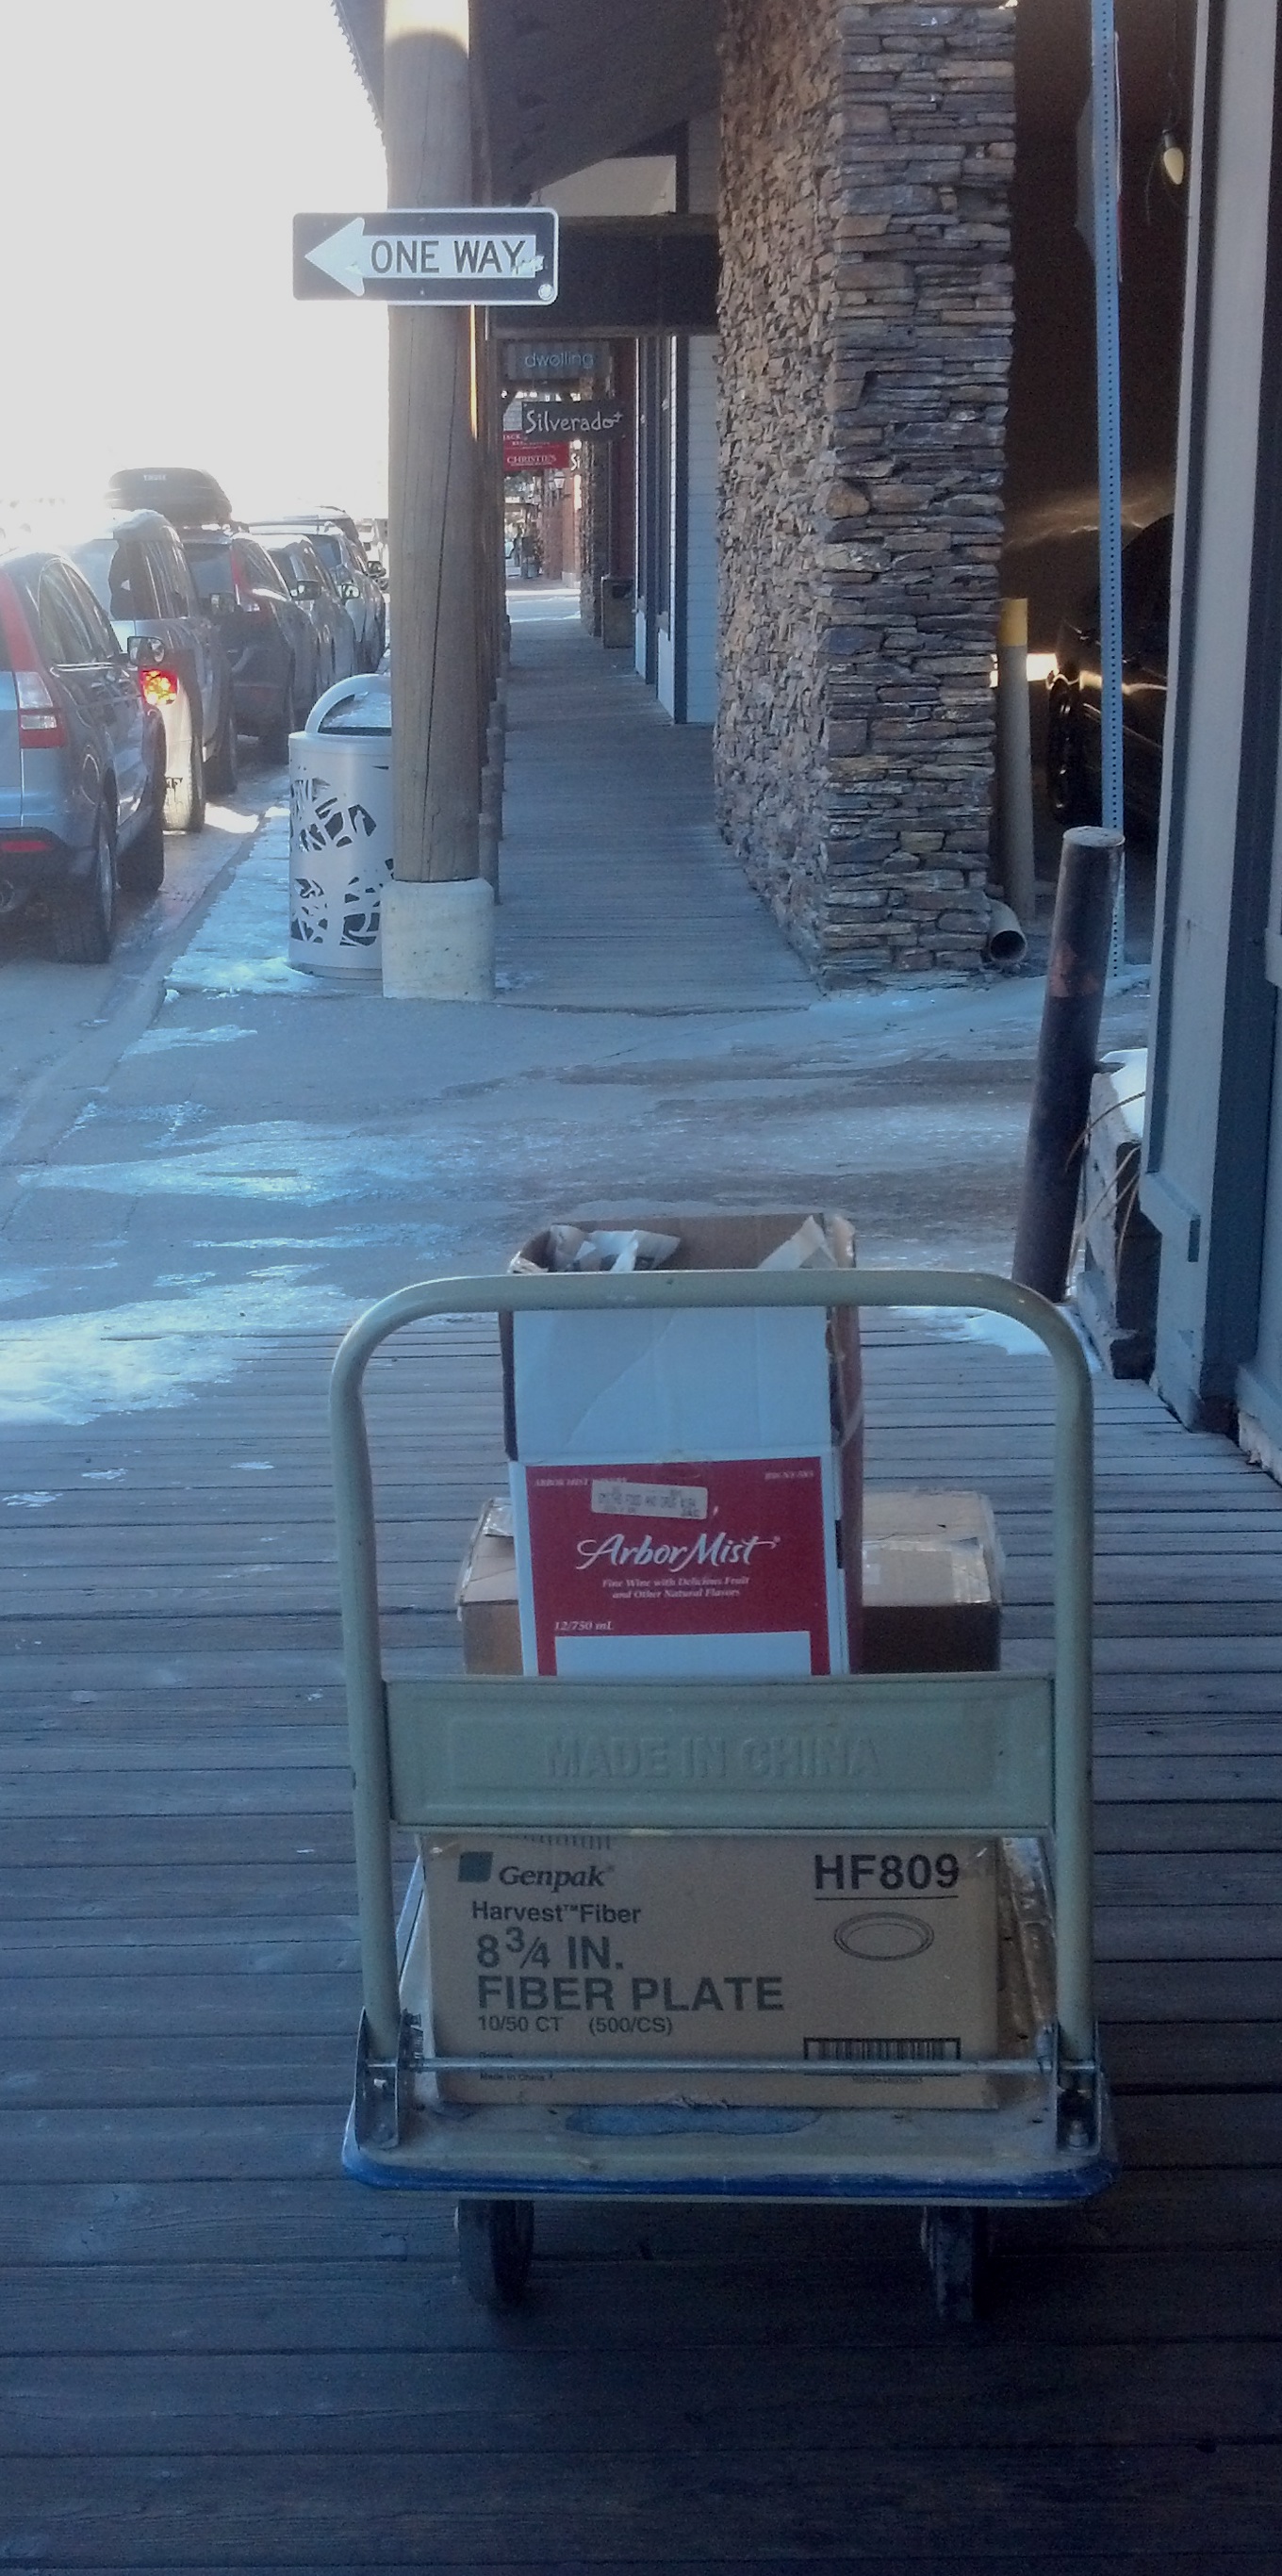
We had our first ever open studio and pottery sale this weekend, it was a good start for events to come! Plus we got help with the final lift of the new kiln and a few suggestions on future bathroom colors…

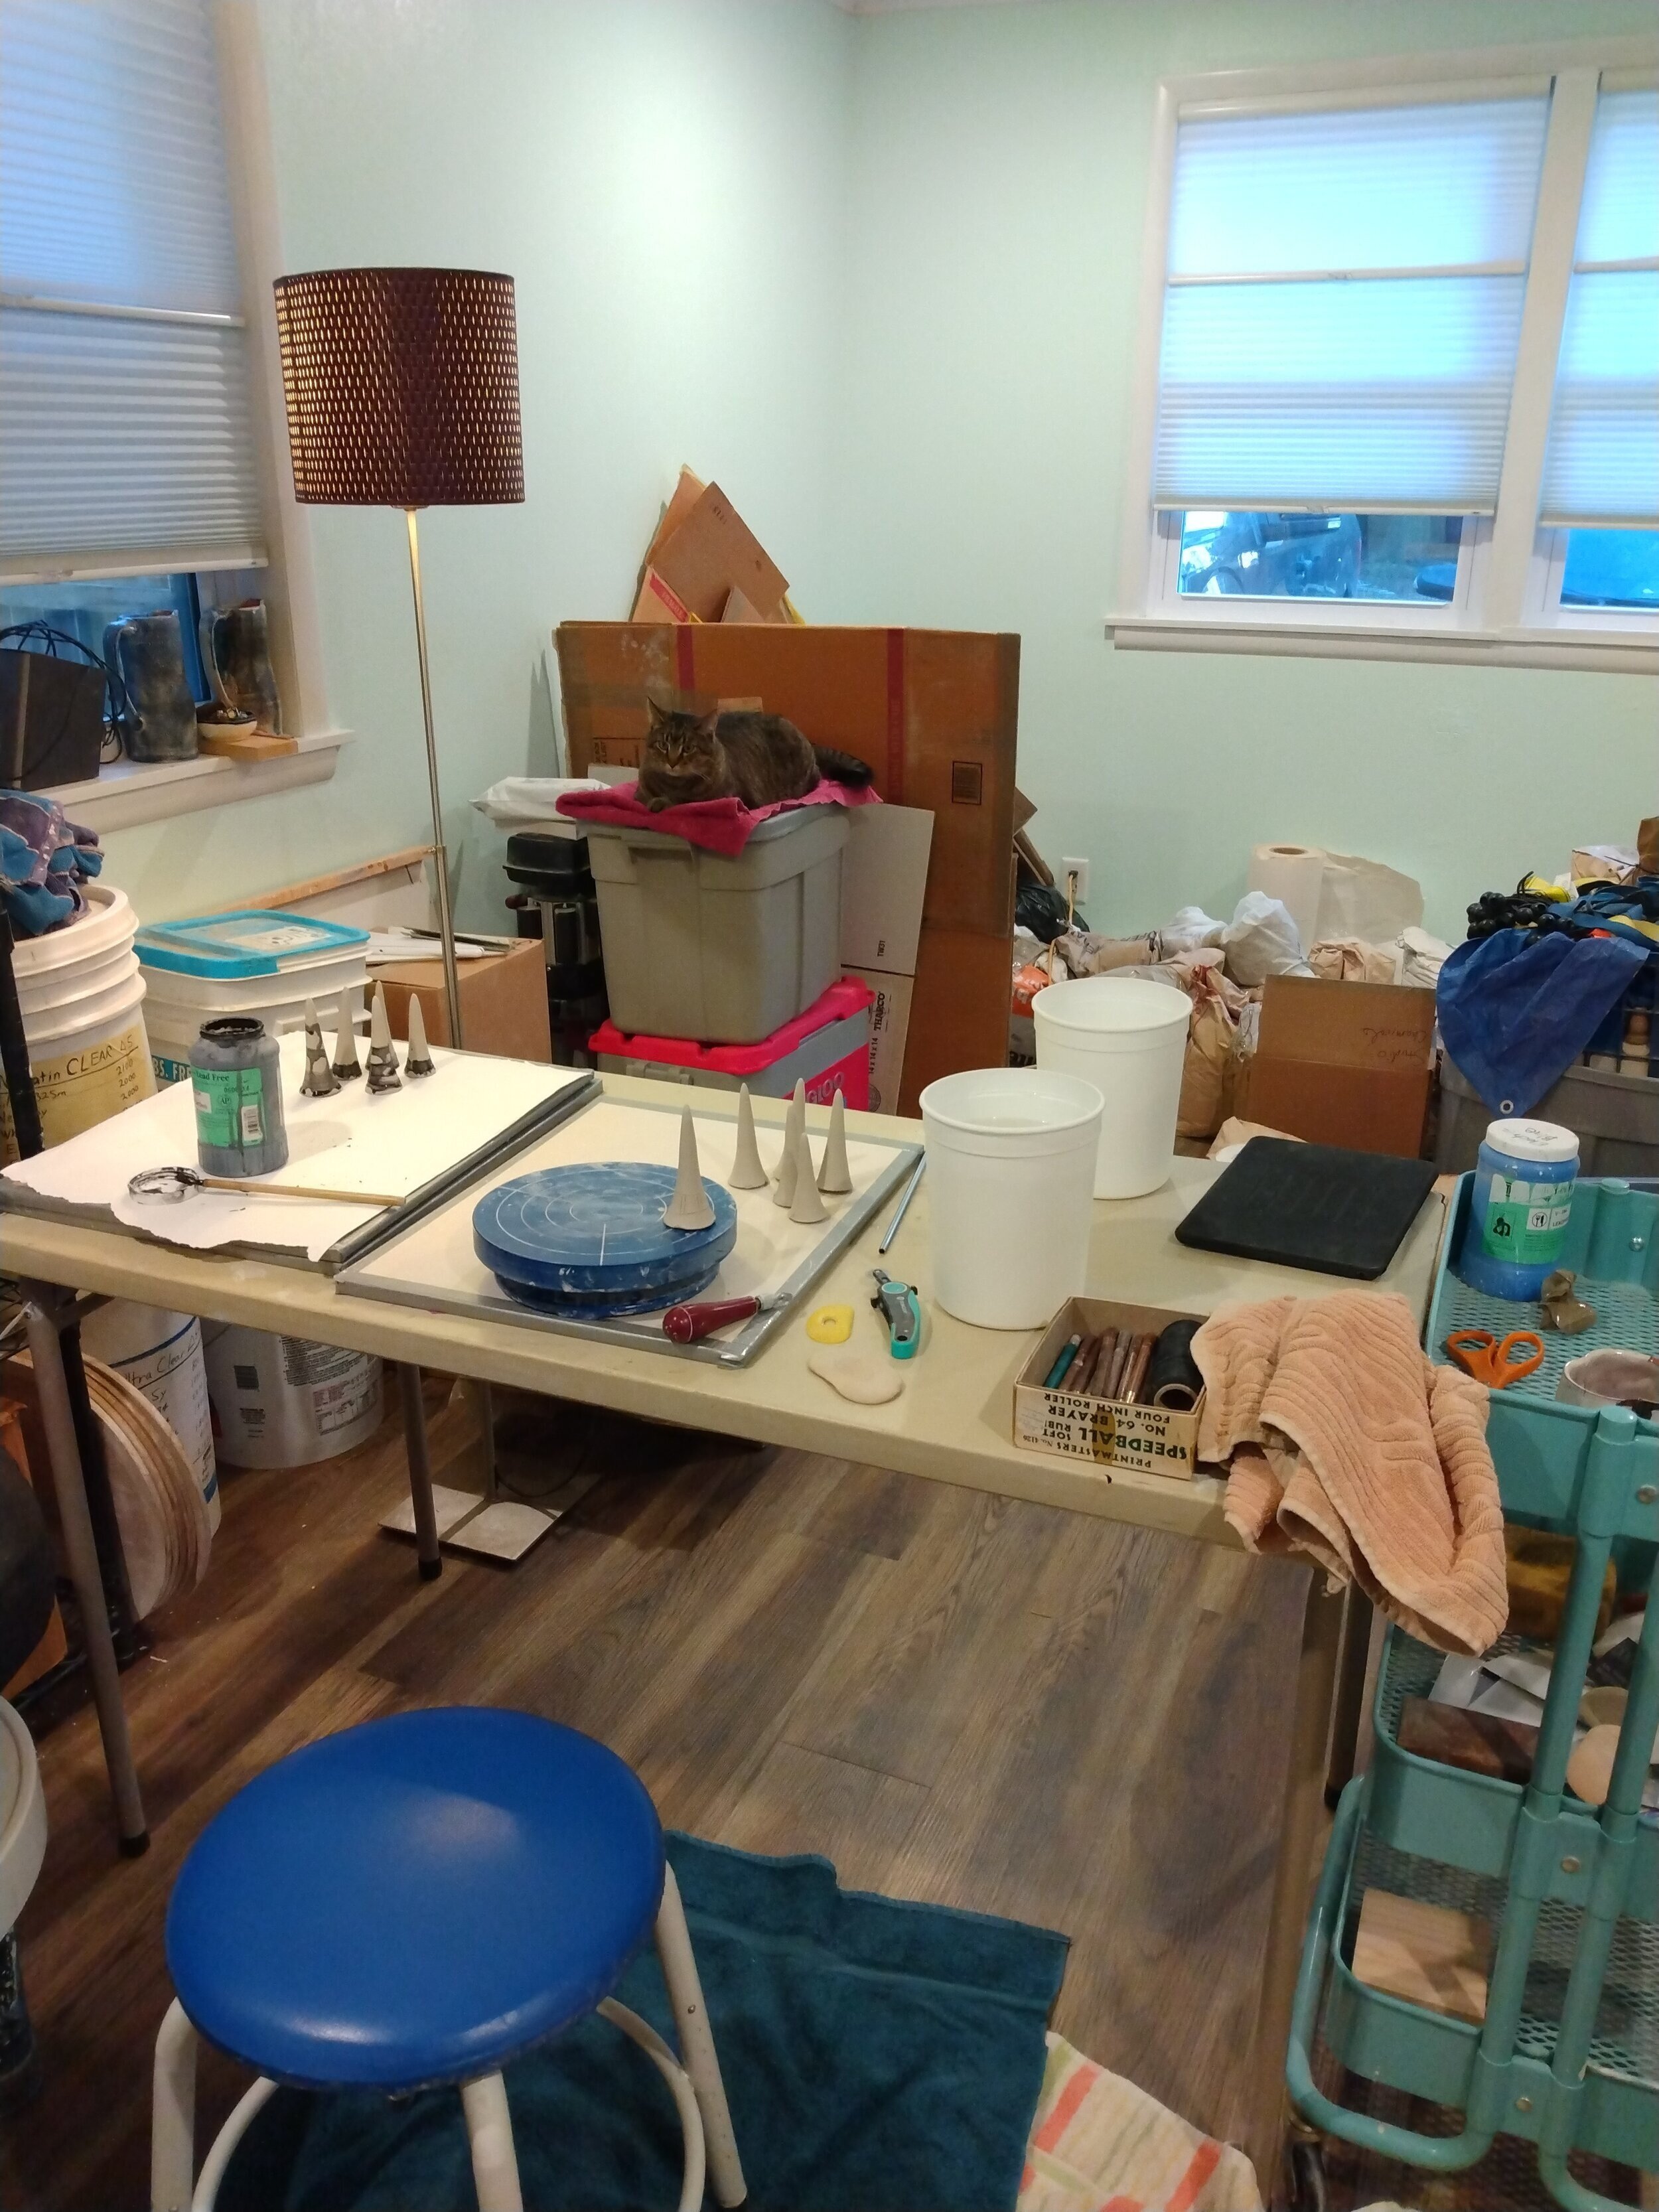
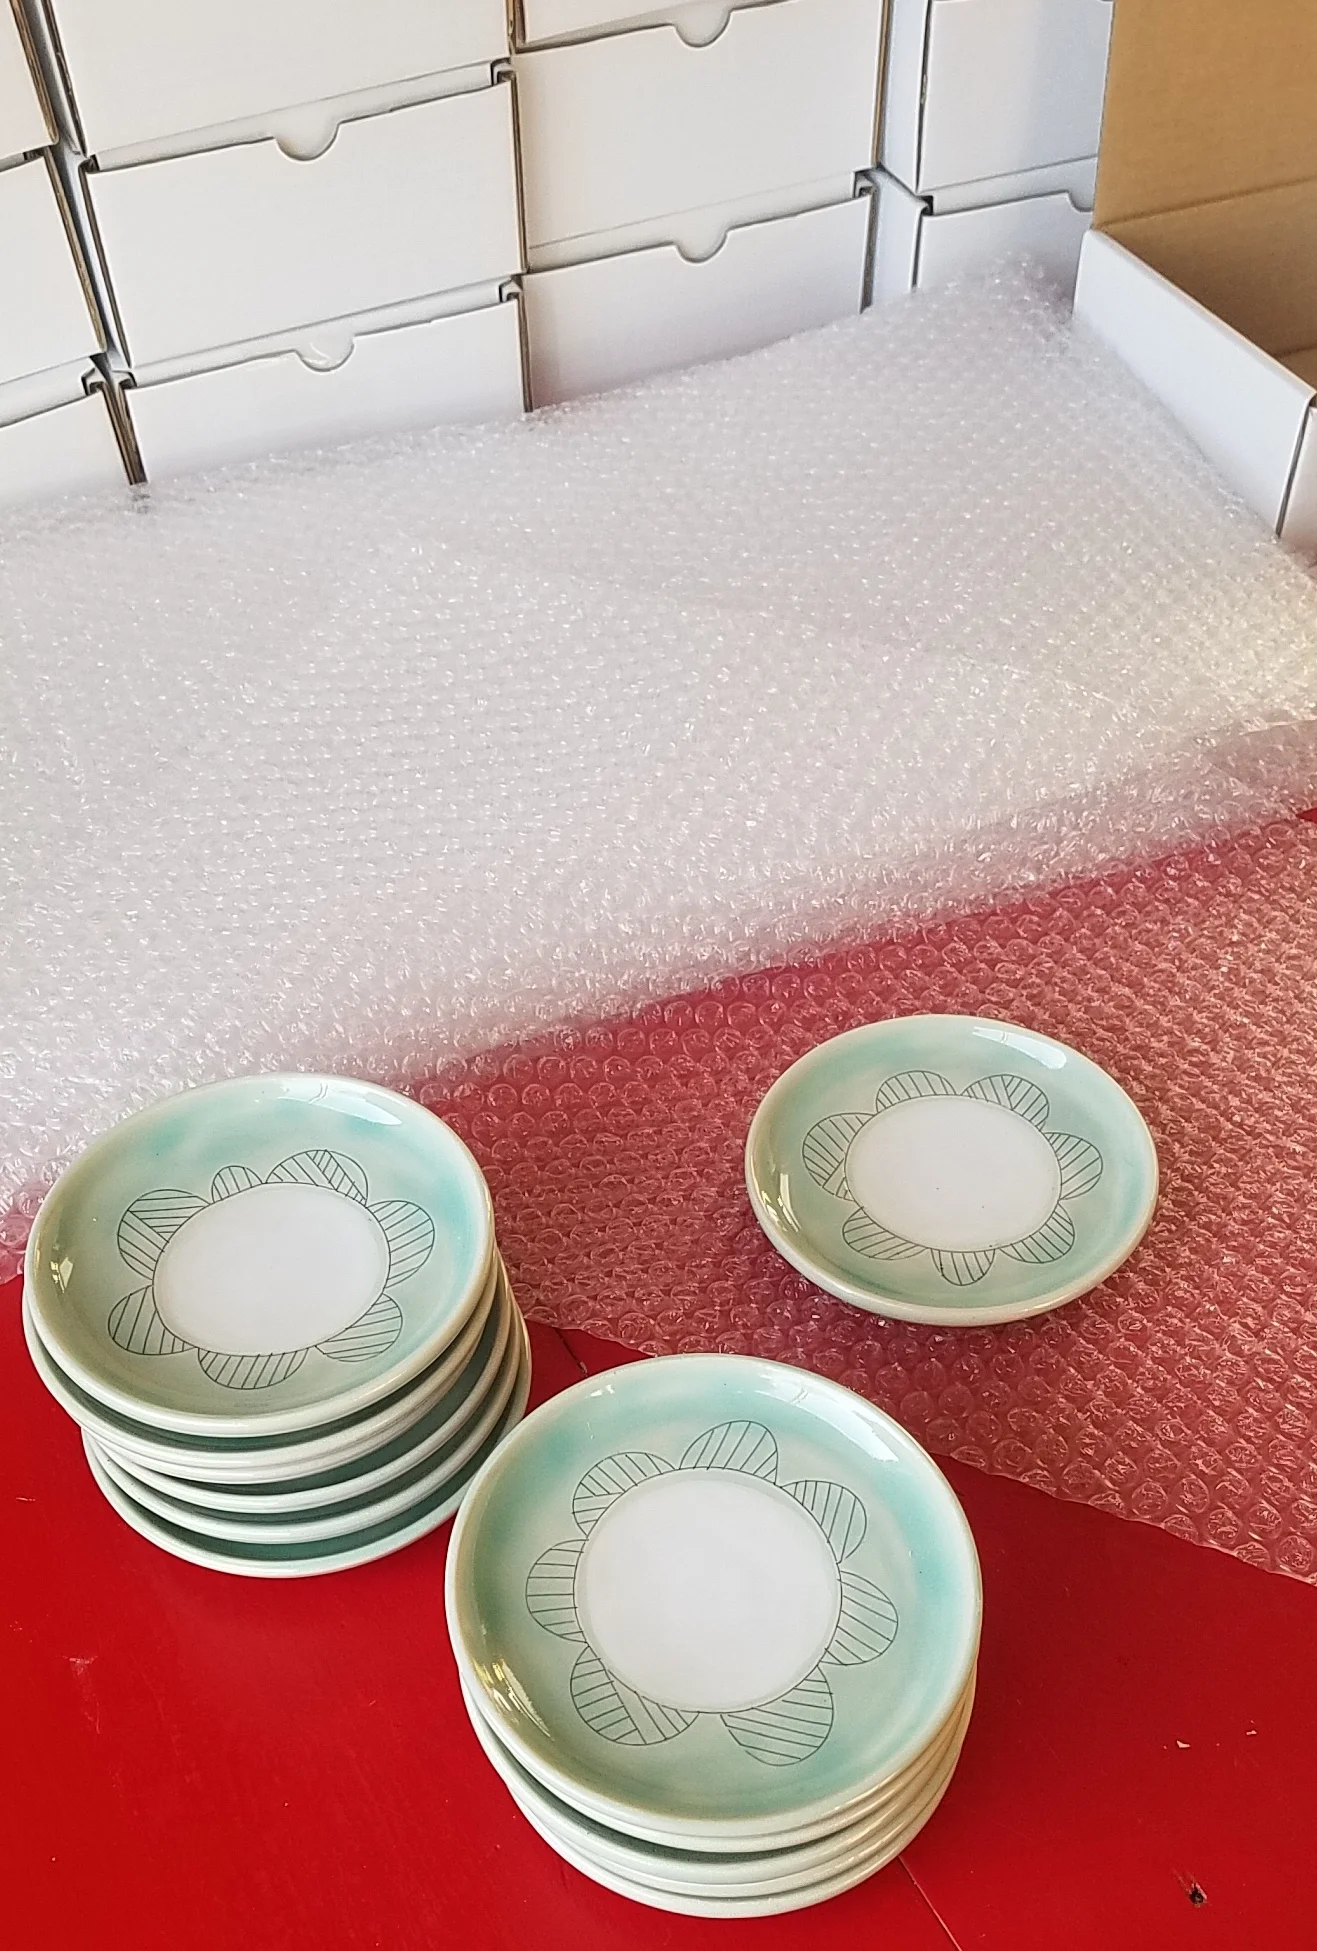
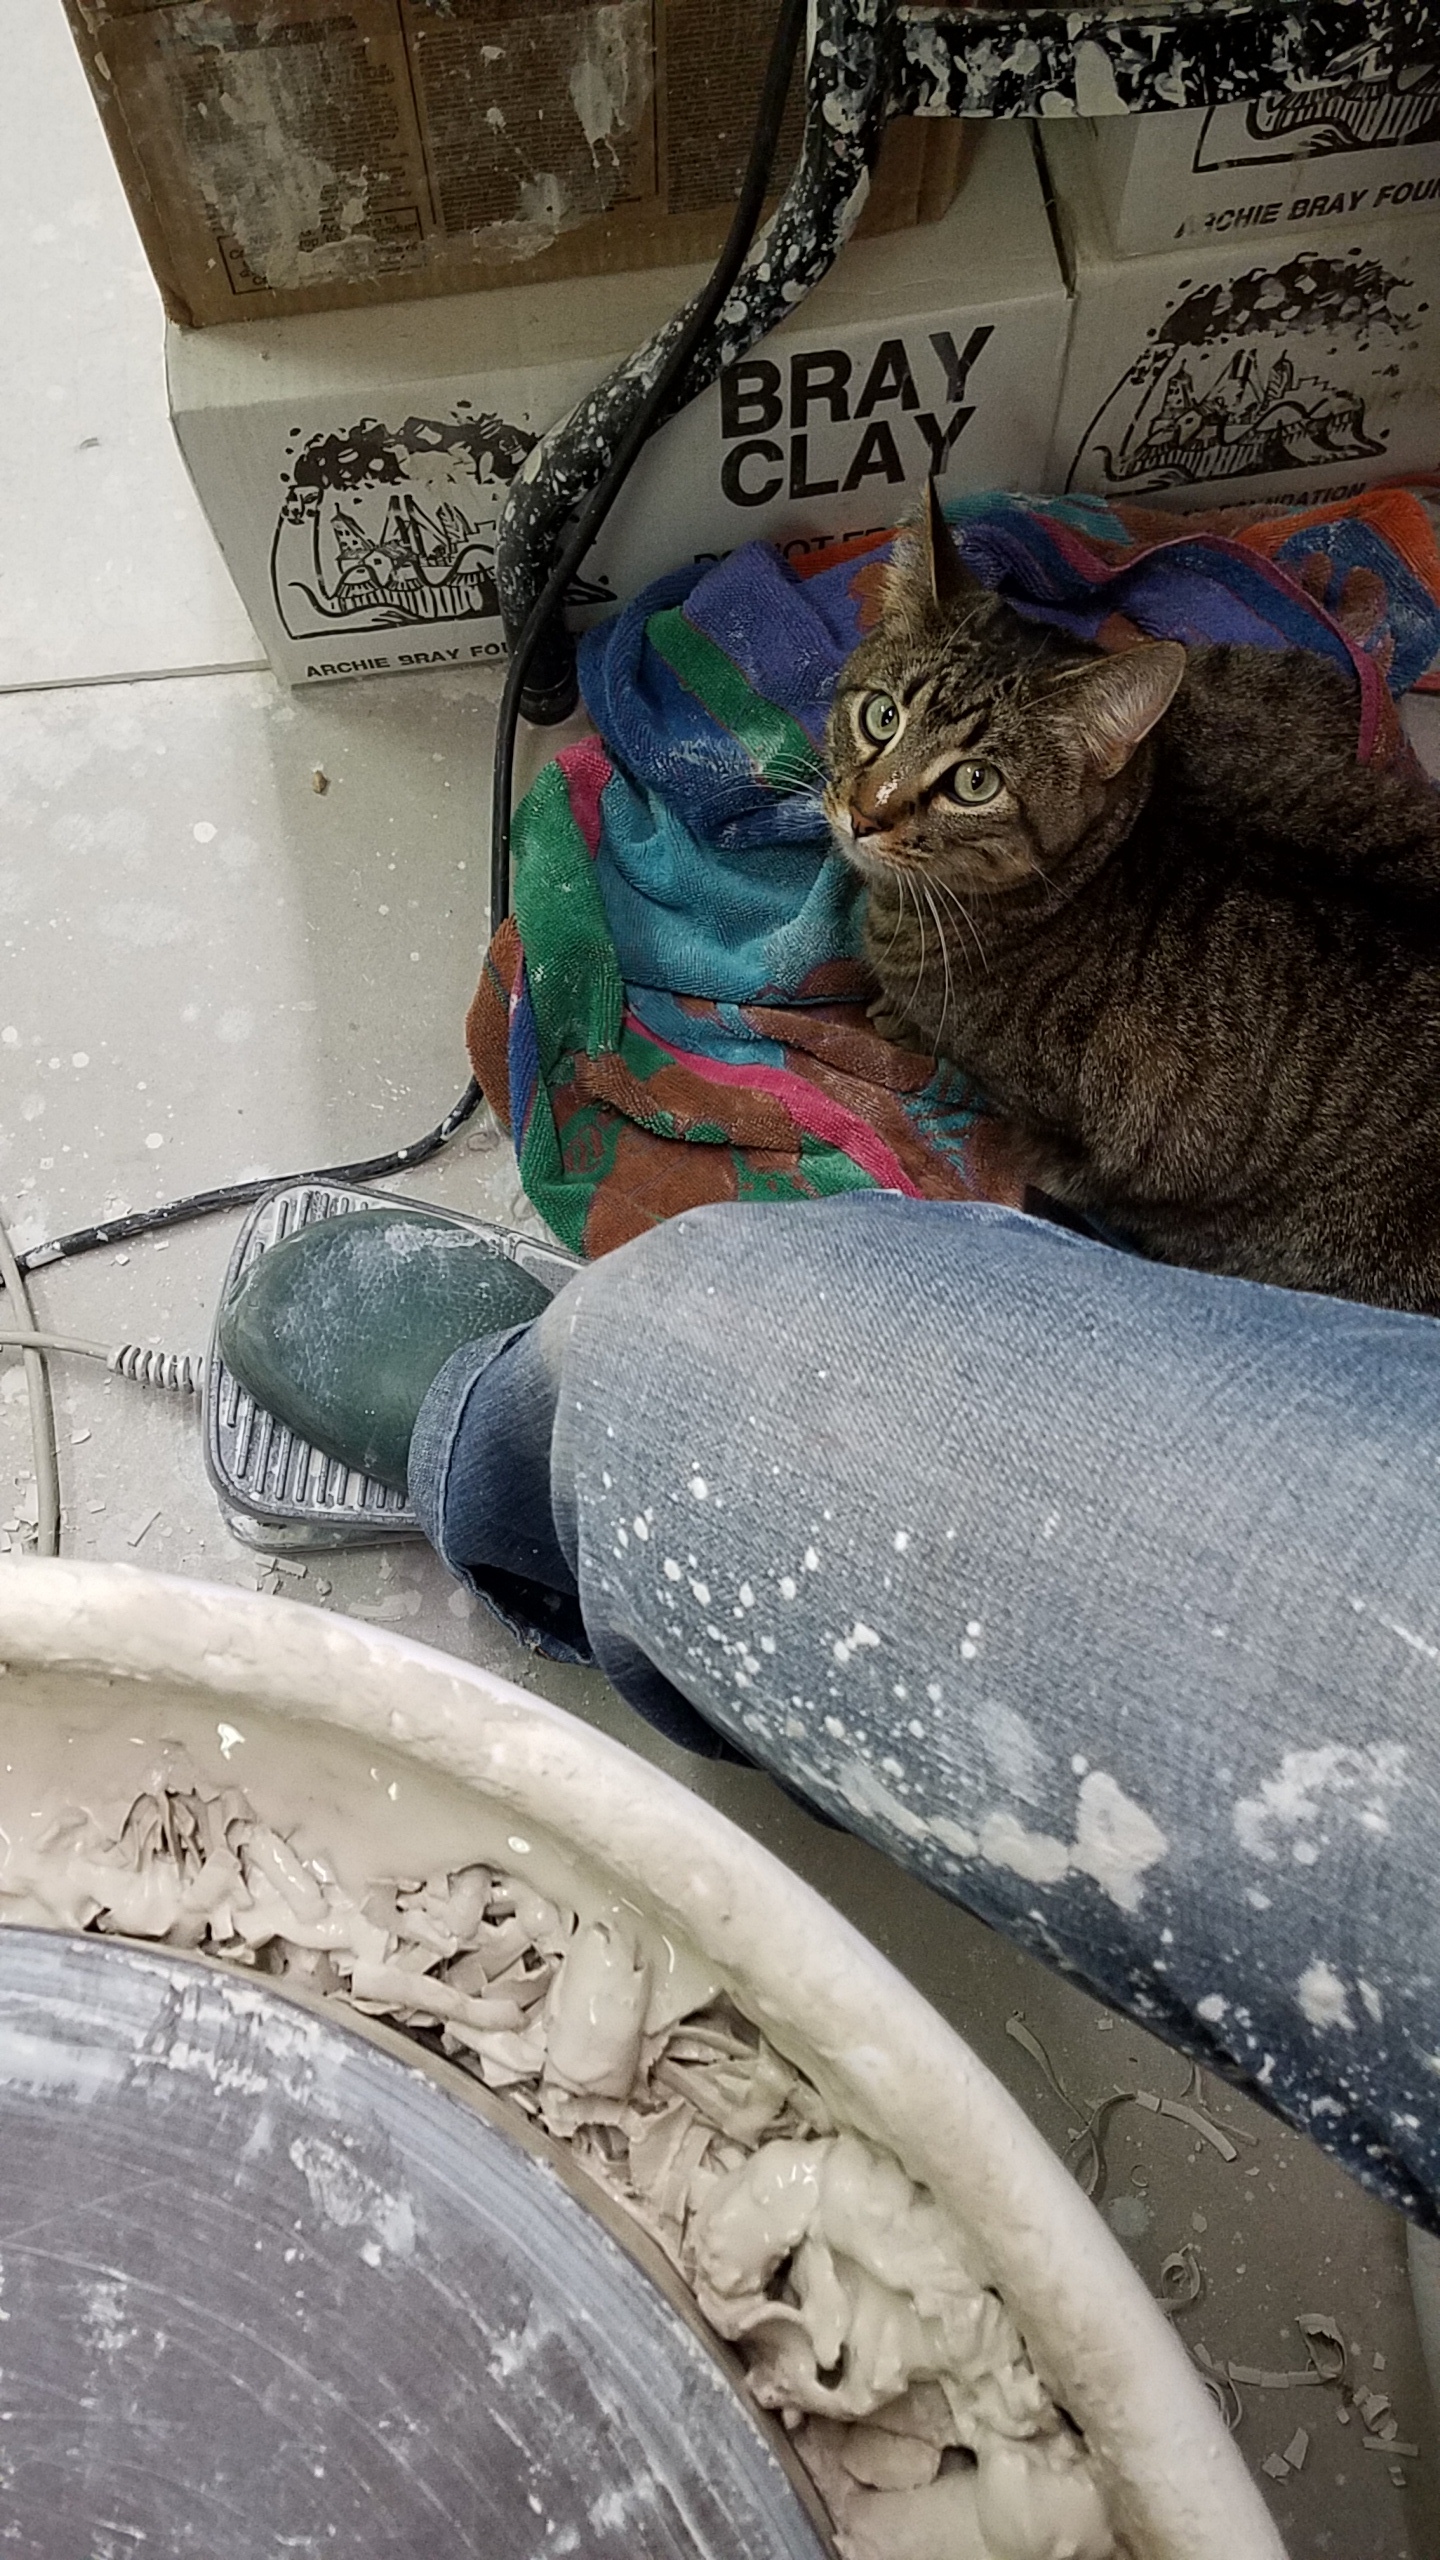
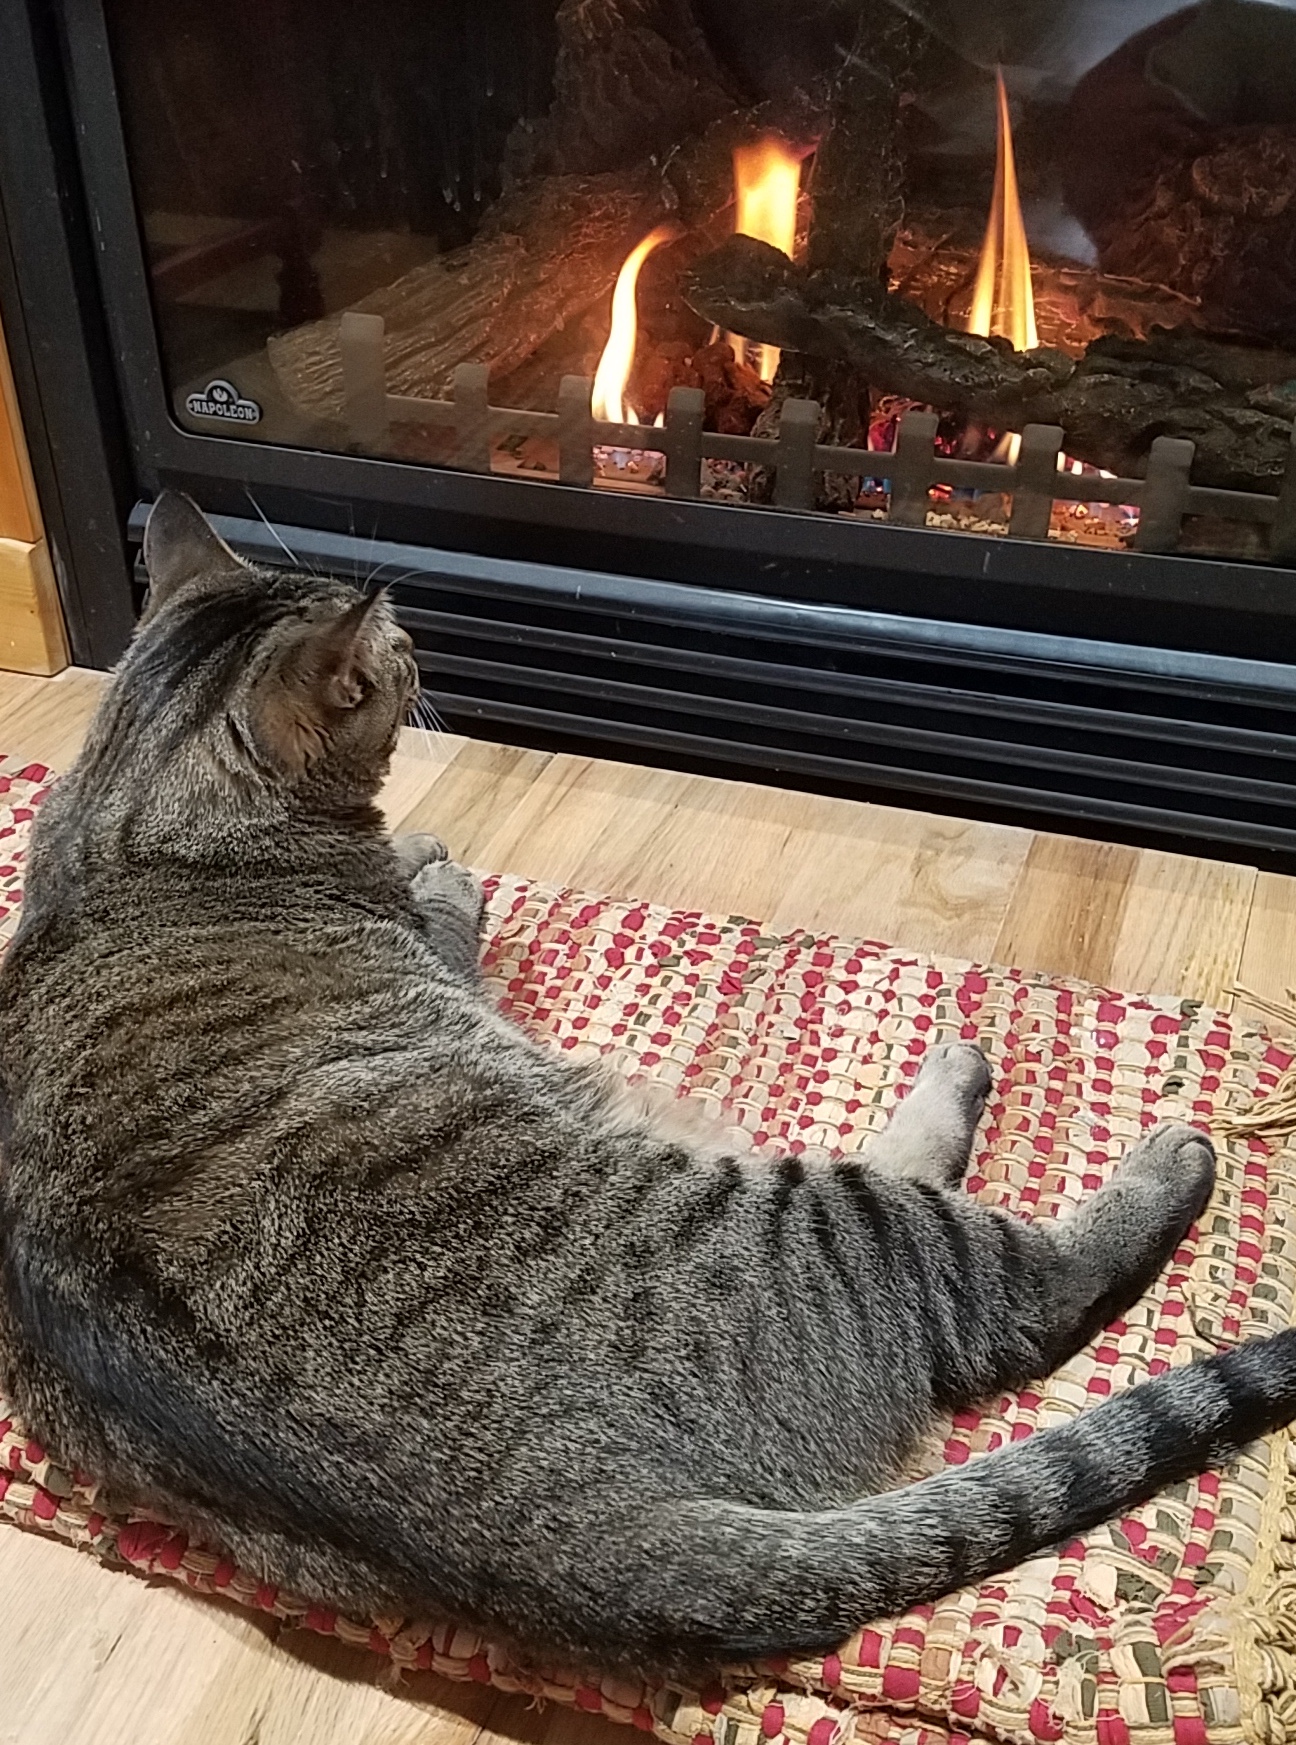
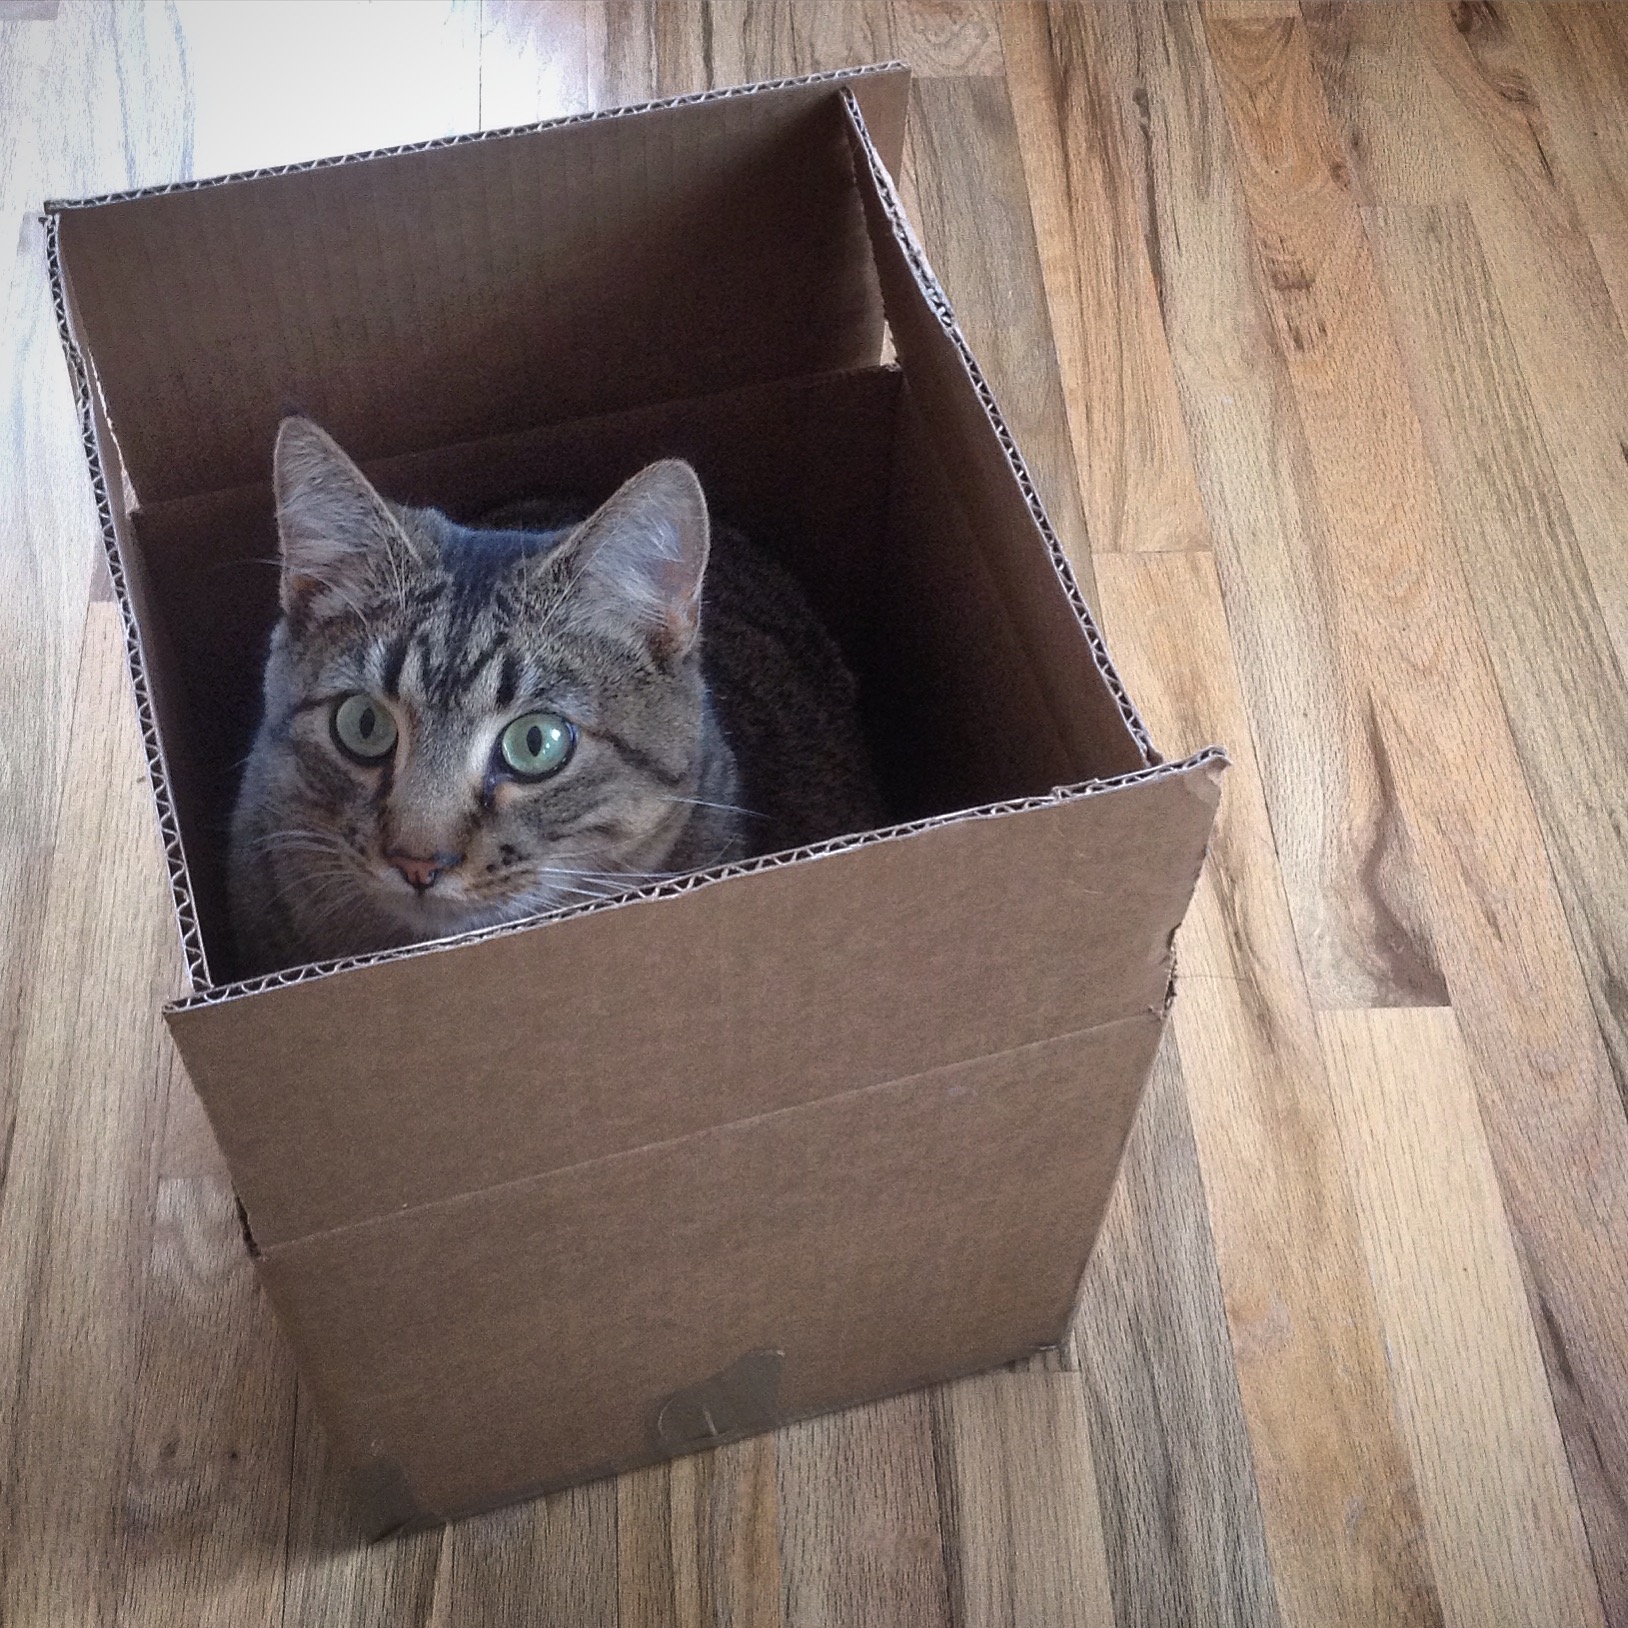
Not to be left out, Studio Cat Merlin is hard at work overseeing the Shipping Department (located in the house.) We will be introducing Merlin back to his job in the studio very soon, we just need to finish building things and make sure he has some comfy perches he can observe from. He’s resting up in preparation.

Finishing Touches

Jenny Dowd

It’s been awhile since the last update, it’s been an overwhelming few months. Things seem to be smoothing out and suddenly the studio is making sense.

The electric is finished, no water yet, but it’ll happen. We added insulation to the walls and sure, we still need to finish the walls but it just feels crazy not to make pots and work in our new space. The projects (studio, house, yard, pottery orders) keep piling up, so the strategy has been to work on a little of each at a time.

And oh it feels so very good to enjoy a cup of coffee in the morning in the studio!

One thing we did a little too early was move our small kiln over to the kiln patio. It was fine, it was great to run a load of bisque and feel like we are starting to get something accomplished again. But it rained that night and without any weather proofing we knew the kiln was likely to get very wet. Right before the rain started we scrambled and put together this make-shift guard, which totally worked but wasn’t really the plan.

So here’s the real solution - a greenhouse plastic sheeting. Sam built a frame and we attached the sheets, then moved the other kiln over. I’m sure we will need to tweak things a bit after the next rain, but everything feels much more protected for now.

Notice there is a ton of room in this kiln patio / greenhouse? Well, we’ve got another electric kiln on the way and plans to build a gas kiln in this area too. Plus storage for shelves, kiln furniture, a grinding wheel… pretty soon this won’t seem like much space!

Studio Build

Jenny Dowd

It happened! This open side-lot was the feature that made our house that much more appealing, we could easily imagine our very own pottery studio in this spot. The short commute from home to studio is a dream come true.

This is the before and after photo, scroll down for a full slideshow of the build, and more of the story…

If you’ve followed us for awhile you know we began building our pottery business in Alpine, WY. Dowd House Studios became an official LLC in 2011 and I left my day job in 2012 to work as a full-time potter. After 15 years at the Art Association of Jackson Hole Sam was ready to join me in the studio.

We’d always talked about “someday when we have our own studio” (technically we had a little studio in our 1-car garage in Alpine, but I outgrew it pretty quick.) We realized that “someday” needed to be now and made the tough decision to relocate ourselves and our business.

After moving into our new home in NW Arkansas last summer we started the process of building the studio (this is actually a long and winding story, so I’ll cut to the good stuff.) We worked with Ozark Metal Buildings, a local business that specializes in custom metal buildings. It was November before we arrived at the point of figuring out what we wanted and putting everything on paper, I’m pretty sure we were telling ourselves it would be at least a year before we had a building.

Having lived in the mountains for so many years with very short summers and building seasons we were amazed to see things start as early as the end of January. With supply shortages in mind, Ozark Metal Buildings waited until they had all the materials before they started, so once it started the build went quick!

In this case, photos are much better than words, so check it all out…

Now an even more exciting part starts…. figuring out where everything will go in the studio. The electric and plumbing work will happen soon and we will start moving everything in (we’ve been living with our studio materials and equipment in the house.) Plus building shelves and tables… so much work, but so very exciting.

Follow us on Facebook to see more as we progress with these next steps!

New Studios

Jenny Dowd

We knew we would be taking on a huge project with this plan of moving to a new state and building a studio. The thought of both being full time potters and artists has kept our spirits high though!

While each day feels as though not much has been accomplished, that’s not really the case. We started a big huge list / flow chart of what needs to be done, adding to it as we go. The visual helps - it helps to see tasks added - small and large - and to check them off. Tree removal, marking property lines, building design, business license… it’s a start!

While we work though the realities of building, and projects around the house, Sam and I have started using studio space in Fayetteville at the Community Creative Center. I’ve been making work for Workshop in Jackson, it does feel a bit strange to make mugs that say “Jackson Hole” when I’m nowhere near Jackson… but I do love making these mugs and I am happy to be part of stores that I absolutely love (and miss shopping in!) More on what Sam has been making later!

But what about Studio Cat Merlin? He still has a job, we have a room in the house that we are using for studio storage and sometimes do a little work in there too. He keeps a close eye on decorating (in this case - ring cones) and also oversees the packing of online orders.

A New Flower Stand

Jenny Dowd

My flower stand has a new home with a yard full of flowers!

The flower stand has had many evolutions since its first appearance at a Tiny Art Show in 2016. Now I’m happy to announce that it lives in Market, a shop inside of Vertical Harvest in Jackson.

I picked a few icy cold blue flowers and made a little yard with a white picket fence to grow extra flowers.

There are lots of tiny vases available and visitors can make their own bouquets or just select a few blooms.

This is a great gift for those of us who are not so great at keeping house plants alive (or out of the mouths of our pets.) And a nice way to brighten these snowy days!

Flower: Factory & Cart

Jenny Dowd

I am working on a mound of pottery orders… but first, flowery public art events!

Last week I was invited to participate in a Town Square Takeover. This artist space was created by Wildly Creative Jackson Hole and the Center for the Arts. 6 artists showcased what they do during 3 afternoon takeovers on the Jackson Town Square. Read all about it here.

My takeover was on Friday September 6th and I invited people to participate in a Flower Factory.

I made lots of signs out of cardboard, and collected some safety equipment, since safety is a big concern in the Flower Factory.

7 stations explained how to make a crepe paper flower - the type of flower the factory was producing on that particular day. Many participants came by and safely made flowers, I’m happy to say there were no incidents of lost time and flowers were produced and distributed to nearby people.

Another type of flower factory is currently in the works - I am participating in PARKing Day on September 20th. For this event, artists and designers are invited to take over a parking space in Jackson (and all over the country!) from 10am - 6pm.

I am creating a flower cart that will be parked in my space where flowers and bundles of flowers will be distributed (free!) to all who would like them. So, to get ready for this event, I am making a flower cart out of cardboard. This project is currently taking over the clay studio… and Merlin is not a happy studio cat.

The start was pretty simple, then the wheels and handles got a bit tricky…

Each wheel does spin on an axle, but I just couldn’t figure out how to make this happen from the start in my small space. So each wheel is fitted on a short tube that allows it to spin and also provides a place to attach. To connect the wheel, I made a thick triangular shaped piece that the tube could fit through and is also connected to the base of the cart. Once the triangular shape was connected, the wheels spun but needed a little more support. A longer tube / axle was used to connect the wheels. Now the cart can move on the wheels… but I doubt it would hold up for much of a journey!

The handles also posed a small challenge. I didn’t want them to be flimsy and also wanted to avoid getting things hung up on them before the event. Deciding to make them somewhat detachable, shorter inserts were attached to the cart, allowing longer handles to slide over. It’s not a big difference, but it does take up a tiny bit less room in my space and offers more strength to the handle. This should make transporting the cart a little easier next week.

Tons of measuring yet still rather wonky. The inside is fitted with pieces of styrofoam that will hold the flowers. So hopefully the rest is the fun part… signs, an awning, and lots and lots of tiny flowers…

Visit me on September 20th, 10am - 6pm in front of Hand Fire Pizza on Cache Street in Jackson. And I’ll publish an update next weekend showing how the cart got finished!

Clouds & Cupcakes: Part 1

Jenny Dowd

Clouds & Cupcakes has been in the works for over a year - and as usual, most of the physical work has happened in the past few months. I’m always happy to have a show deadline on the calendar, it seems so far off with endless possibilities. Even though the final few months is always a scramble - it’s actually a carefully controlled chaos of a scramble because there has been so much time to think, and plan, and test, and dream.

Clouds & Cupcakes will open at Mystery Print Gallery & Frame in Pinedale on September 5 and will be on display until November 1. If you are in the area stop by for the opening reception from 5 - 7, with an artist talk at 6.

This is a show I’ve been turning over in the back of my head for close to 2 years and initially invited painter Shannon Troxler to tackle the space with me. The title didn’t emerge until this past very snowy cold January, and came from a specific feeling that I’ve found difficult to put into a few words. We started talking about this dreamy idea of clouds & cakes and that led to inviting poets Matt Daly and Connie Wieneke to join.

Today we are installing the show and I can’t wait to see all the work come together. I’ll publish the second half of this entry next Saturday with all the work in the gallery space. For now here is more on my process and how the show idea evolved…

I had an idea for prints, but something happened before I could even start them. While teaching a monotype class in the early spring I accidentally got a drop of white ink on my brayer that was already rolled up with blue ink. I proceeded with my demo - thinking this would be a good example of why you should keep a clean station - and ended up so excited and completely drawn down a tunnel of mark making. The small prints ended up with a lot of depth and wispy cloud-like forms. They were interesting on their own but also called for something more sculptural.

I like the idea of adding an element that can cast a shadow or move in a breeze, so after making a bunch of little porcelain clouds, I pinned them to the prints or hung them in the shadowbox frames.

While everything else was swirling around in my head, the prints anchored my thoughts for the show. Shannon and I met at Persephone Bakery one morning for sweet treats and brainstorming - which led to a desire to make the gallery window into a sweet shop.

Very flexible and thin porcelain paperclay was ideal for making fortune cookies. The paper here was just to help hold a side open during the firing. They fired an icy white and make a satisfying crunch when broken. Which, yes, you might just have to break the cookie to get to the fortune inside - each unique fortune written by Matt Daly.

My studio turned into a bakery as I made layer cakes that I could only dream of in a real kitchen. Each decorated with cloudy patterns and and perched atop handmade cardboard stands.

Another element came into place slowly over the summer while out walking. I started really noticing cloud shapes and tried to remember them.

You didn’t see that?

Oh. Well, since you missed it

I drew a photo

Stay tuned next week to see how the show comes together, I can’t wait to share the work created by the other artists!

What follows is my inspiration for this show and how the title came about…

Each year in the deepest moment of winter the same thing happens. Looking around, I think that I can’t stand one more day of the winter landscape. Too much white, too much snow, too much work and planning to get around. Within a few days this feverish feeling breaks. Suddenly the landscape is surreal; the clouds have combined forces with the snowy ground and I’m no longer sure where one begins and the other ends.

Indescribable shapes plus impossible shadows swirled with soft colors leave me unsure of what is concealed… and I’m reminded of frosty icing and the delicate sweetness of cake. Is the ground a cake and the sky frosting? Is it actually the other way around?

Conversely, in the middle of summer, the memory of winter is entirely out of place. The lush green plants growing as fast as possible in the short summer months, the river near my house that I ski over in the winter and paddleboard on in the summer - it’s just too much for me to comprehend. It’s odd, but somehow every summer I forget how high the snow piles and every winter I forget how green the land becomes.

Cupcakes & Clouds is an attempt to wrangle all those nebulous cloudy and wintery thoughts and memories into one space. Shannon Troxler, Matt Daly, and Connie Wieneke have joined me in describing the sweet cloudy mood of our skyscapes.

Making a puppet

Jenny Dowd

It can be difficult to share process photos and explain projects that are still mostly living in my head. However, I’m finding that this is a helpful part of my process, plus I’m excited to share this project.

Sam and I are currently working on a huge project - we are making a pole puppet! In June we had the opportunity to work with Eric and Ines Bass from Sandglass Theater in a collaboration with Dancers’ Workshop. This project will culminate with a parade and performance on August 16. (Stay tuned!) Our puppet is 1 of 5 beasts, each based on one of the Chinese Five Elements: Earth, Water, Metal, Wood, Fire. Our beast is Metal, and is loosely based on an armadillo.

The Chinese Five Elements contain a lot of interesting layers; Metal also refers to the emotion: sadness, color: white, and flavor: pungent.

We spent 4 days working on the body structure, the tail and head will be added later.

The base of the creature was made out of cardboard, with the double layers helping to keep the reed armature in place. After shaping the vertical hoops, I attached the horizontal reeds with tightly tied bike tubes. I really wanted the puppet body to articulate in two directions - up and down and side to side. However, after attaching a fabric hinge and trying to move the creature, I discovered that it was too bulky to have that much movement. Up and down was more important, so the hinges were remade to easily shift the mass up and down - as seen in the bottom right image.

Poles were installed under the base - they are fitted to the backpack worn by the puppeteer. A pole was inserted into the front half so the body will articulate up and down. Both me and Sam tried on the backpack to make these adjustments.

So, now that the structure is nearly complete, it’s time for the details! Although, these are still complicated and require a bit of engineering and careful thought. This is just the body of the puppet - the head and tail are still seperate at this point and will each have their own pole and puppeteer. Our beast will be operated by 3 people!

I’ve started covering the armature with fabric, including the soft underbelly of the beast, in silver and metallic blue. Next, the scaly armor will be attached, plus a neck, head, and tail.

Remember that the Chinese element Metal also includes the color white? My plan is for the colors to fade from deep metallic blue on the inside to silver and white as they progress from the body.

A few of the details here - Sam is gluing nostrils onto the head and I’ve started sewing the tip of the tail. I think we are over halfway finished, but there is still lots to be done.

Stay tuned for more updates and information on the performance and parade on August 16th in Jackson!

Made for MADE

Jenny Dowd

Mugs, Mugs, Mugs! And one tuckered out studio cat…. because it’s tough work overseeing this kind of action.

So, what’s going on?

For the past few months I’ve been testing mugs for MADE in Jackson. This shop features handmade, unique goods from all over the country. The difficult part of the task: create a design to be produced exclusively for this shop, make it unique from the mugs I make for other shops in the area. Oh, and something I would not get sick of making.

To keep things simple, each mug has an outline of the Tetons - a striking landmark from this area. Each are filled with a variety of patterns, each a little similar yet different. This mug shape is also one that I have not made in awhile. My hope is that it will appeal to both men and women, making for a useful and perhaps, favorite gift.

Carving into the wet clay means that I’m left with a deep texture of the mountains and patterns. There are 2 versions of this mug, creamy ivory and black. For the black design the glaze is applied to the carved lines and wiped off - image on the above left. Then the mountains are coated with wax so that the color is protected when the whole mug gets dipped in the white glaze. (It looks totally different before firing!)

The wax burns off leaving the black glaze inlaid into the surface… here is a photo from a peek into the still hot kiln. And the black glaze is inlaid in the same way (minus the wax) on the bottom - to show off the “Made in Jackson Hole” stamp.

Finished mugs! The glazes, once wiped away around the mountains, leave a little halo of color. Something else that makes each one unique.

Find these mugs in Jackson at MADE or in their online shop!

A Kiln Full of New

Jenny Dowd

In between orders and catching up on inventory for local shops, I’ve been dreaming up some new designs. It seems I’ve been a fan of black and white for a long time, and while I’m still a fan, it’s time for a little color.

This kiln load is just the start, I’ll be adding new forms soon. For now I’m continuing with a star catching theme with little cups. The prototype plates and bowls have potential. The kiln shelf cracked during this firing and I was lucky it didn’t cause any damage. It’s a bummer to lose a shelf, but I don’t feel the loss quite as much right now since this was such a happy load!

Most of this work features drawings with underglaze pencil, I like how the line fuzzes in the firing. The plate and bowl have more crisp lines- from an inlay technique. I’m excited to play with these processes and combine them.

Also some new extra-cute tooth fairy bowls! I asked my dentist about this once, after a thoughtful look she said that they would “reduce bedside fumbling.”

I’m looking forward to the next batch, it’s nice to have something new and to finally see it happening!

Market Update

Jenny Dowd

Last week I showed a bit of the process behind the pottery I’m making exclusively for Market. I opened the kiln on Monday to find that for once, everything in the kiln looked great! (See last week’s post here)

Garden themed pots: Swiss chard cups, cherry tomato salad bowls, plus a salt cellar and garlic keeper.

Before this load could be fired, I had to solve another problem. The shelves were in serious need of care, the bottoms of the pots had been sticking - leaving behind tiny shards of fired clay. Not only is it annoying to constantly clean the kiln shelves, but it meant that a lot of my pots had bits of clay missing from the feet and it just looked bad.

Fixing this means another step, but one that is worth it. I’m now coating the foot of each pot with a mixture of brushable wax and alumina. This ensures that nothing will stick to the kiln shelf and the foot of each pot will look how it should! I also scraped each shelf, and coated it with fresh kiln wash - which dried out in front of the space heater with a little help from Merlin’s studio water dish.

I’m also making ornaments specifically for Market, with the Vertical Harvest logo on one side, and a ripe juicy tomato on the other. The logo is hand drawn onto the porcelain disk using an underglaze pencil. I found that I can go over the lines with a little water on a brush to make it look more painterly.

It’s a few months away, but now I can’t wait until I can grow Swiss Chard and cherry tomatoes in my own garden, right outside of my studio!

Catching Up

Jenny Dowd

So much is happening right now! Which is funny, since I have been feeling like I'm not doing anything interesting or worth talking about. I'm at the start of several new things, desperately behind on some others, and thinking about a huge change to my studio by adding a new clay / decoration / firing temperature. I think it's realistic to say that I've been overwhelmed. 

So what has been happening?

A few sculpture projects are in the works. More on these to come in the next weeks...

I've been teaching a lot of clay classes at the Art Association, both adult and youth. And making some funny things as examples... like this submarine flower pot (next up, garden gnomes!)

I just finished a project at the Kelly Elementary with the 2nd & 3rd grade class. For this project I worked with pARTners- an organization that bring local artists into the schools to help with special projects. The class was studying the Pacific Northwest, so I worked with the students to make their own totem poles. Each section tells a story, about the maker as well as family, past and present. 

I've been working on a new mug design for the General Store at Menors Ferry in Grand Teton National Park:

And... I'm a new vendor at Uncommon Goods! Visit my page and read the story here

I'm moving in a lot of directions right now and every day is different. It's good to take time to reflect, this is a nice reminder that I'm doing a lot of interesting things. (And even a better reminder to keep carving out time to sit and read!)


Soda Firing: Part 2

Jenny Dowd

Soda Firing: Part 1 was just the beginning! Here's the rest of the story behind this labor intensive work:

While Sam and I both have work in this kiln and use some of the same materials, our results are totally different. One thing we both like about this process is that sometimes the pieces come out of the soda kiln awesome and sometimes - Meh. It may be a lot of uncertainty, but it's worth it. This is what I am always telling my ceramics students - there is always another step, and almost always another chance.

Sam calls these "2nd chance pots."

After they come out of the kiln we draw onto the surface with underglaze. Sam doesn't know what the drawings will depict until he sees the pieces after the soda firing, then he reacts to the surface and glaze oddities.

I try to be loose with my designs, reacting to the atmospheric effects from the stains, though I have an idea of what will happen from the beginning. Sometimes there are strange glaze or surface flaws that I can work in (shooting star on right.) This is pretty loose for me, but my drawings are always tighter than Sam's crazy ideas.

Still not done! Now that the underglaze drawings are dry, it's time to re-fire the pieces. Remember how we had to add wadding to the base of the pots so they wouldn't stick to the kiln shelf? Well, that has to happen again. This keeps the pieces lifted up so the residual soda doesn't stick to the shelf when it remelts during the firing. I keep the bits of wadding so I can save time and resources by reusing them. 

Here are a few, still warm from the kiln! All the work, all the little steps... totally worth it. I'll be adding a new tiny cup with a star to my cabinet today.

Soda Firing: Part 1

Jenny Dowd

JDowd_Staining_1.jpg

I've been building up a lot of pottery over the past year to get ready for soda firing. This is a process that Sam and I both really like, however, it's a lot of work with a crazy amount of steps so we don't do it very often. This time it's been over a year since we've fired this kiln, and we've built up enough work for 3 kiln loads! 

I use porcelain for a smooth white canvas and to ensure bright crisp colors. I start out by layering stains onto the bisque-ware; cobalt oxide (blues) and iron sulfate (browns and golds). These stains end up washy and atmospheric, I have an idea of how they will look but there is a large unknown element which I really appreciate.

After staining, I glaze the inside of the pieces. The soda firing process makes an overall glaze- near the end of the firing, soda ash and water is injected into the kiln. This glaze flies around and makes the final look even more unpredictable, the surfaces end up beautiful and juicy, sometimes lightly textured. Because of this process, wadding must be added to the bottom of the pots so they don't stick to the kiln shelves. (Adding the wadding is aways the point at which I am reminded how much work is ahead.) The wadding lifts the pieces up like little feet and can be knocked off after the firing.

Sam is the one who does all the work firing the kiln, it's a long day but there's something energizing about a fiery kiln. The firing is about 14 hours and then the kiln cools for 2 - 3 days before we open it. 

I'm never super excited about the results after the firing, but I see a lot of potential. The atmospheric quality of the blue and brown stains is exciting, it's a great layer for the next step... stay tuned, they aren't finished!

The Studios

Jenny Dowd

It seems I've got a lot of projects going on.

To keep things somewhat orderly, I have been spliting my time between two studios. I work in the ceramics studio at the Art Association in Jackson to produce stoneware projects, and my home studio in Alpine for porcelain. (That way I don't have to worry about splattering the porcelain with brown stoneware... and I don't have to clean my home wheel as much.)

The studio at the Art Association is public, so I spread out when I can and condense when there are more people using the space.

The stoneware plates and bowls here are part of the dishes I have been producing for the White Buffalo Club in Jackson (more on that soon!) I use the wheels at the Art Association for these stoneware dishes and also fire the work in the gas kiln. Some of my porcelain work is also glazed and fired in Jackson. These black and white teapots & cups are available for sale at Healthy Being Juicery and the large salad bowls are used in their cafe.

On the days I'm not in Jackson, I'm in my home studio. Most of this work is fired in my electric kiln, and decorated with sgraffito or inlay techniques. (Home is also where I work on non-pottery projects: sculpture, drawing, and soon... a printmaking studio!)

At home I'm shadowed by Merlin, the studio cat / Dowd House Studios Quality Control Overseer. Merlin is not very helpful, but he does let me know when I've been working for too long / ignoring him. So when he starts staring at me or attacking my work I know it's time to take a break.

I feel a bit spread out, but this seems to work! Mid-week I get to switch gears and work on different projects while I consider problems I've left behind in the other studio. 

Archive Part 1: Blast from the past

Jenny Dowd

I finally (partially) completed a task I have been putting off for years. It resulted in an empty shelf in a closet. 

All of the artwork I produced and documented during my undergraduate years and first year of graduate school were captured on slides. The digital transition was slowly taking place and by the time I finished college I finally had a good enough / affordable digital camera. I happily said goodbye to the ordeal of slides!

I'm lucky that I only had 4 or so years of my artwork locked up in slide format, still I managed to lug an old slide projector, books and boxes of slides, plus their many many duplicates around the country while putting off sorting and digitizing them.

After dusting off the slide projector and mis-orienting some slides, I spent a few nostalgic afternoons remembering where I started in my ceramic and sculpture career.

This little slab box was the first time I fired clay pierced with metal, and it was my very first piece ever to be accepted into a juried exhibition, I think it was even purchased. Mostly I remember how nervous I was packing the box for shipping. 

There was a lot to relive in this trip down memory lane, including the time, energy, and money spent on this documentation: matching the lightbulbs with the correct tungsten film (film that lived in the produce drawer in my refrigerator) taking rolls of photos, waiting to have them developed, viewing the slides, throwing half of them away, returning to have duplicates made of the good images...

It was really fun to revisit all of this old work, though a little scary and sad when in the end I threw away heaps of slides. So much time and money. 

Final.jpg

I kept 2 small boxes that will be sent off this week to be digitized. The next part of this project will be to organize the images I'm keeping. Soon they will be included in an archive section of my website... stay tuned!

Time for Tea(pots)

Jenny Dowd

I can no longer deny that the weather in Western Wyoming has turned. While I'm sure there will still be plenty of warmish fall days, these cool cloudy mornings have found me and Merlin hanging out close to the fireplace.

Last year when a friend asked me to make her a teapot I started by asking myself why I hadn't been making teapots.

Teapots are complicated and highly specific forms. The tradition is strong, with a million beautiful little details. I enjoy these details yet felt that I should make the teapot that I would use.

I also felt a little ashamed that my favorite teapot is this cute little red commercial teapot. I love this teapot, it reminds me of my first apartment. I'm pretty sure that's when my mom let me pick it out at my favorite tea shop.

This little teapot is just that, simple and highly functional with a removable tea strainer perfect for loose teas. 

With all this in mind, I started making teapots with these characteristics; round and simple, easy to clean, cute. They do not have a strainer inside the spout or a mesh strainer that sits down inside of the lid, instead I use a tea ball infuser. 

I was really excited about designing the cups & saucers. Some inspiration came from using a teacup in a cafe that I felt was too big to hold with one hand.

These cups are small and fit easily in my hand. The saucers provide an interesting canvas for design, I have a lot of fun mixing and matching saucers with cups.

The cup and saucer patterns inspire decoration for the teapots. 

Mmmm... I feel warmer already!

IMG_20170811_150119_310.jpg

Details

Jenny Dowd

I spend a lot of time on details. 

When I started this series of black & white sgraffito ware, I found my tight forms with their even rims to be in conflict with my hand-drawn designs. Expression and imperfection are inherent to hand-drawn lines, I felt that this needed to be reflected in the pottery- even if I had to force it.

I use a wire to cut the rim of bowls and plates before removing them from the wheel. Once the piece is dry enough to handle yet still malleable I spend a lot of time smoothing the rims (and the whole piece) with my favorite finishing sponge

The cut rims are very similar, yet when the dishes are stacked the slightly undulating lines are more apparent.

As much as I like these cuts rims, I know it is risky. These piece are more susceptible to cracking and chipping. It's a risk I'm willing to take in order to gain the harmony found between an uneven rim and the hand-drawn images and patterns. 

Cups, mugs, pitchers, and vases are treated similarly- I allow the rim to be uneven as I am throwing the form on the wheel. Sometimes the rims are even, sometimes not, and the result is always very subtle.

Delivery

Jenny Dowd

So just how does my pottery get from the studio to a shop, restaurant or a home? It can be pretty handy working in a smallish town...

Sometimes I box everything up on a cart and take them across a few streets (pitchers on their way to the Wort Hotel.)

Last week two little teapots came out of the kiln so I walked them over to Healthy Being Juicery

It's not always that easy, usually a car is involved when I'm delivering several boxes or the sidewalks are covered in snow.

And of course, a lot of work is shipped. In that case packages are hand delivered safely to the USPS, FedEx or UPS drop off! (But only after Merlin has inspected the box.)

Process

Jenny Dowd

Sometimes I don't want to think about all the steps it takes to make and finish a piece of pottery. But this process is what I really love.

The past few weeks has found my studio exploding with work, although, nothing is finished. I've been working on 2 bodies of work simultaneously, both porcelain, with drastically different surfaces.

This is just a slice of the process behind what I've been working on:

One set is for a soda firing this weekend (plus a few more in the next month.) The work for the soda kiln is very heavy on process- after the bisque the insides of the pieces are glazed, the outsides stained, the bases wadded (so they don't stick to the kiln shelf.) And that's just the start. (Catch up on the whole process in this blog post from last August.)

Meanwhile, in my home studio, I've been working on another type of porcelain pottery.

This black and white series is a little more straight forward, though still time consuming. While the form is still a little damp, I apply a black underglaze, then scratch through the surface (sgraffito.) Sometimes a funny landscape appears before I finish the design- in the plate on the right the lines made hills and the clay curls turned into m-birds. (It didn't stay this way)

After the bisque firing I apply a clear glaze, which is not clear before it is fired in the kiln. Before the glaze totally dries the black design comes through the glaze just a little, like a shadow.

Whew! And that's only part of it!