contact us

Drop us a line!

Use the form on the right or email dowdhousestudios@gmail.com


Prairie Grove, AR, 72753
USA

JDowd_SucculentPots.jpg

Journal

News from Dowd House Studios: places to find our pottery, exhibitions, classes & workshops, new forms and exciting projects.

Filtering by Tag: Drawing on Pottery

New-ish Things

Jenny Dowd

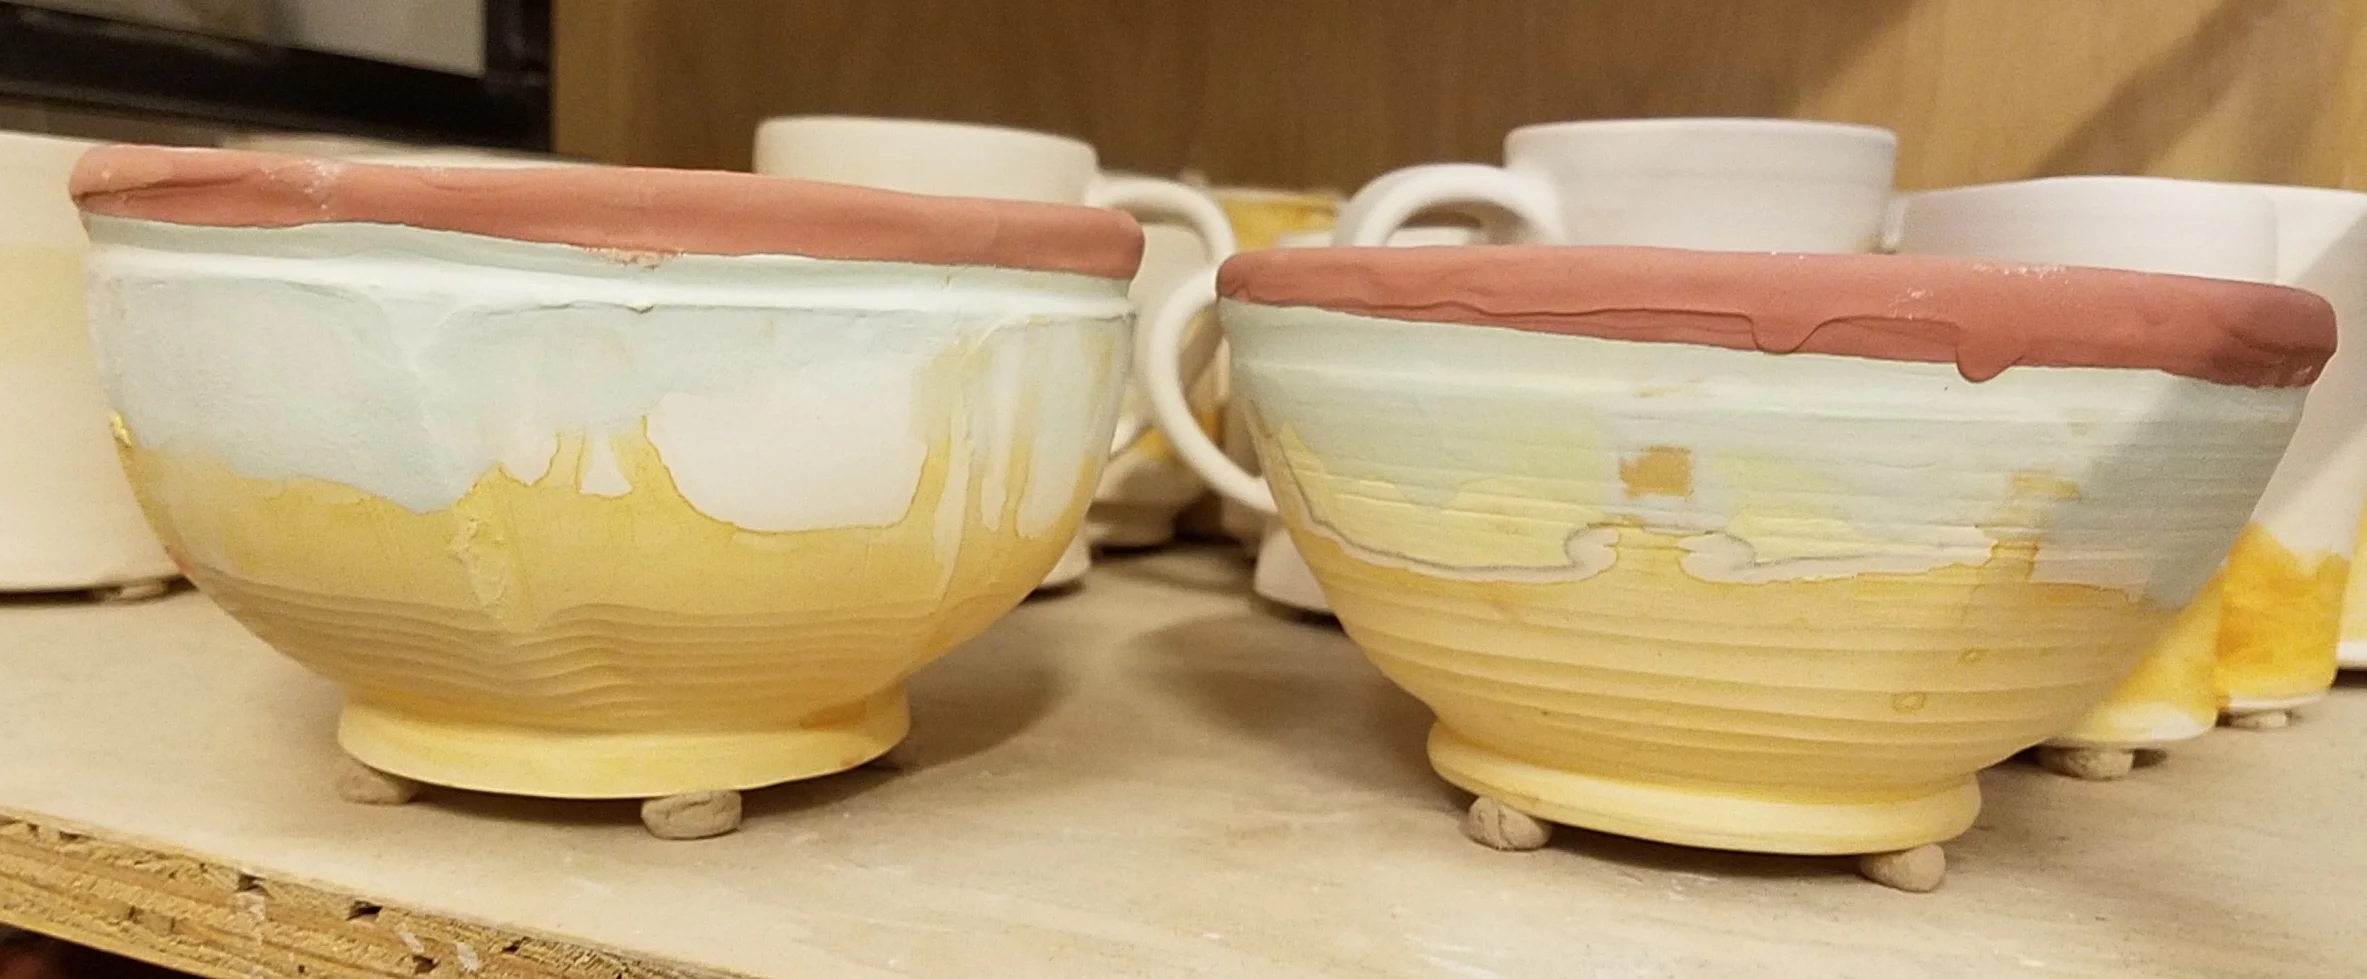
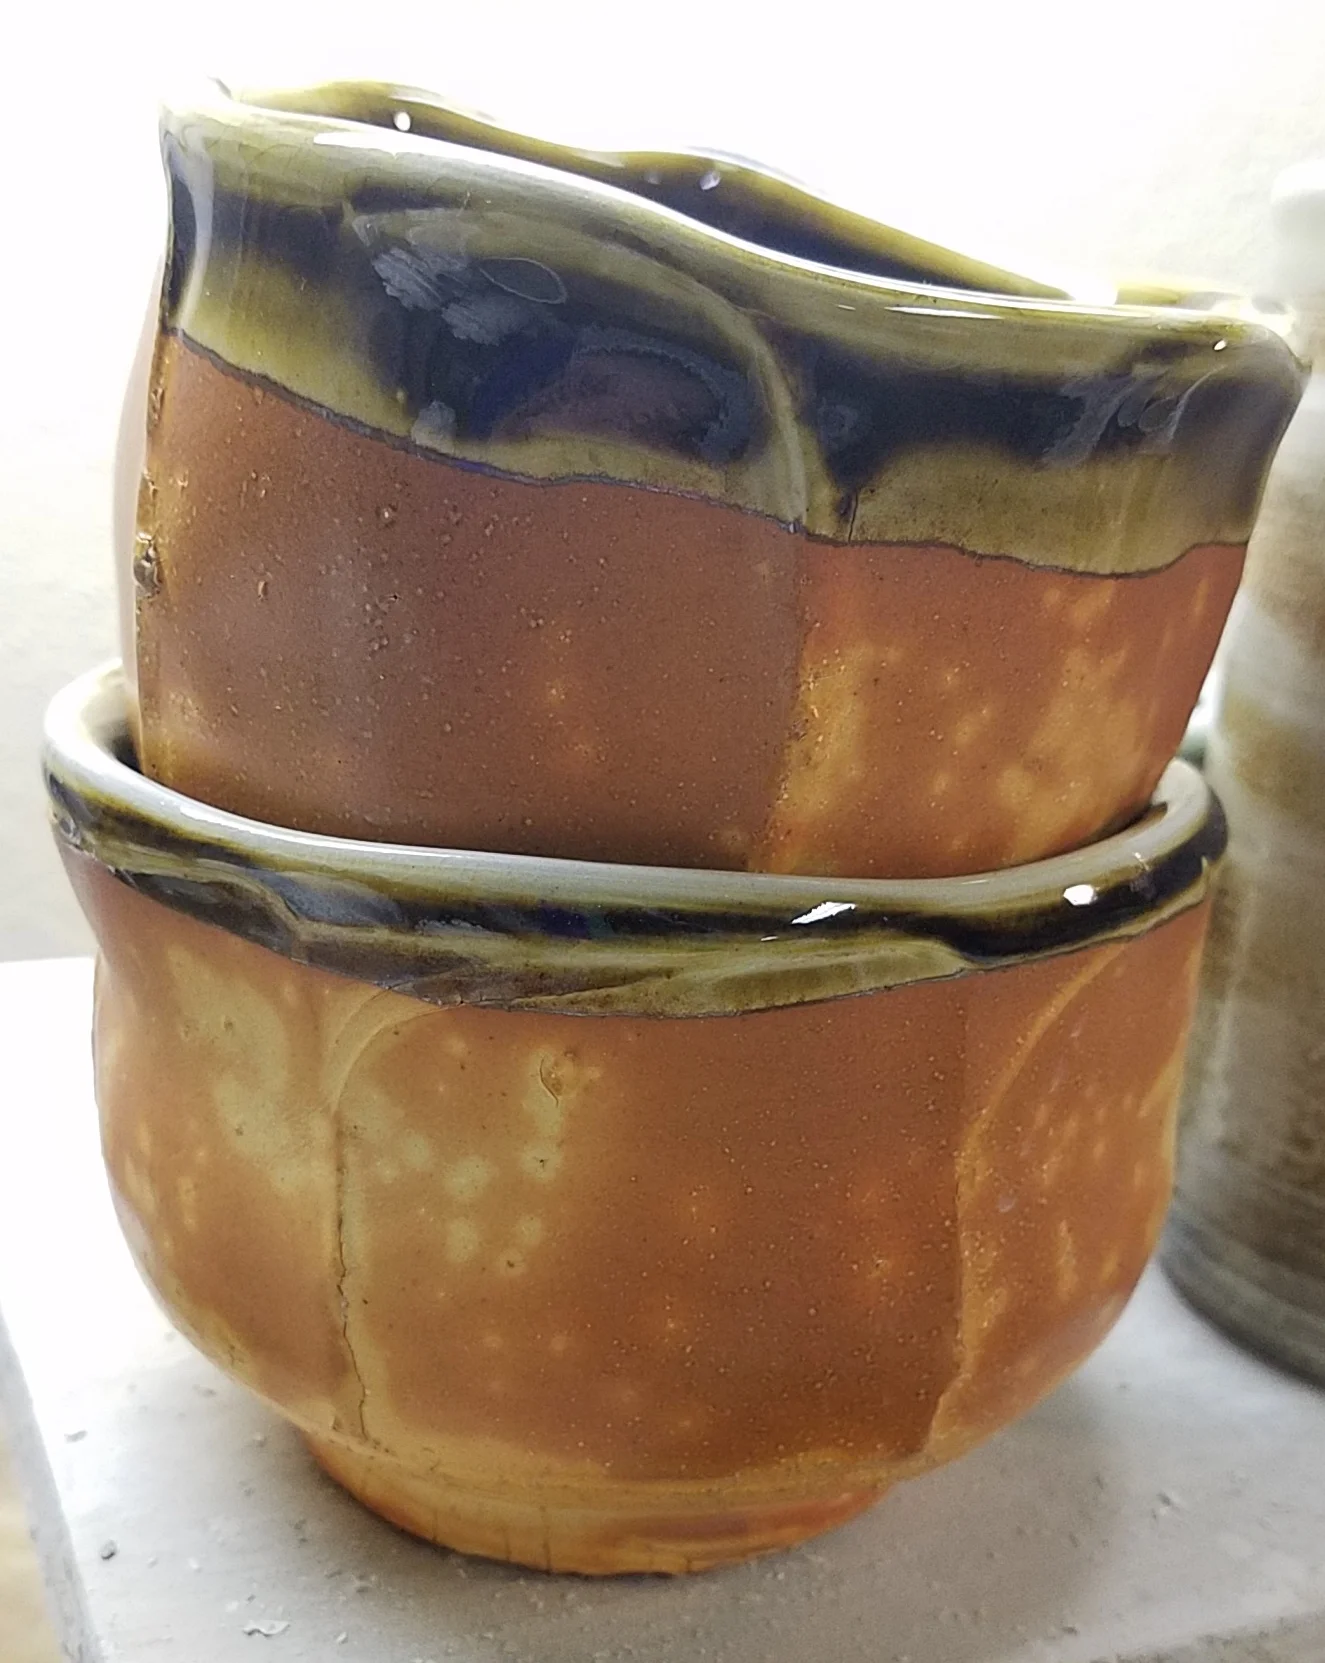
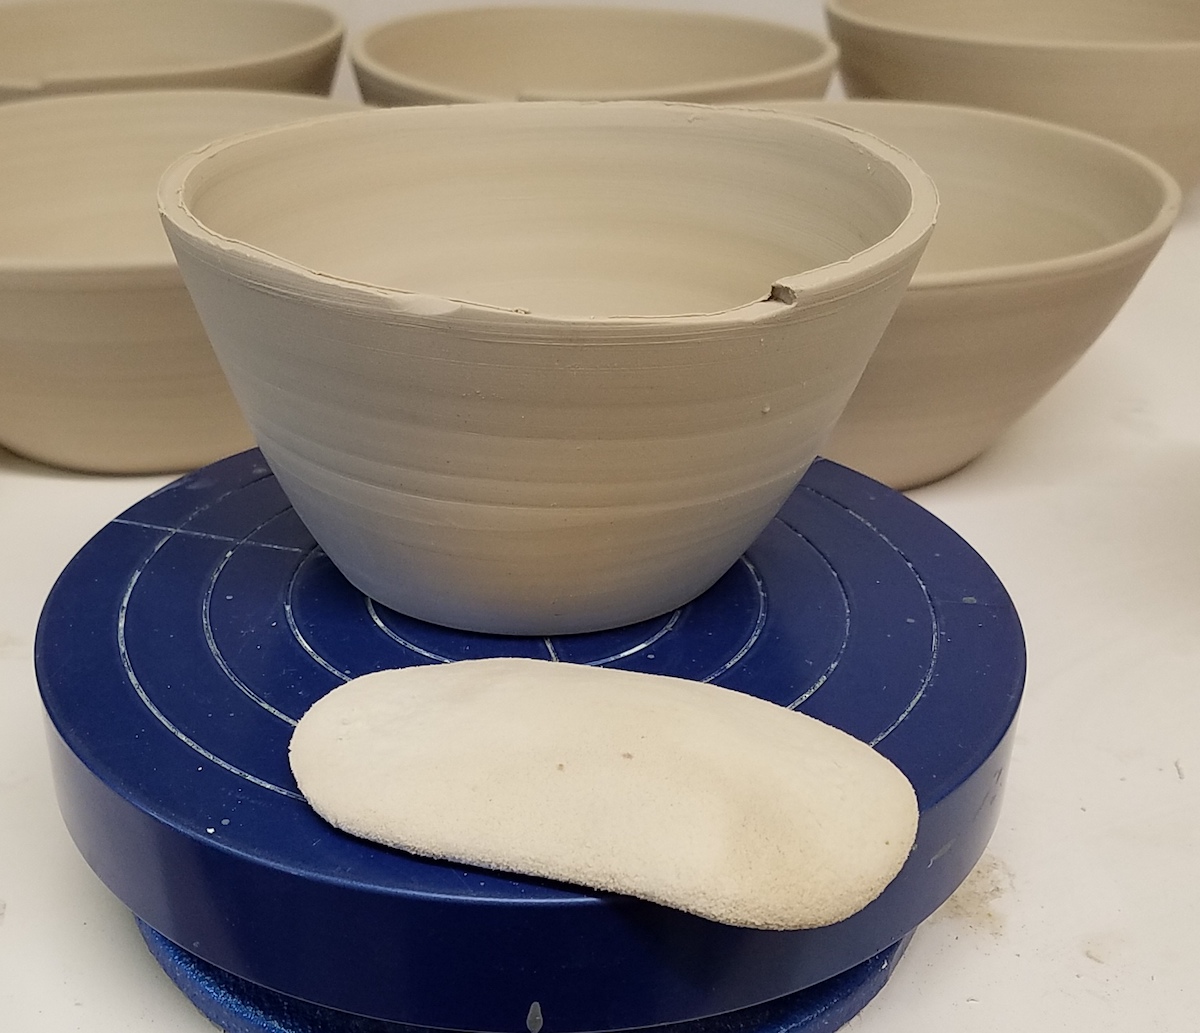
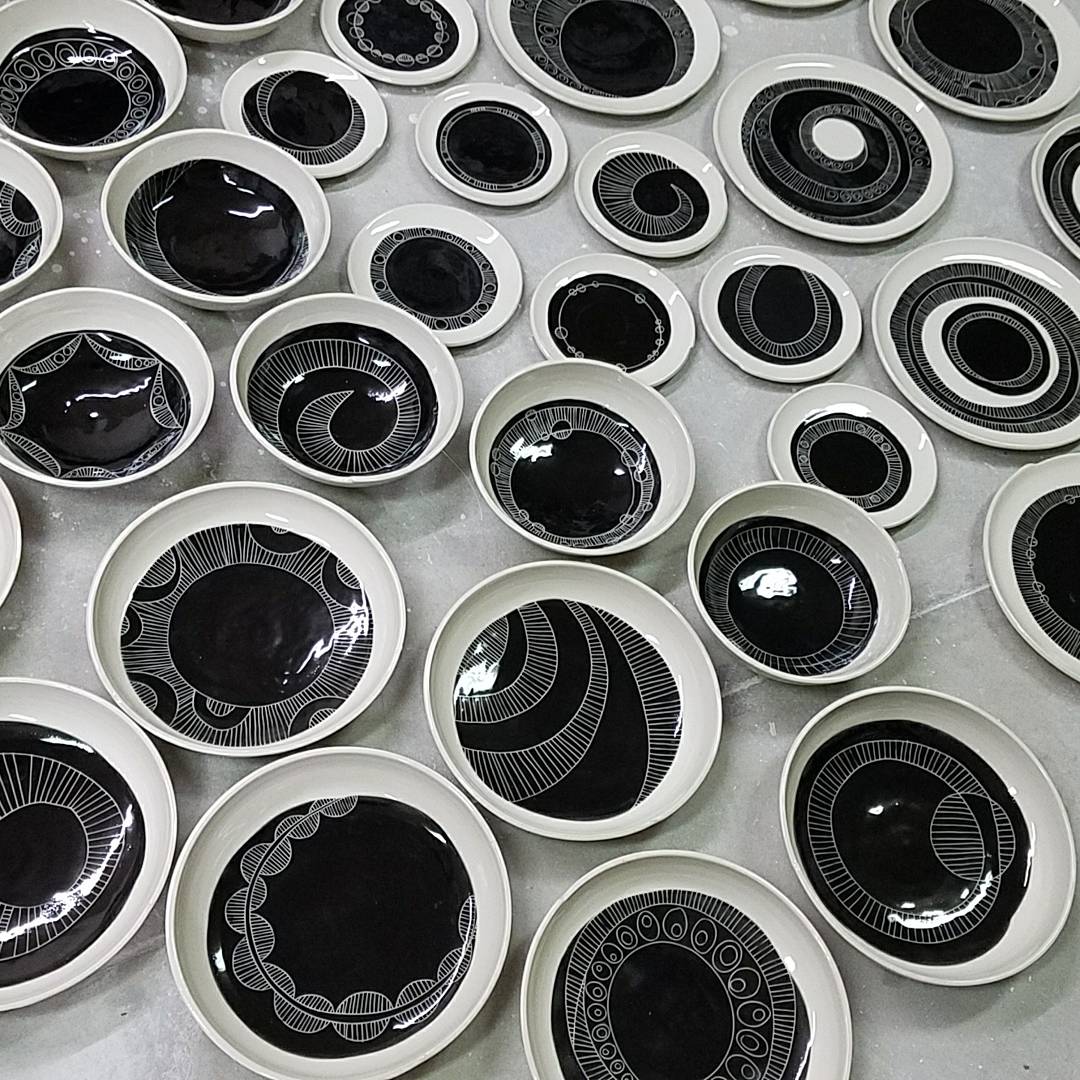
Amongst pottery orders and the making of inventory for upcoming sales I’ve been trying to make time for new ideas and tests. This time a few new ideas came from a mistake and from trying to remember how to make a form.

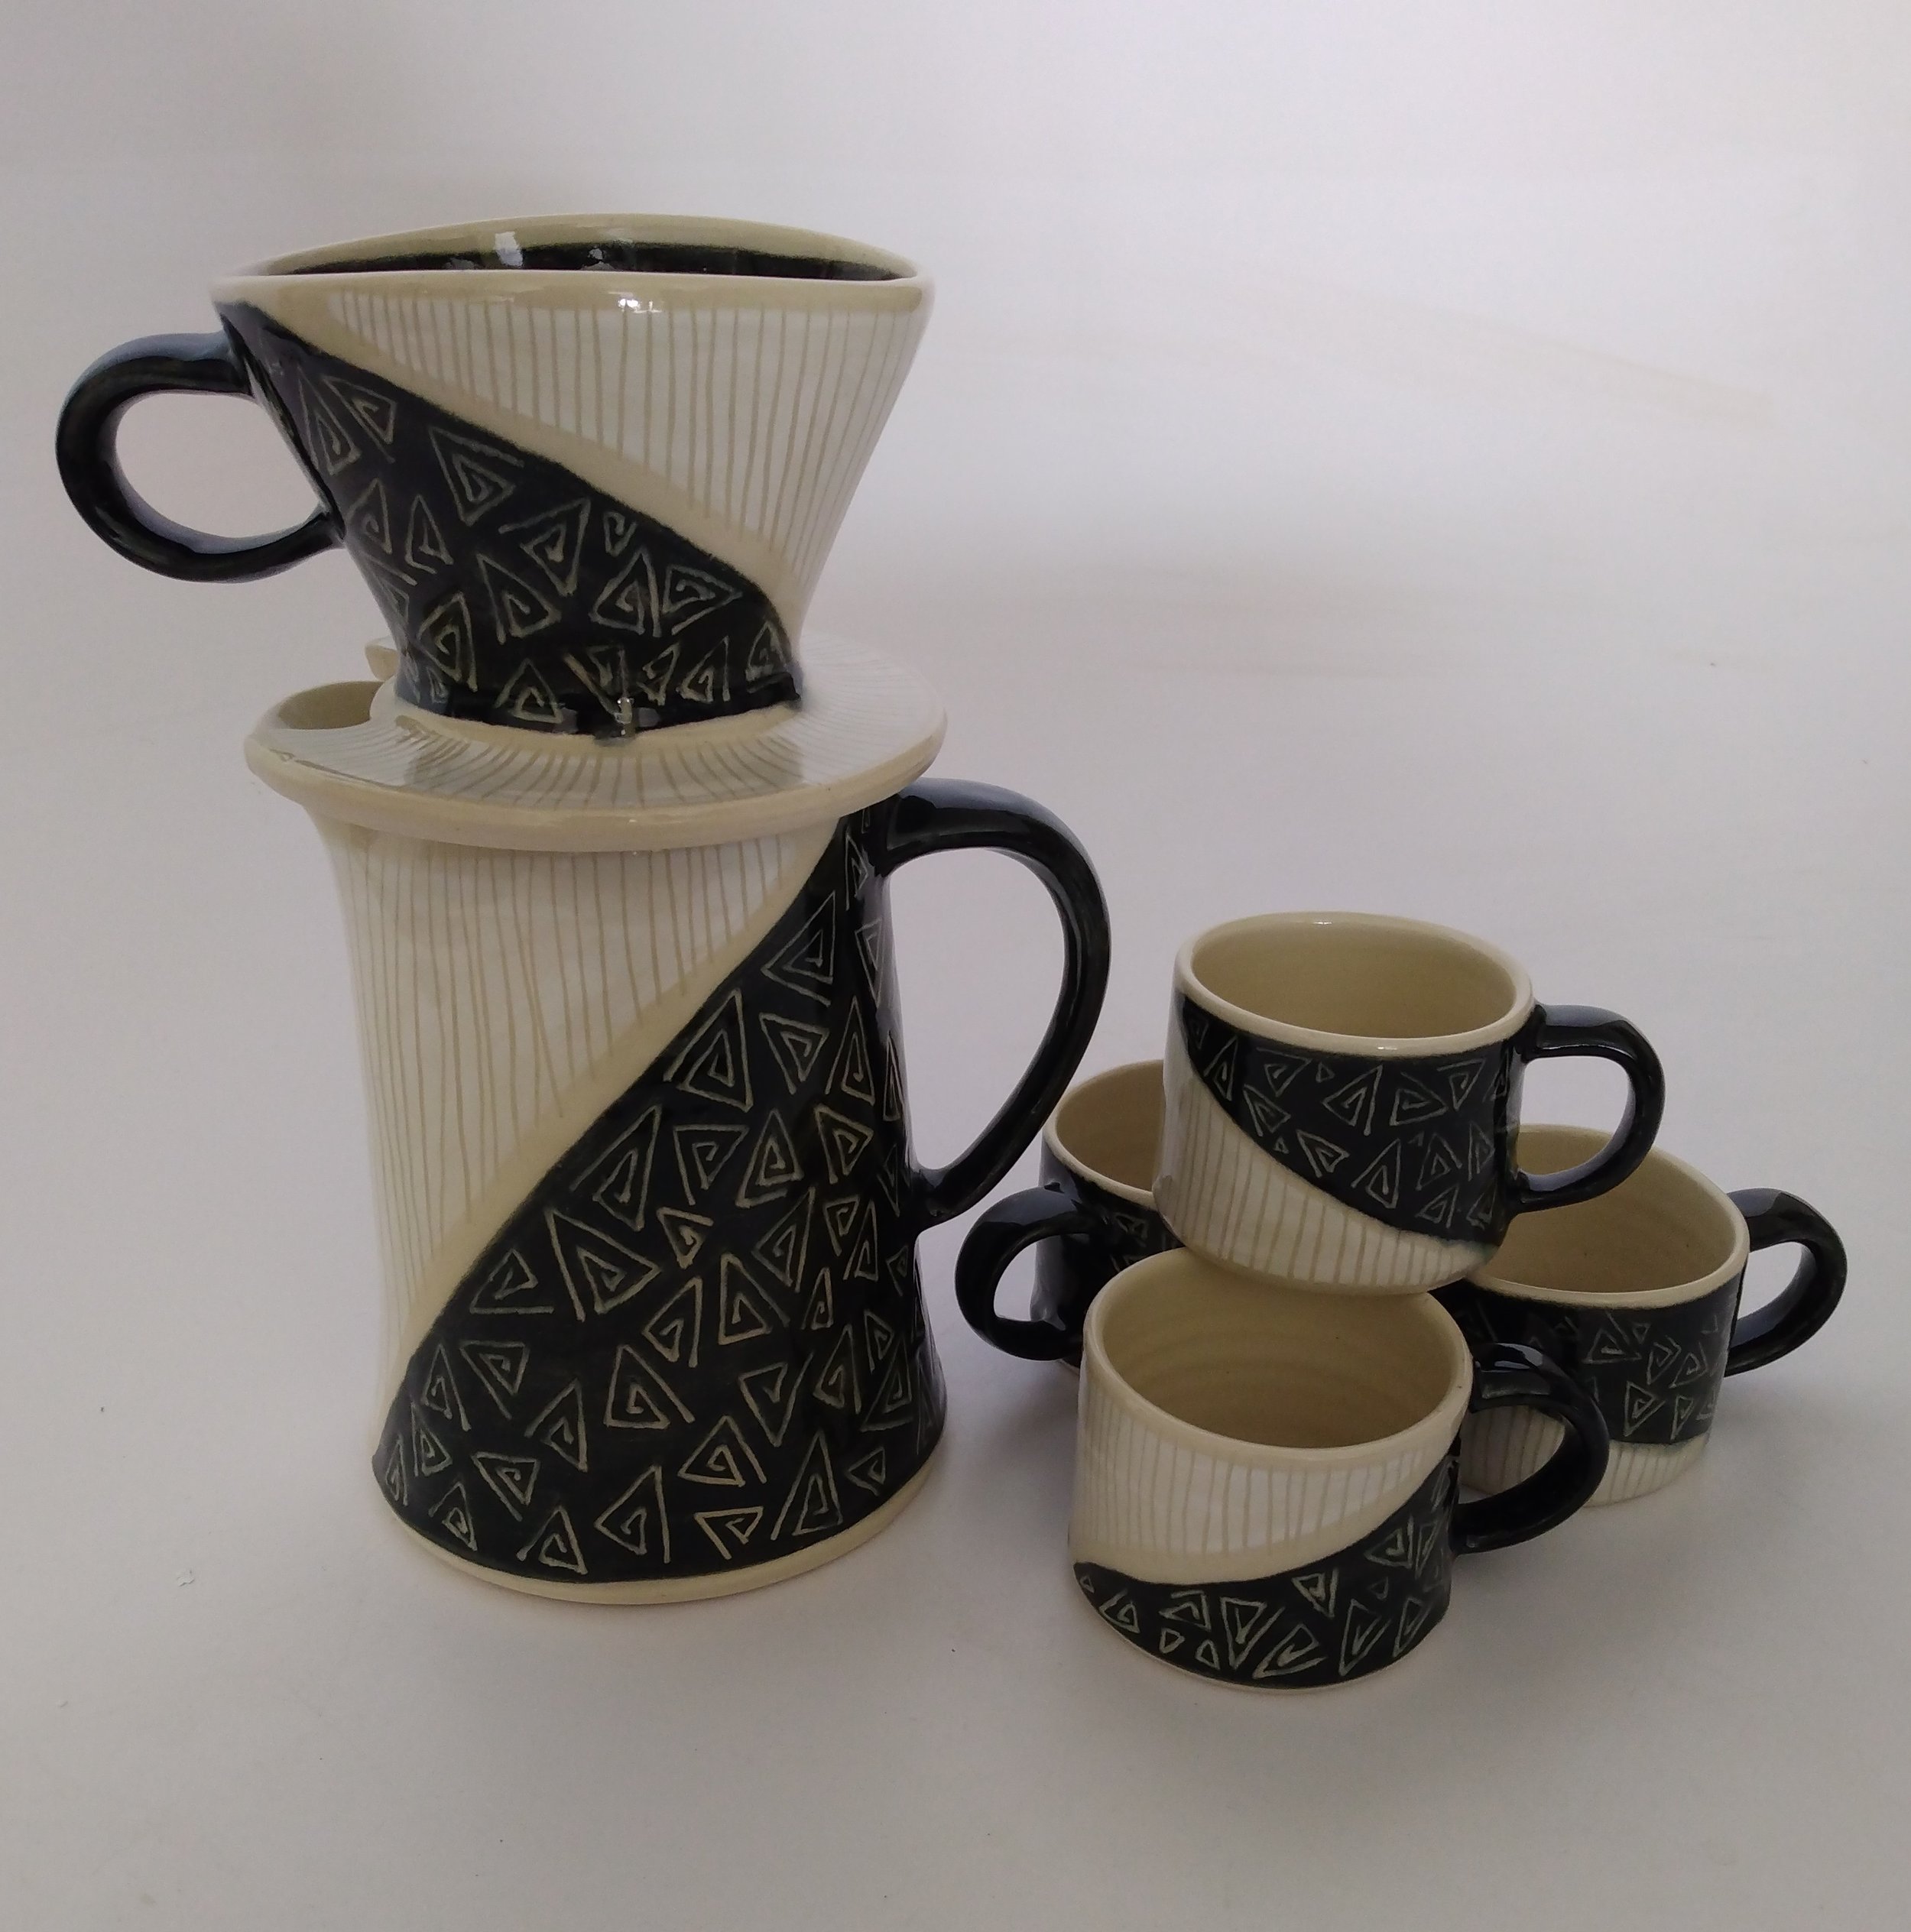
It’s been awhile since I have made a coffee pour over & pitcher set. Making the forms ended up being the easy part, decorating was not as intuitive. I liked the idea of simple black and white areas with a diagonal line to emphasize the triangle of shapes in the forms. But after I brushed on the white and black underglazes I had no idea what to do.

I carved vertical lines into the white underglaze thinking I’d come up with an idea, but I also realized that my usual patterns might not work this time. I sat there lost for awhile and then the person working near me asked what my plan was. I’m still not used to working in a group studio after years of solitude in my old garage studio, so what a welcome conversation! I told him I had no idea and as we discussed ideas we both agreed that perhaps a shape or pattern was needed. He drew out a little triangle inside of a triangle and that clicked.

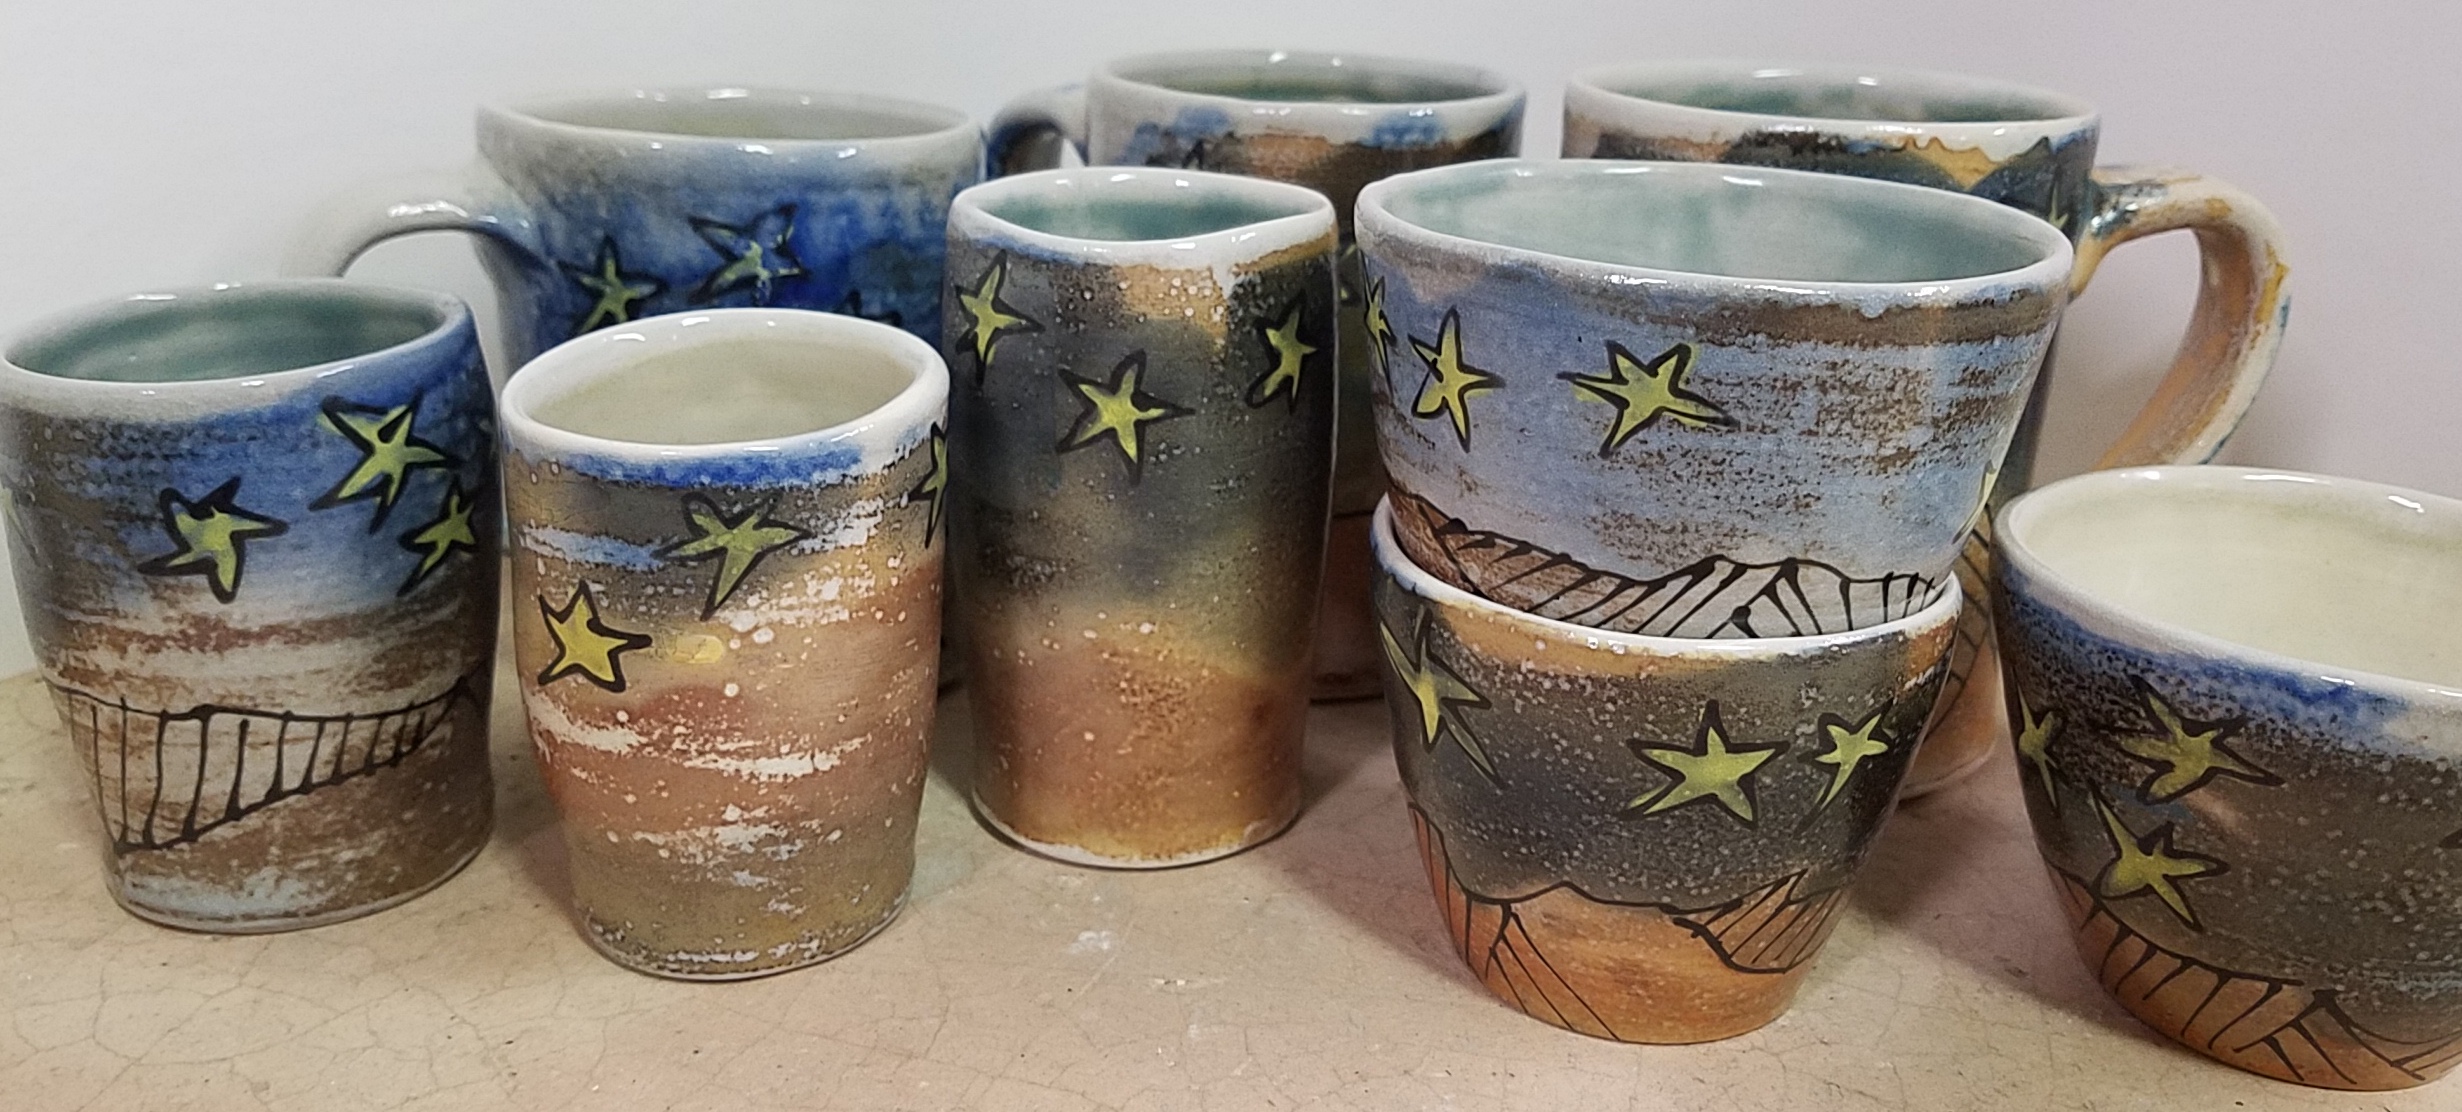
I liked how the pitcher and pour over set looked so much that the next day I made a few mugs with the same pattern.

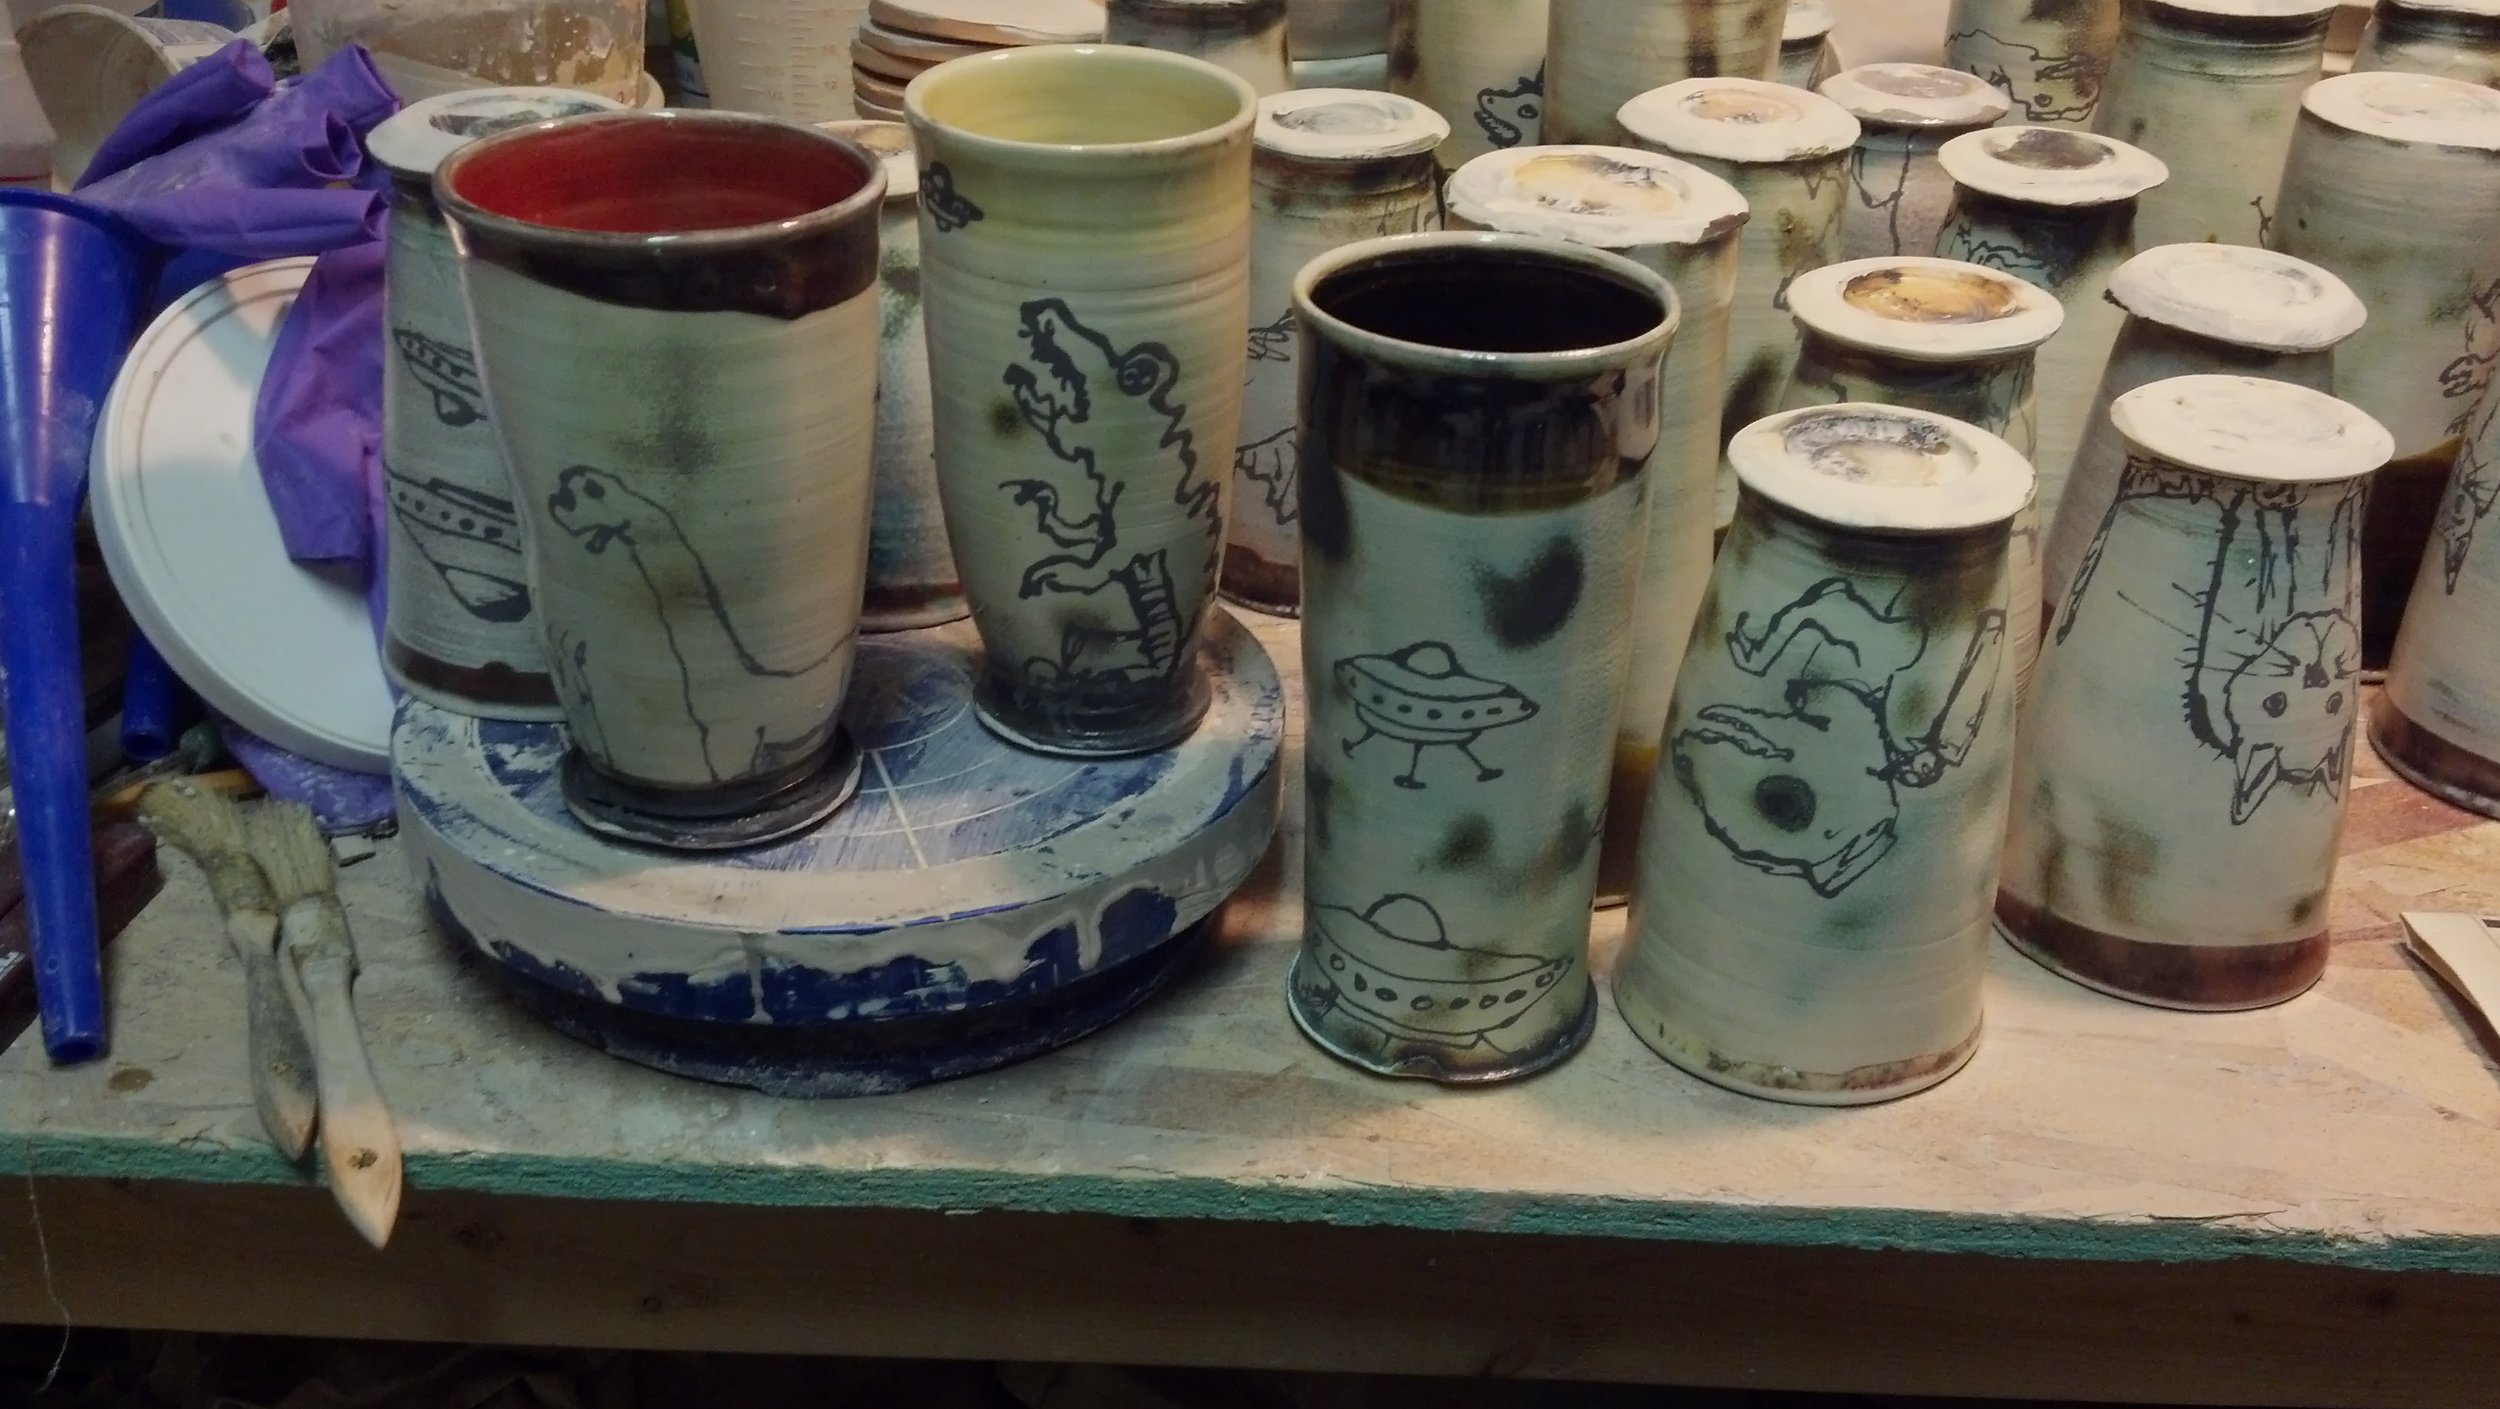
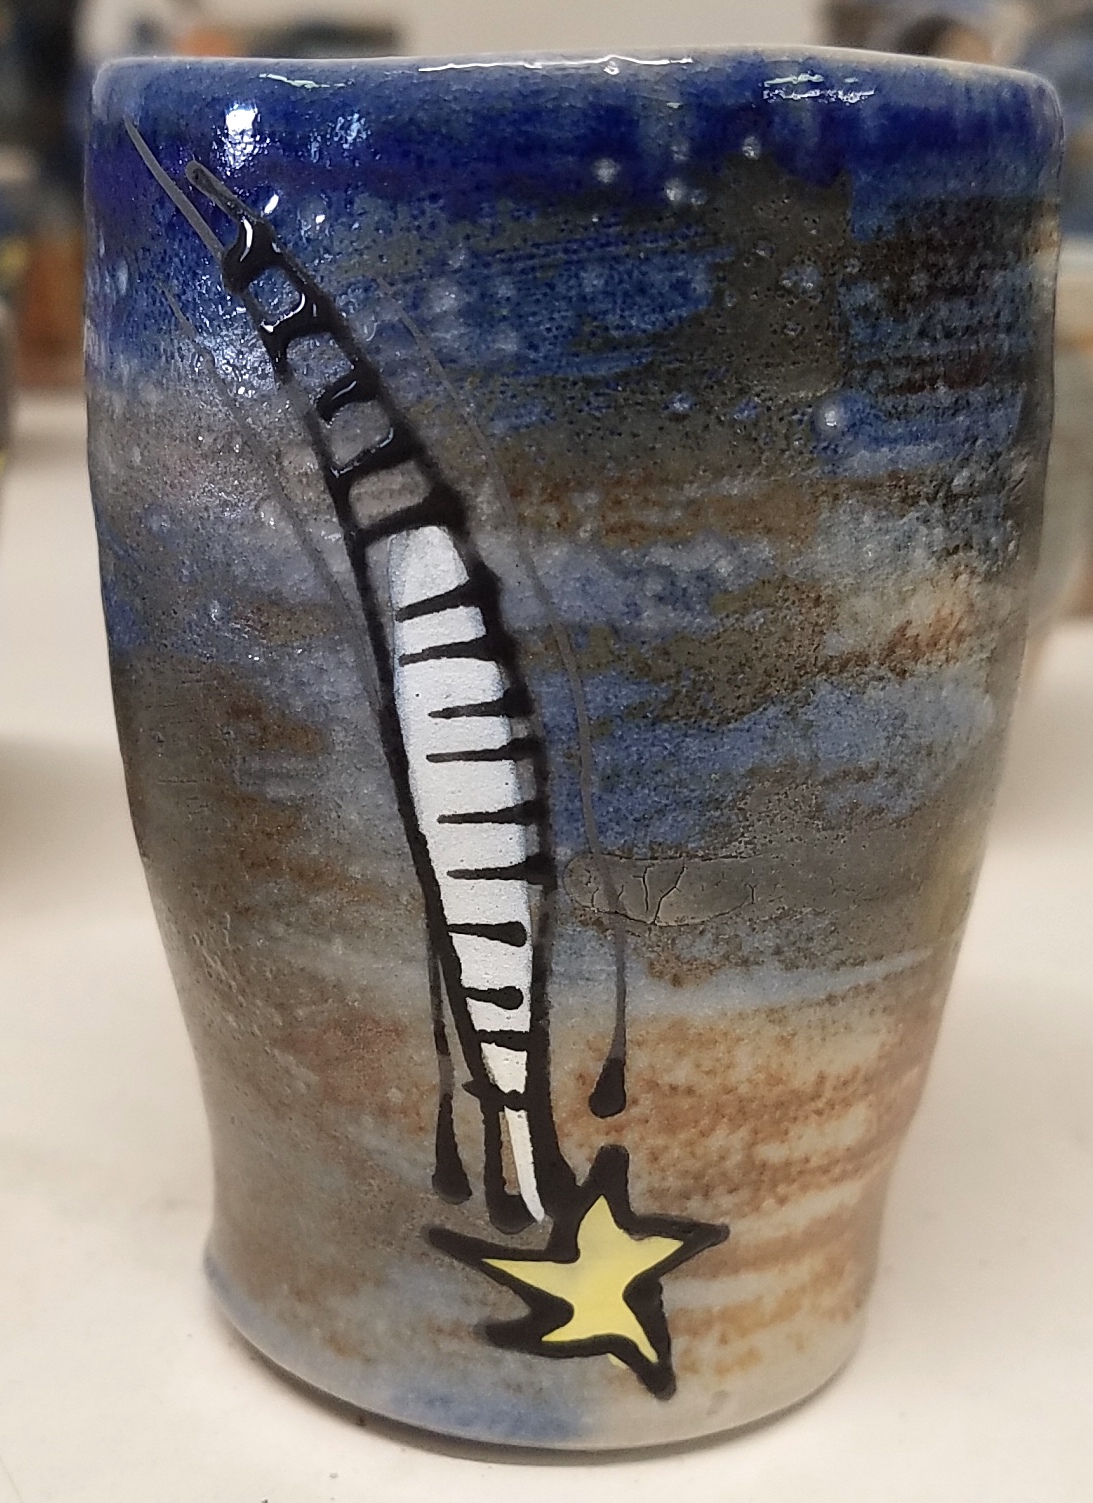
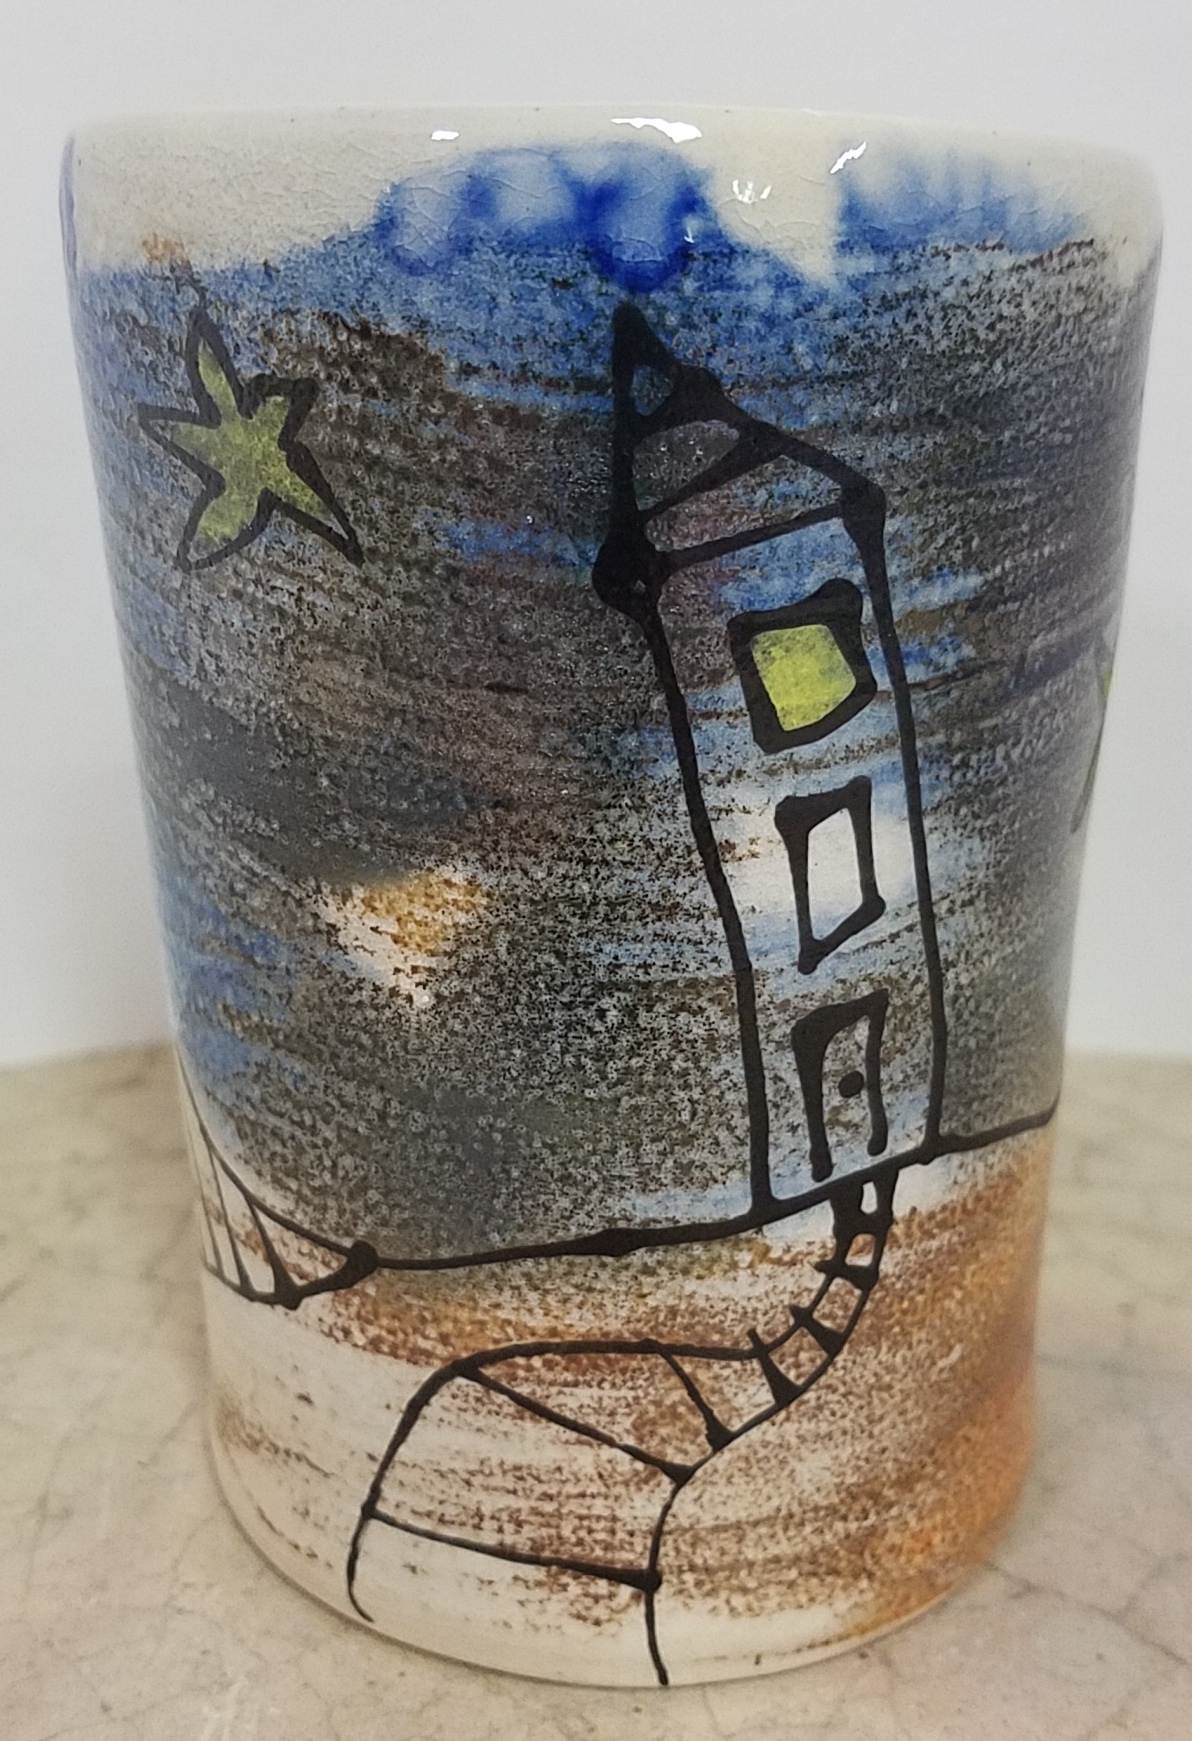
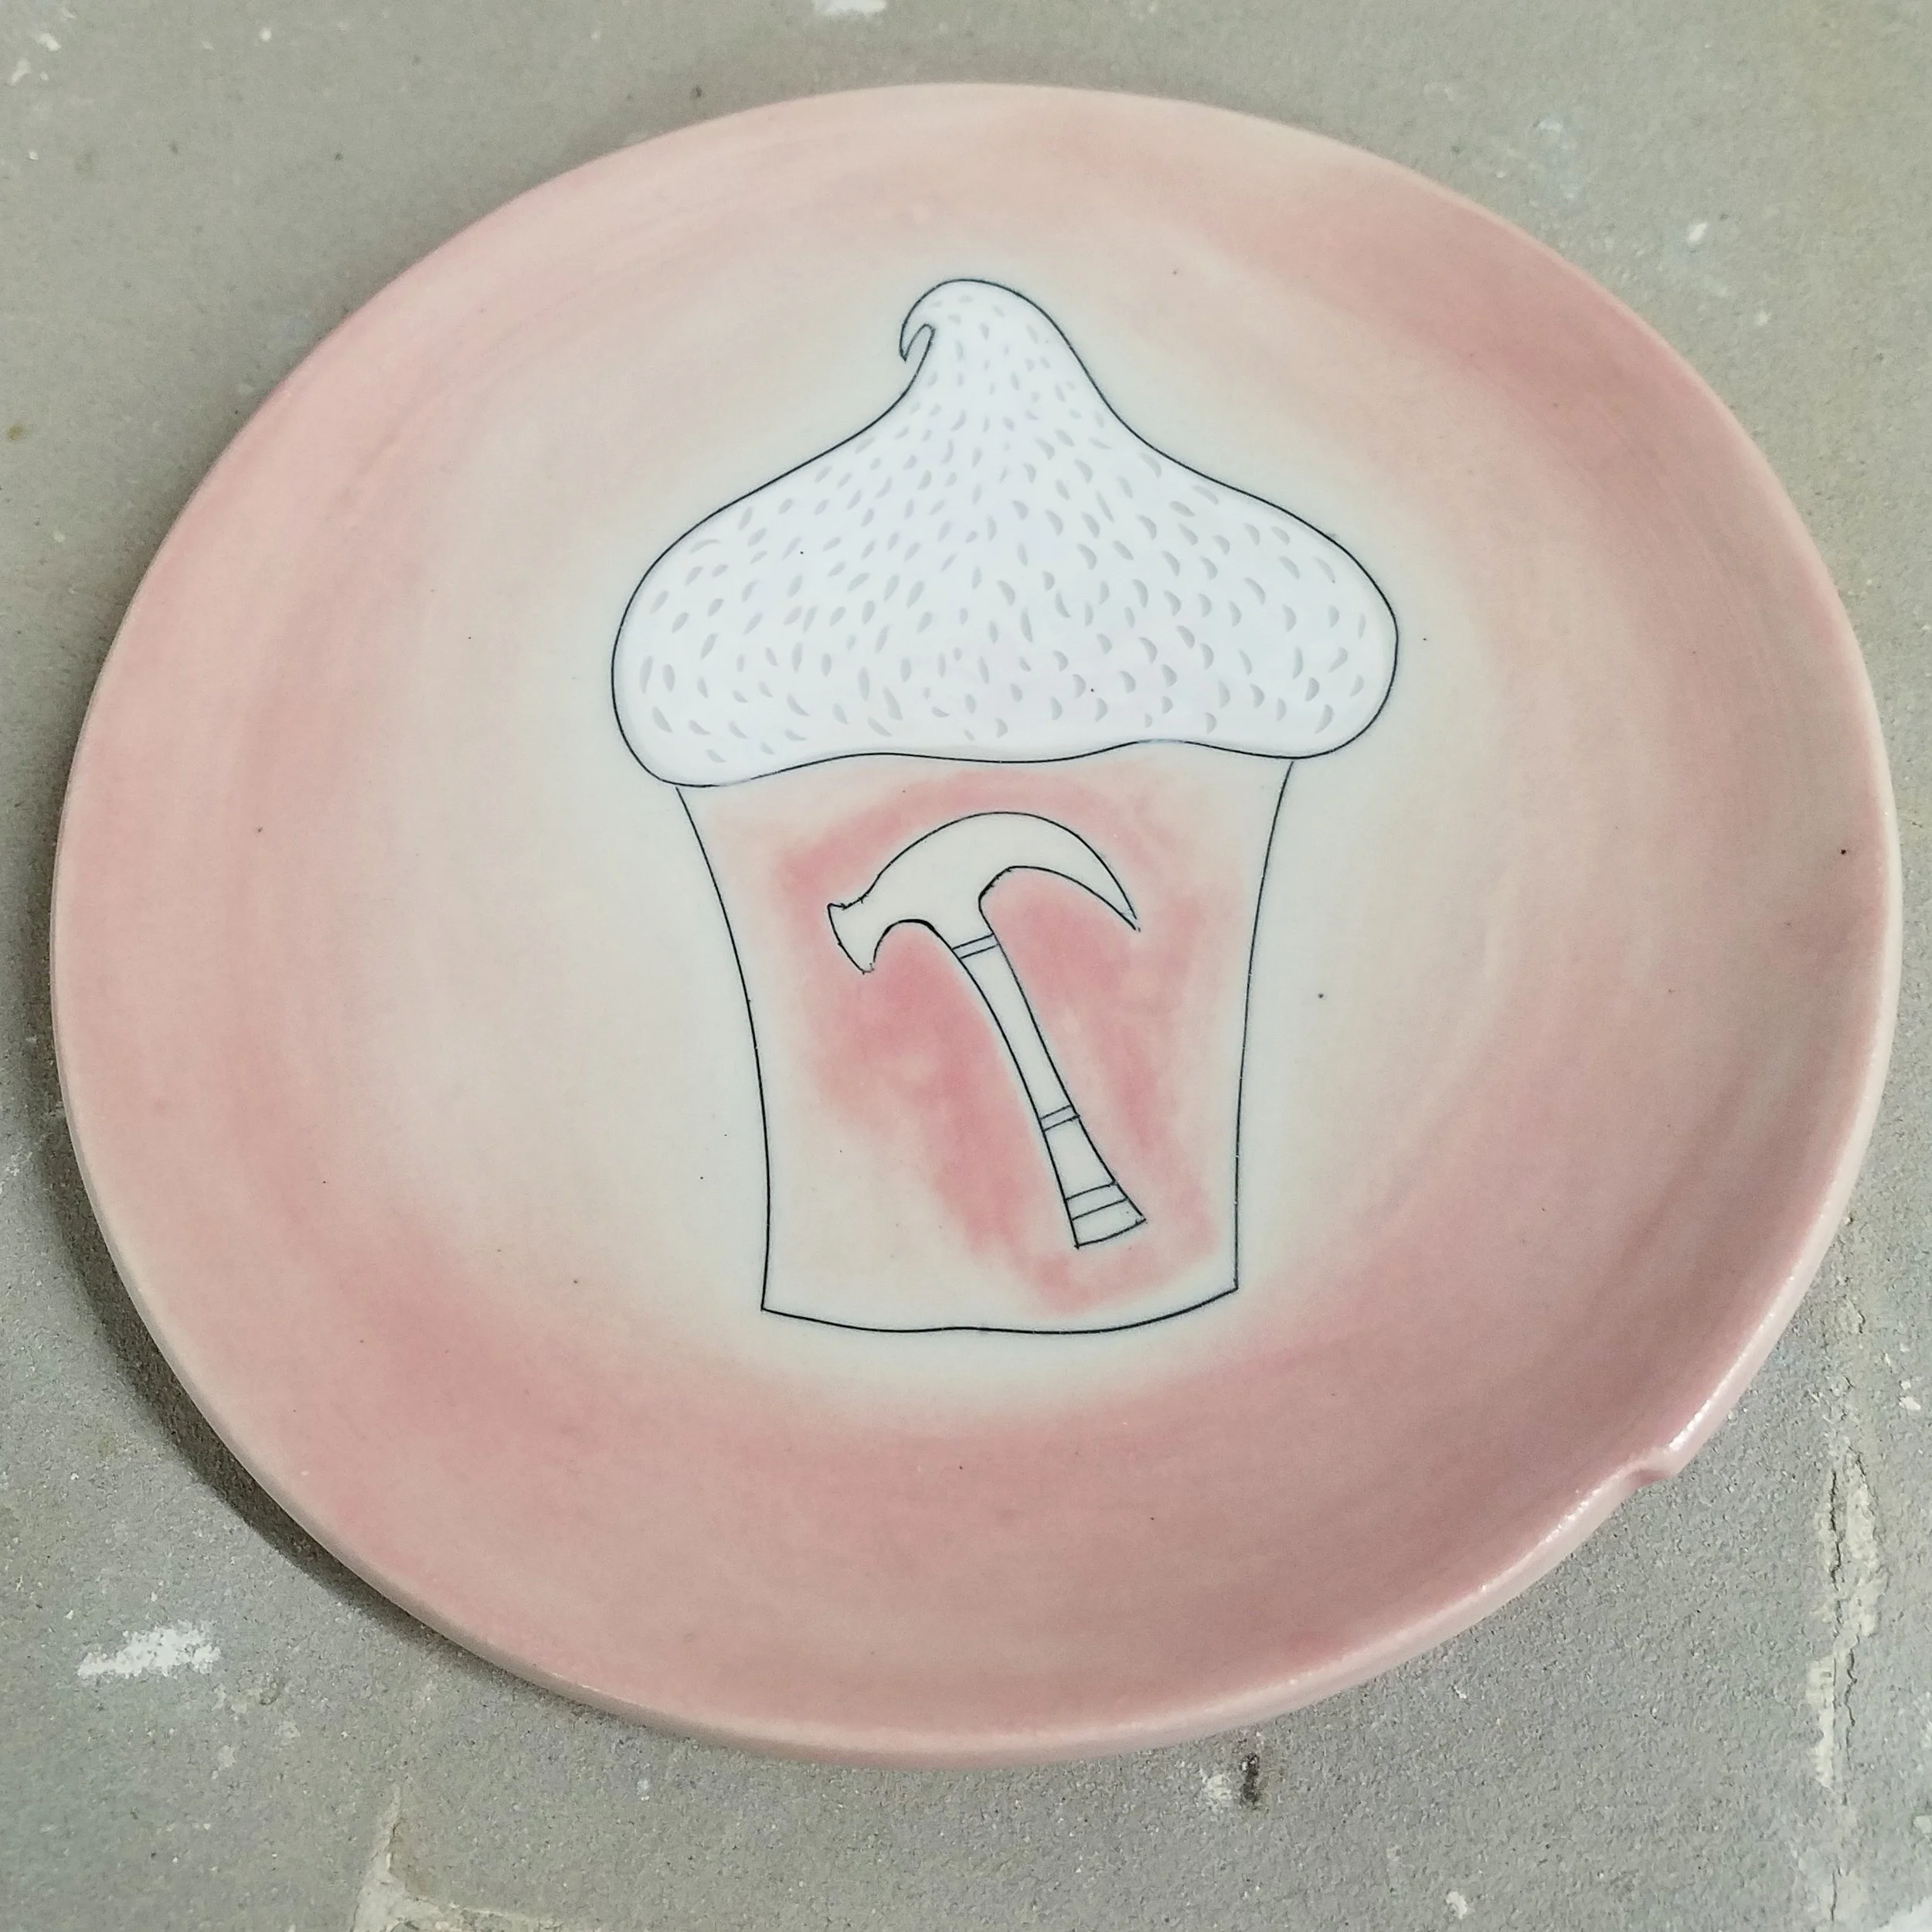
These cups were supposed to be mugs. I threw the cylinders on the wheel and forgot to cover them with plastic. When I came into the studio the next day it hit me, can’t attach handles to dry clay. I bisque fired the cylinders and put them in a box, where they rode around in the back of my car for a few months.

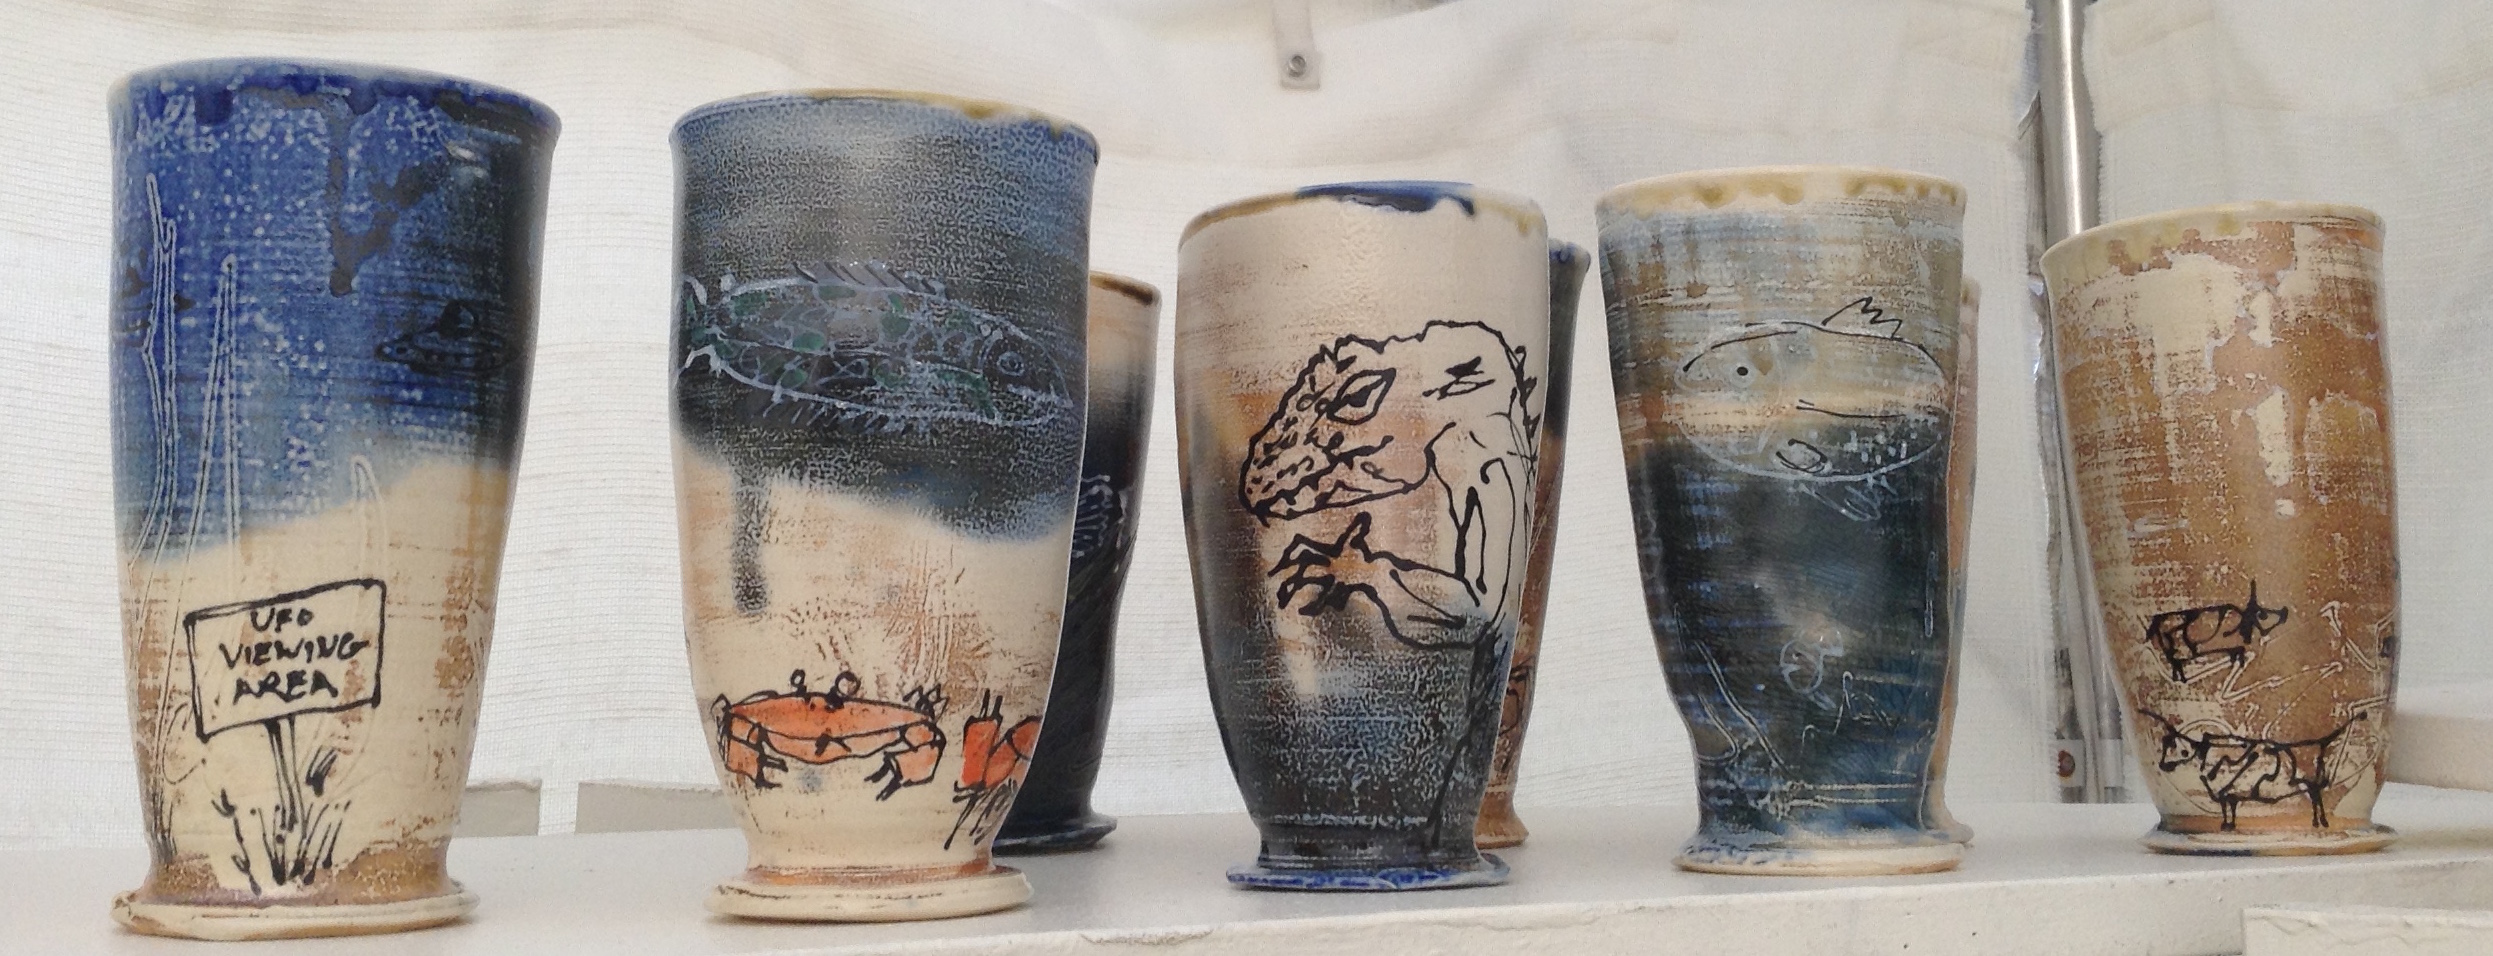
Sam and I will be participating in a craft fair on February 12th, NW Arkansas Girl Gang Winter Market, right before Valentine’s Day. After being accepted to this sale I realized I should make a few Valentine’s gift items. Since the cups were already bisque fired, the surface was perfect to draw on with underglaze pencil.

This is a drawing I’ve made before, but the first time on cups. And it’s based on a true story, but it's not totally true because I am not a lamp. (Surprise!)

Sam and I met in college, in the clay studio of course, we immediately hit it off - like non-stop talking & laughing. We'd gone on maybe one date, but mostly just arranged our time to be in the studio together. Anyway, it had been a few weeks and we were obviously smitten.

One evening Sam had a really bad cold and came over to my house but wouldn't come in. He stood on the porch and through this super bad head cold told me that he really really liked me and that he wanted to use the other L word. But mostly he needed me to know right now that he really liked me. It was actually the sweetest thing ever and I knew it was something because it was the first time my roommates didn't make fun of my dating antics.

So there it is, the stories behind two new-ish things that I’ve been working on in the studio!

Market Update

Jenny Dowd

Last week I showed a bit of the process behind the pottery I’m making exclusively for Market. I opened the kiln on Monday to find that for once, everything in the kiln looked great! (See last week’s post here)

Garden themed pots: Swiss chard cups, cherry tomato salad bowls, plus a salt cellar and garlic keeper.

Before this load could be fired, I had to solve another problem. The shelves were in serious need of care, the bottoms of the pots had been sticking - leaving behind tiny shards of fired clay. Not only is it annoying to constantly clean the kiln shelves, but it meant that a lot of my pots had bits of clay missing from the feet and it just looked bad.

Fixing this means another step, but one that is worth it. I’m now coating the foot of each pot with a mixture of brushable wax and alumina. This ensures that nothing will stick to the kiln shelf and the foot of each pot will look how it should! I also scraped each shelf, and coated it with fresh kiln wash - which dried out in front of the space heater with a little help from Merlin’s studio water dish.

I’m also making ornaments specifically for Market, with the Vertical Harvest logo on one side, and a ripe juicy tomato on the other. The logo is hand drawn onto the porcelain disk using an underglaze pencil. I found that I can go over the lines with a little water on a brush to make it look more painterly.

It’s a few months away, but now I can’t wait until I can grow Swiss Chard and cherry tomatoes in my own garden, right outside of my studio!

Soda Firing: Part 2

Jenny Dowd

Soda Firing: Part 1 was just the beginning! Here's the rest of the story behind this labor intensive work:

While Sam and I both have work in this kiln and use some of the same materials, our results are totally different. One thing we both like about this process is that sometimes the pieces come out of the soda kiln awesome and sometimes - Meh. It may be a lot of uncertainty, but it's worth it. This is what I am always telling my ceramics students - there is always another step, and almost always another chance.

Sam calls these "2nd chance pots."

After they come out of the kiln we draw onto the surface with underglaze. Sam doesn't know what the drawings will depict until he sees the pieces after the soda firing, then he reacts to the surface and glaze oddities.

I try to be loose with my designs, reacting to the atmospheric effects from the stains, though I have an idea of what will happen from the beginning. Sometimes there are strange glaze or surface flaws that I can work in (shooting star on right.) This is pretty loose for me, but my drawings are always tighter than Sam's crazy ideas.

Still not done! Now that the underglaze drawings are dry, it's time to re-fire the pieces. Remember how we had to add wadding to the base of the pots so they wouldn't stick to the kiln shelf? Well, that has to happen again. This keeps the pieces lifted up so the residual soda doesn't stick to the shelf when it remelts during the firing. I keep the bits of wadding so I can save time and resources by reusing them. 

Here are a few, still warm from the kiln! All the work, all the little steps... totally worth it. I'll be adding a new tiny cup with a star to my cabinet today.

Details

Jenny Dowd

I spend a lot of time on details. 

When I started this series of black & white sgraffito ware, I found my tight forms with their even rims to be in conflict with my hand-drawn designs. Expression and imperfection are inherent to hand-drawn lines, I felt that this needed to be reflected in the pottery- even if I had to force it.

I use a wire to cut the rim of bowls and plates before removing them from the wheel. Once the piece is dry enough to handle yet still malleable I spend a lot of time smoothing the rims (and the whole piece) with my favorite finishing sponge

The cut rims are very similar, yet when the dishes are stacked the slightly undulating lines are more apparent.

As much as I like these cuts rims, I know it is risky. These piece are more susceptible to cracking and chipping. It's a risk I'm willing to take in order to gain the harmony found between an uneven rim and the hand-drawn images and patterns. 

Cups, mugs, pitchers, and vases are treated similarly- I allow the rim to be uneven as I am throwing the form on the wheel. Sometimes the rims are even, sometimes not, and the result is always very subtle.

New Designs

Jenny Dowd

The process of developing new ideas, including all the starts and stops, is something I truly enjoy. The frustrations only make me work harder and in turn, the successes are that much sweeter.

About a year ago I made a series of little ink drawings for an invitational exhibition. (Check out the blog post here.) Ever since I've been thinking about how to transfer some of these drawings onto cups and plates.

Thoughts of random objects drawn on my pots turned into drawings of tools and sweets. While discussing surface methods with Sam, the two ideas melted together and I started thinking about objects with hidden elements. Helpful cakes and tools with sweet surprises. 

I started by "drawing" the object using an inlay technique on the leather-hard clay. After bisque I inserted the hidden object (a saw or hammer inside a cupcake, or a cupcake inside a chainsaw.) I had a hard time stopping, it was exciting to finally visualize some of the ideas. I layered several glazes and underglazes and tried a few different applications.

I wasn't terribly happy with the results, but it was a good start and gave me more ideas on how to proceed.

The hidden cupcake inside the chainsaw needs more definition, the glaze outline around the chainsaw doesn't work, but the color contrast is a good idea, the tools are too ghostly inside the cake, the cupcake is just ok... 

At least this gave me enough information for another round of tests:

I'm happier with these results, though there will be a few more rounds before I start making more of these drawings on other forms and producing sets.

This process can be frustrating and exhausting but mostly it is exhilarating. Once I start working on one cup or plate, I think of so many more ideas and processes. I'll wake up at night thinking about new ways to solve the problems.

All the while I'm thinking about what these little drawings mean- is the cupcake being helpful? What about the secret the chainsaw is hiding? Is this about that time someone called me a tough little cupcake? I'm the kind of girl who likes getting tools as gifts, but I know some who don't- so maybe including a cupcake with the gift (that really isn't for her) would be helpful. (Just a thought!) 

Whatever it is, I'm enjoying the experiments and am excited to develop quirky stories for the surface of objects that are meant to be handled and used everyday.