contact us

Drop us a line!

Use the form on the right or email dowdhousestudios@gmail.com


Prairie Grove, AR, 72753
USA

JDowd_SucculentPots.jpg

Journal

News from Dowd House Studios: places to find our pottery, exhibitions, classes & workshops, new forms and exciting projects.

Filtering by Tag: Soda Firing

Soda Firing: Part 2

Jenny Dowd

Soda Firing: Part 1 was just the beginning! Here's the rest of the story behind this labor intensive work:

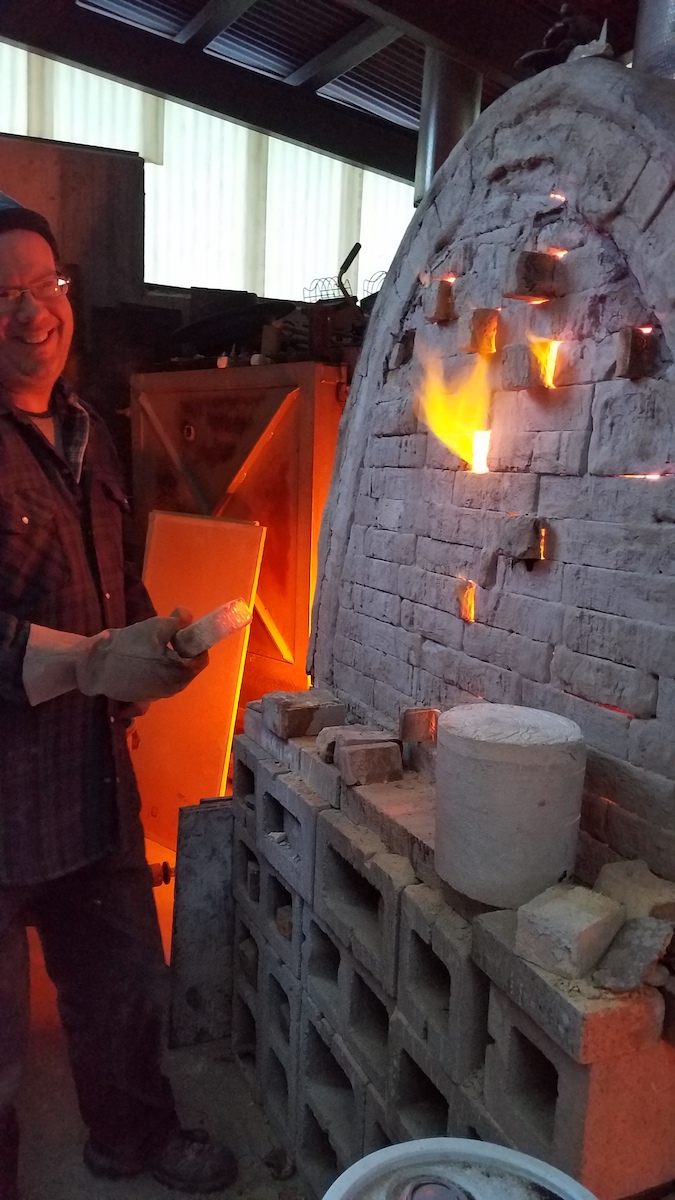
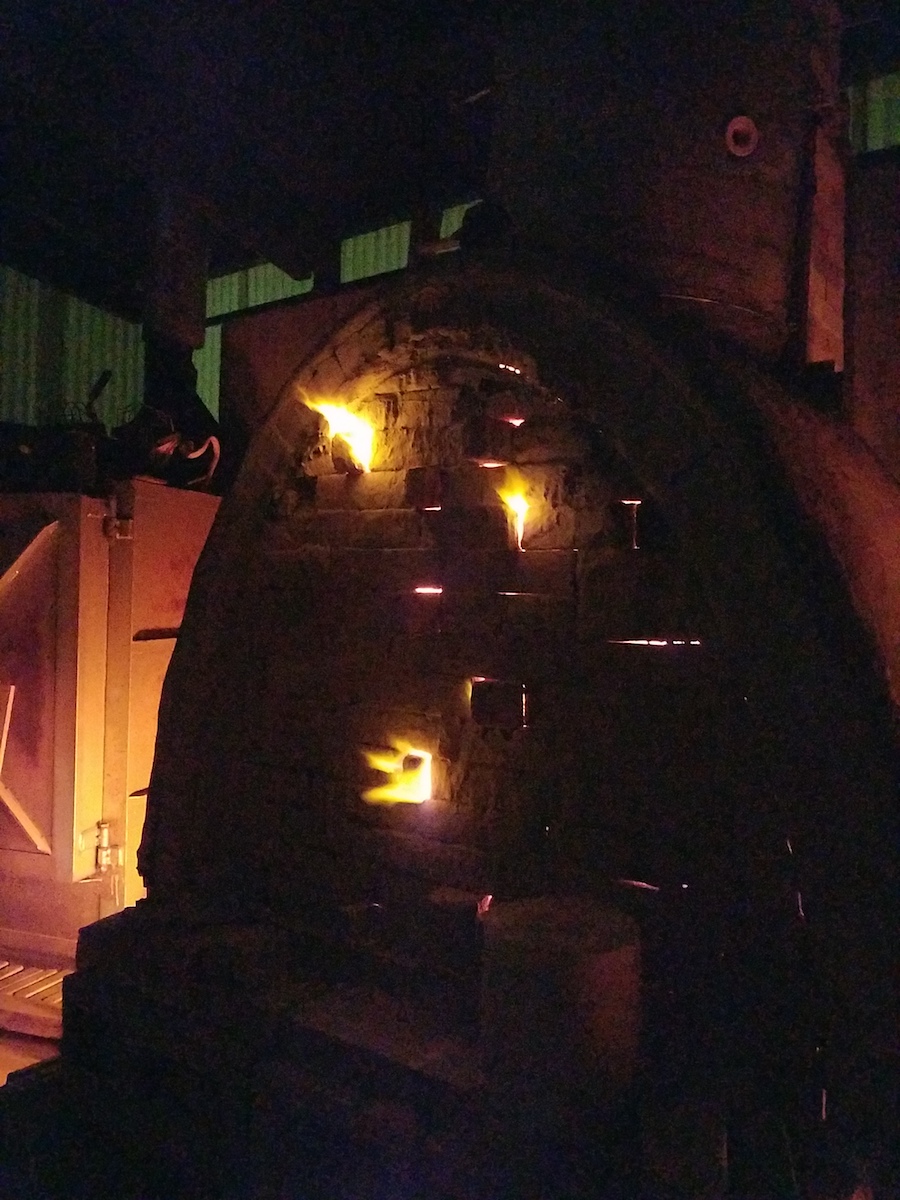
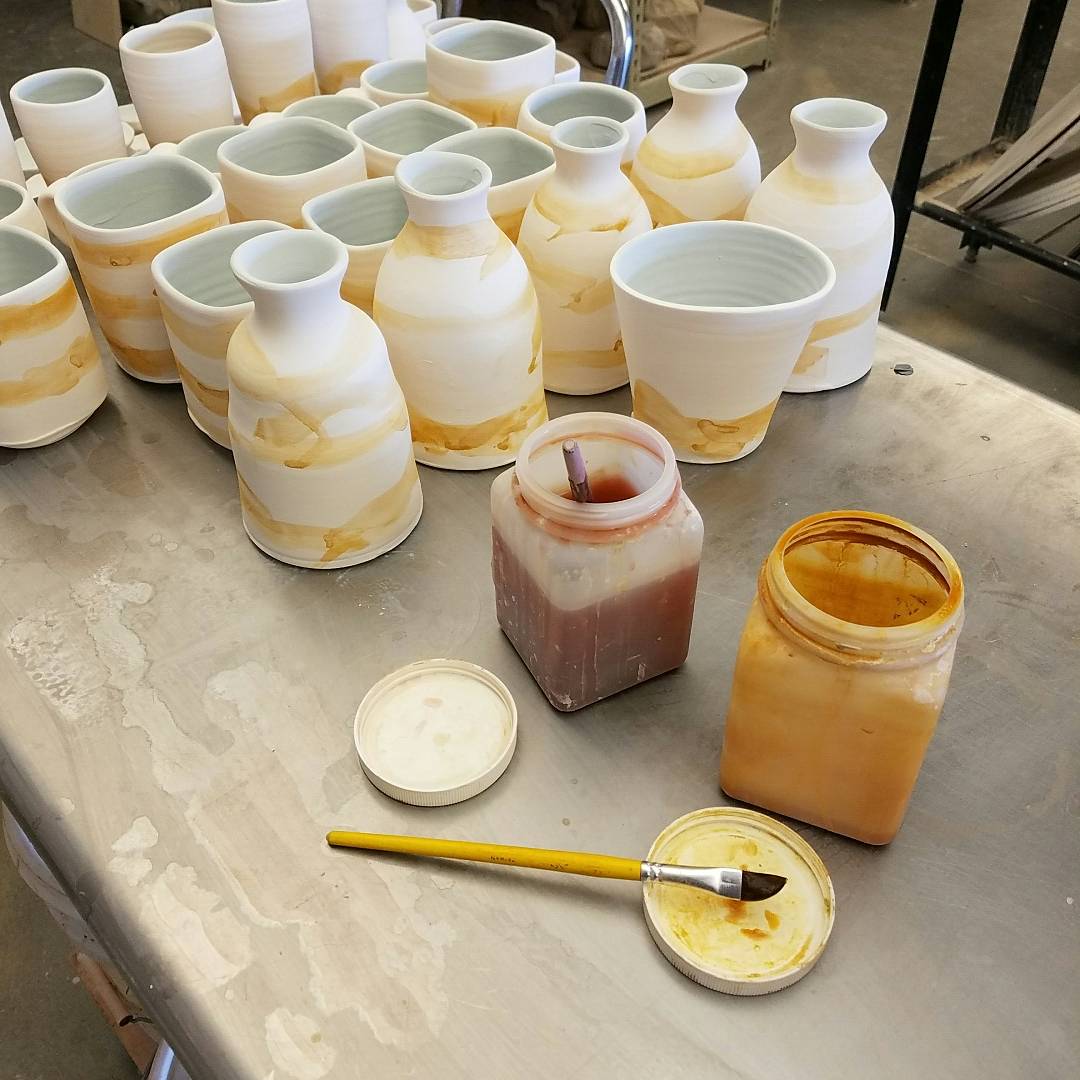
While Sam and I both have work in this kiln and use some of the same materials, our results are totally different. One thing we both like about this process is that sometimes the pieces come out of the soda kiln awesome and sometimes - Meh. It may be a lot of uncertainty, but it's worth it. This is what I am always telling my ceramics students - there is always another step, and almost always another chance.

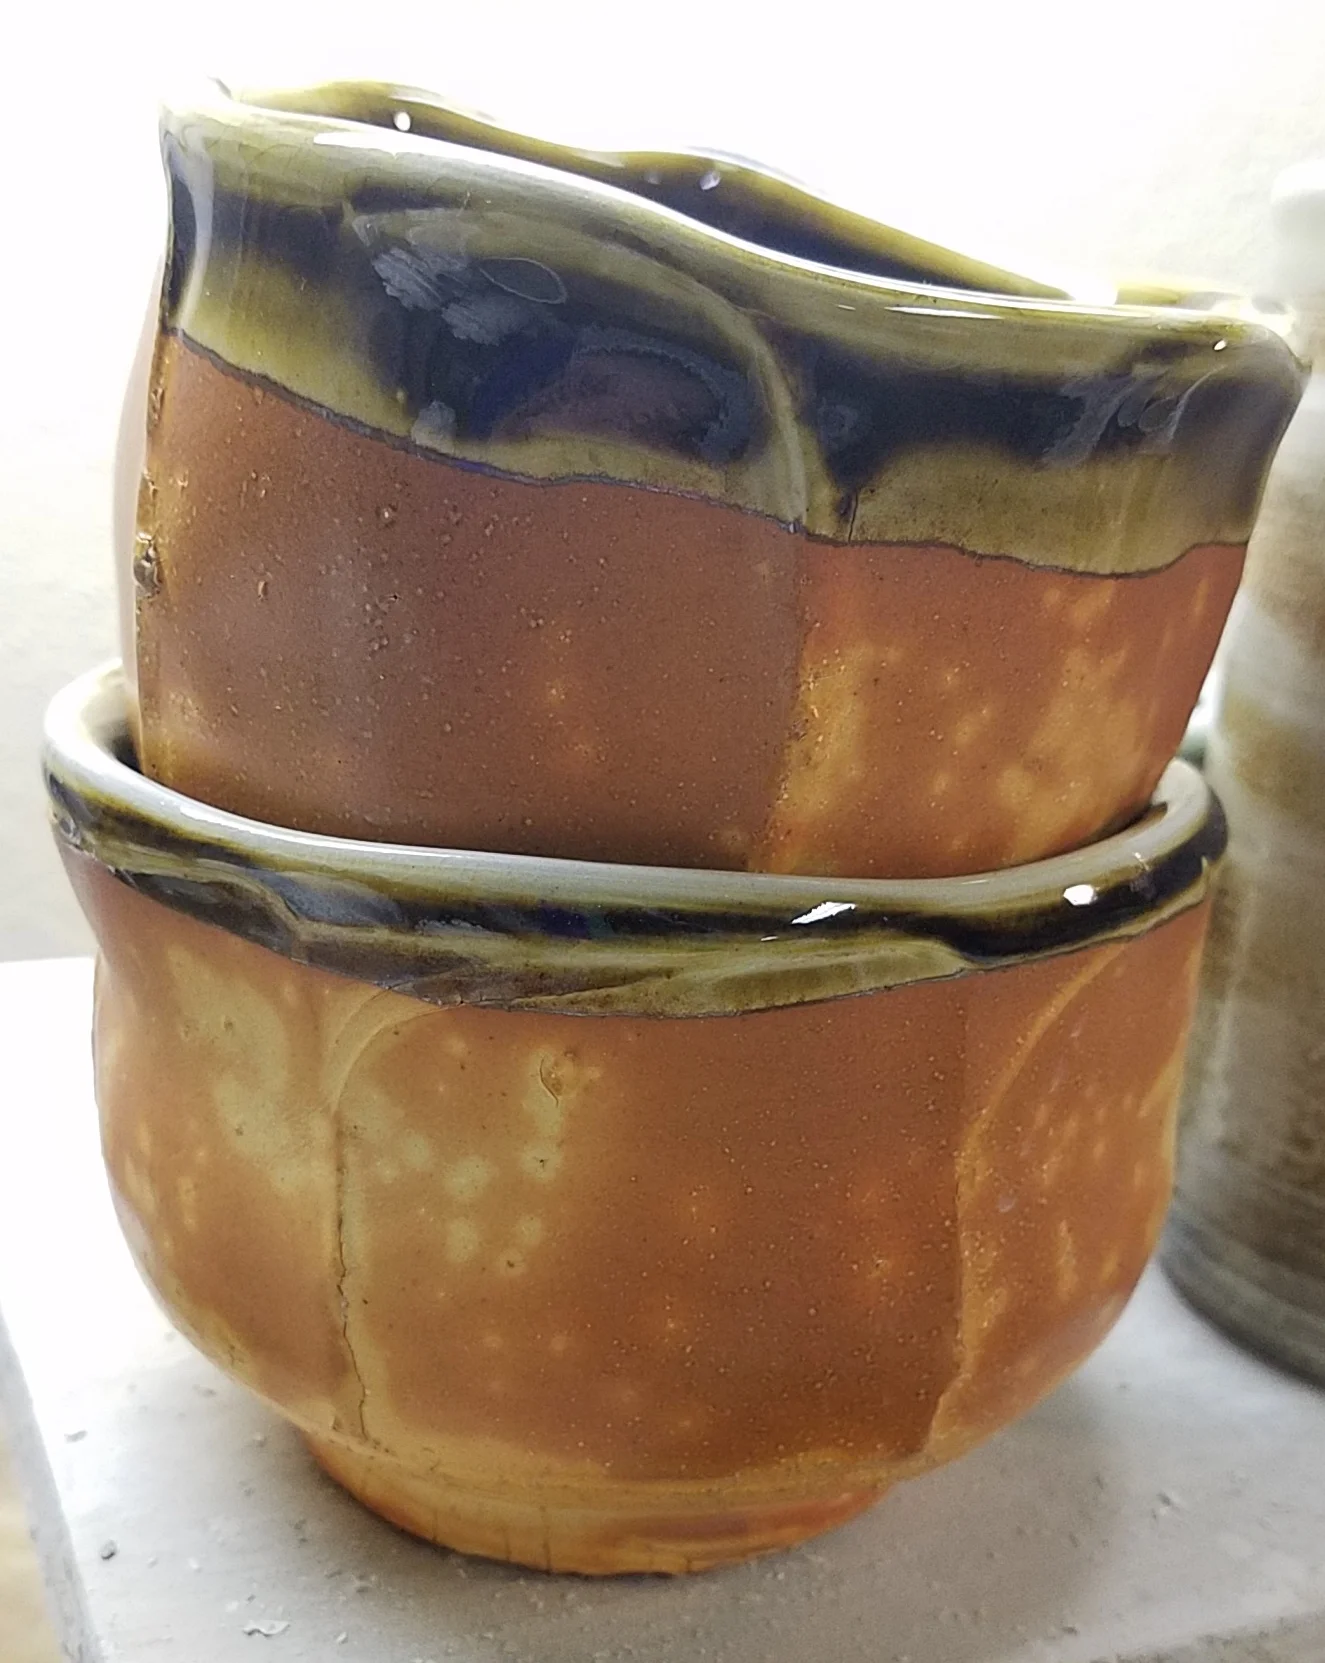
Sam calls these "2nd chance pots."

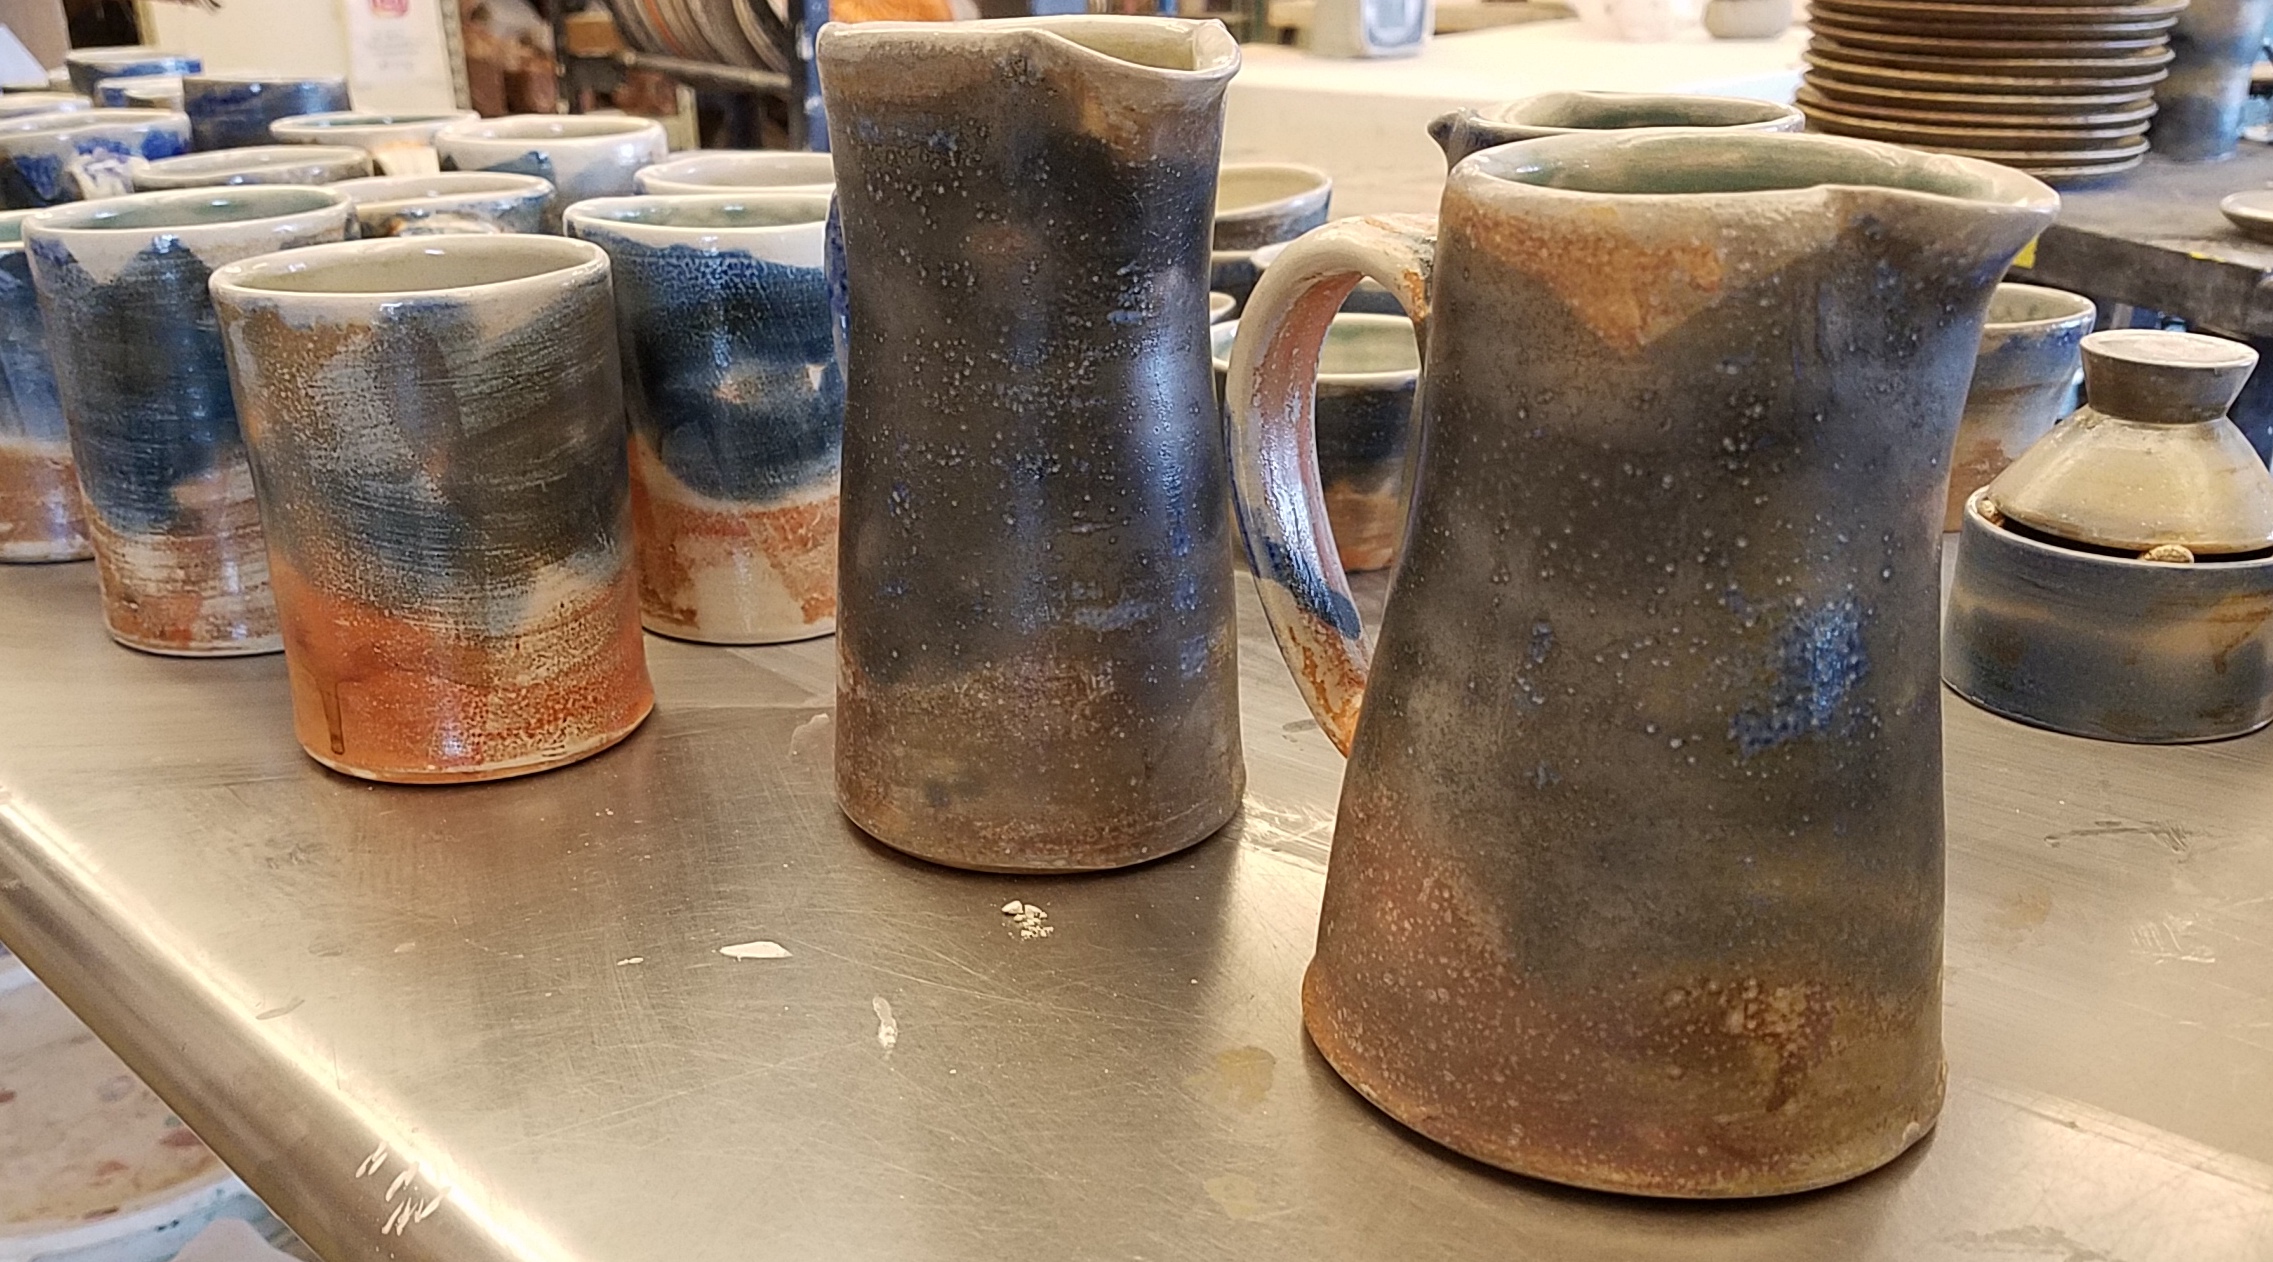
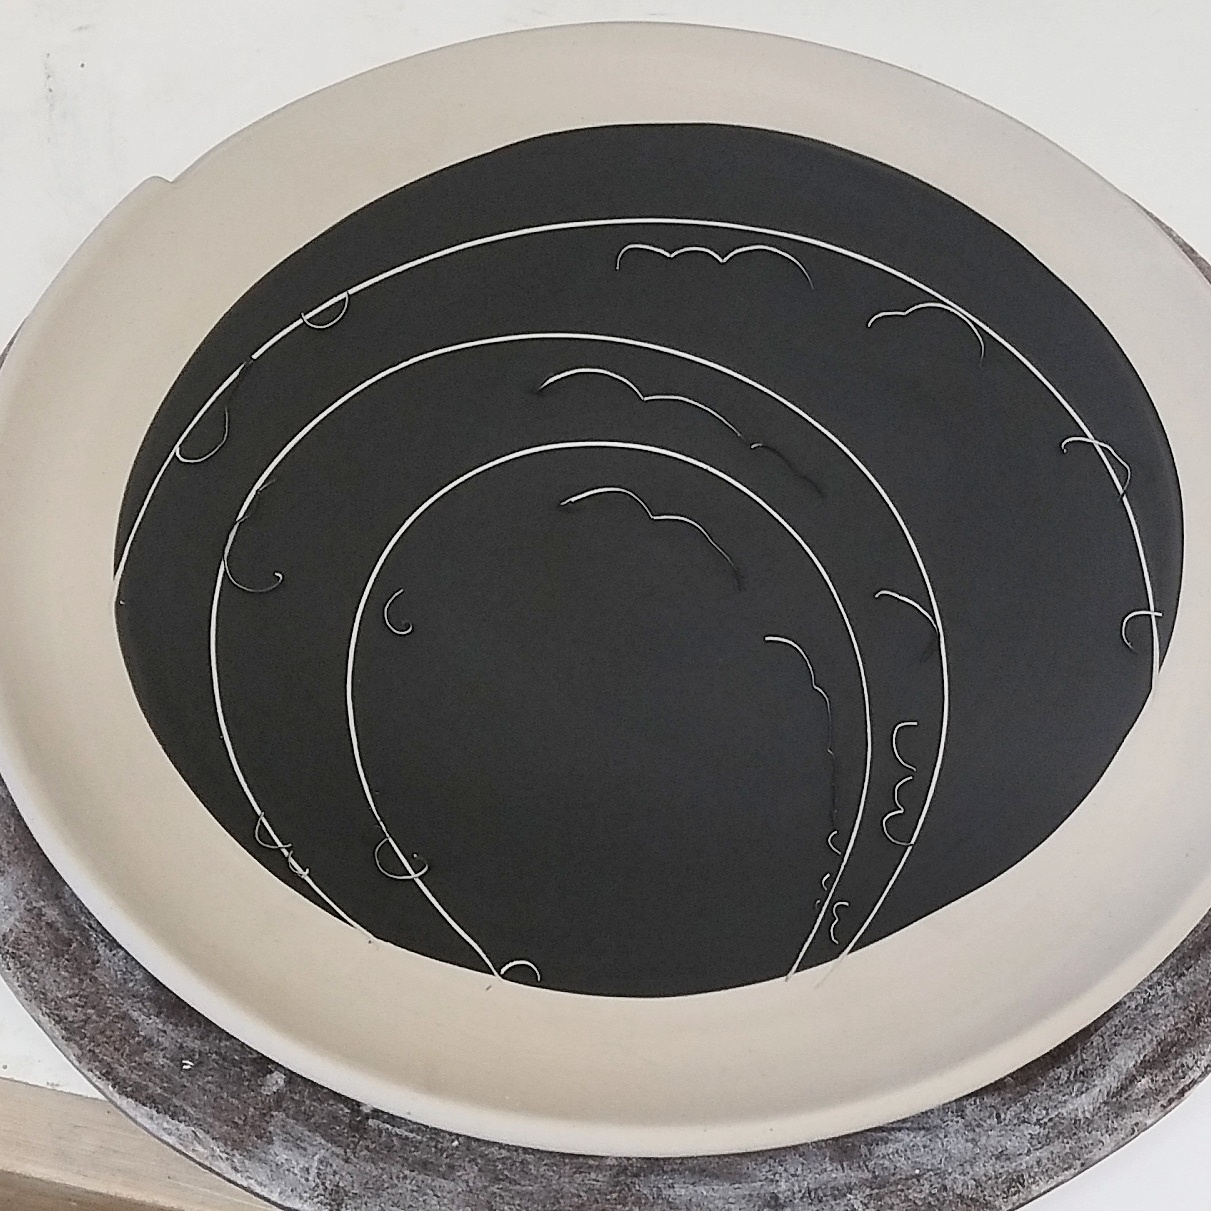
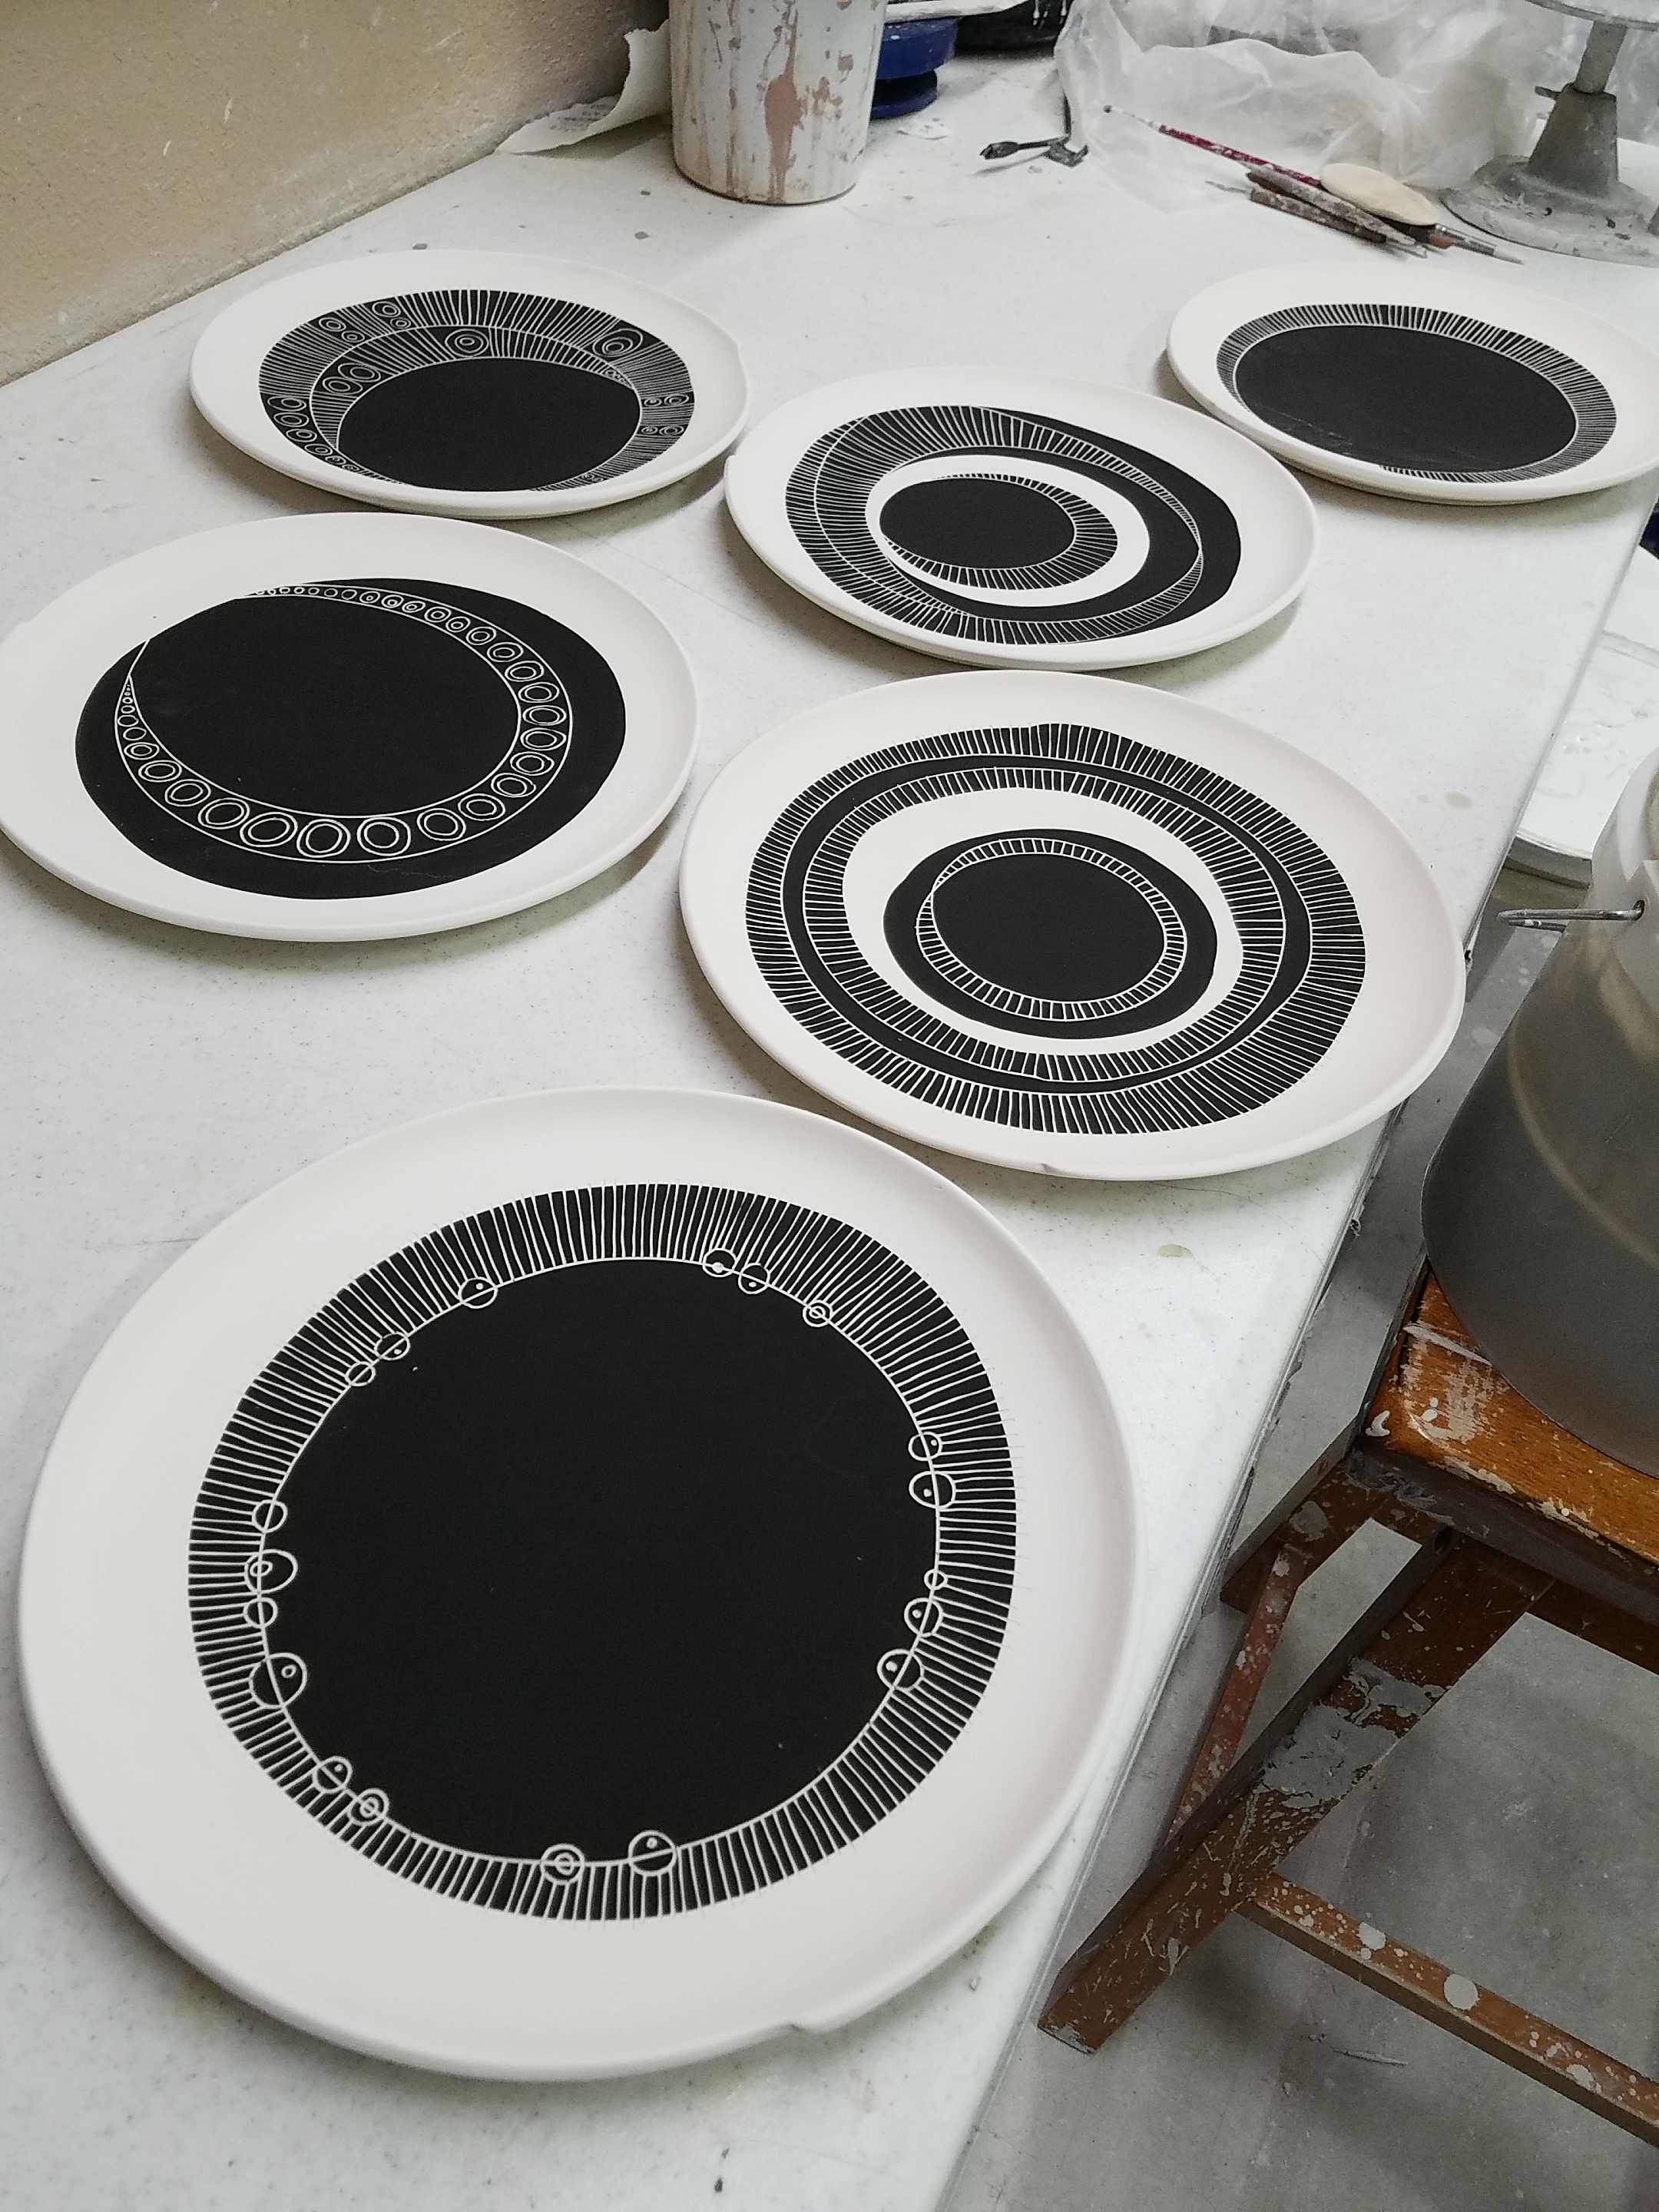
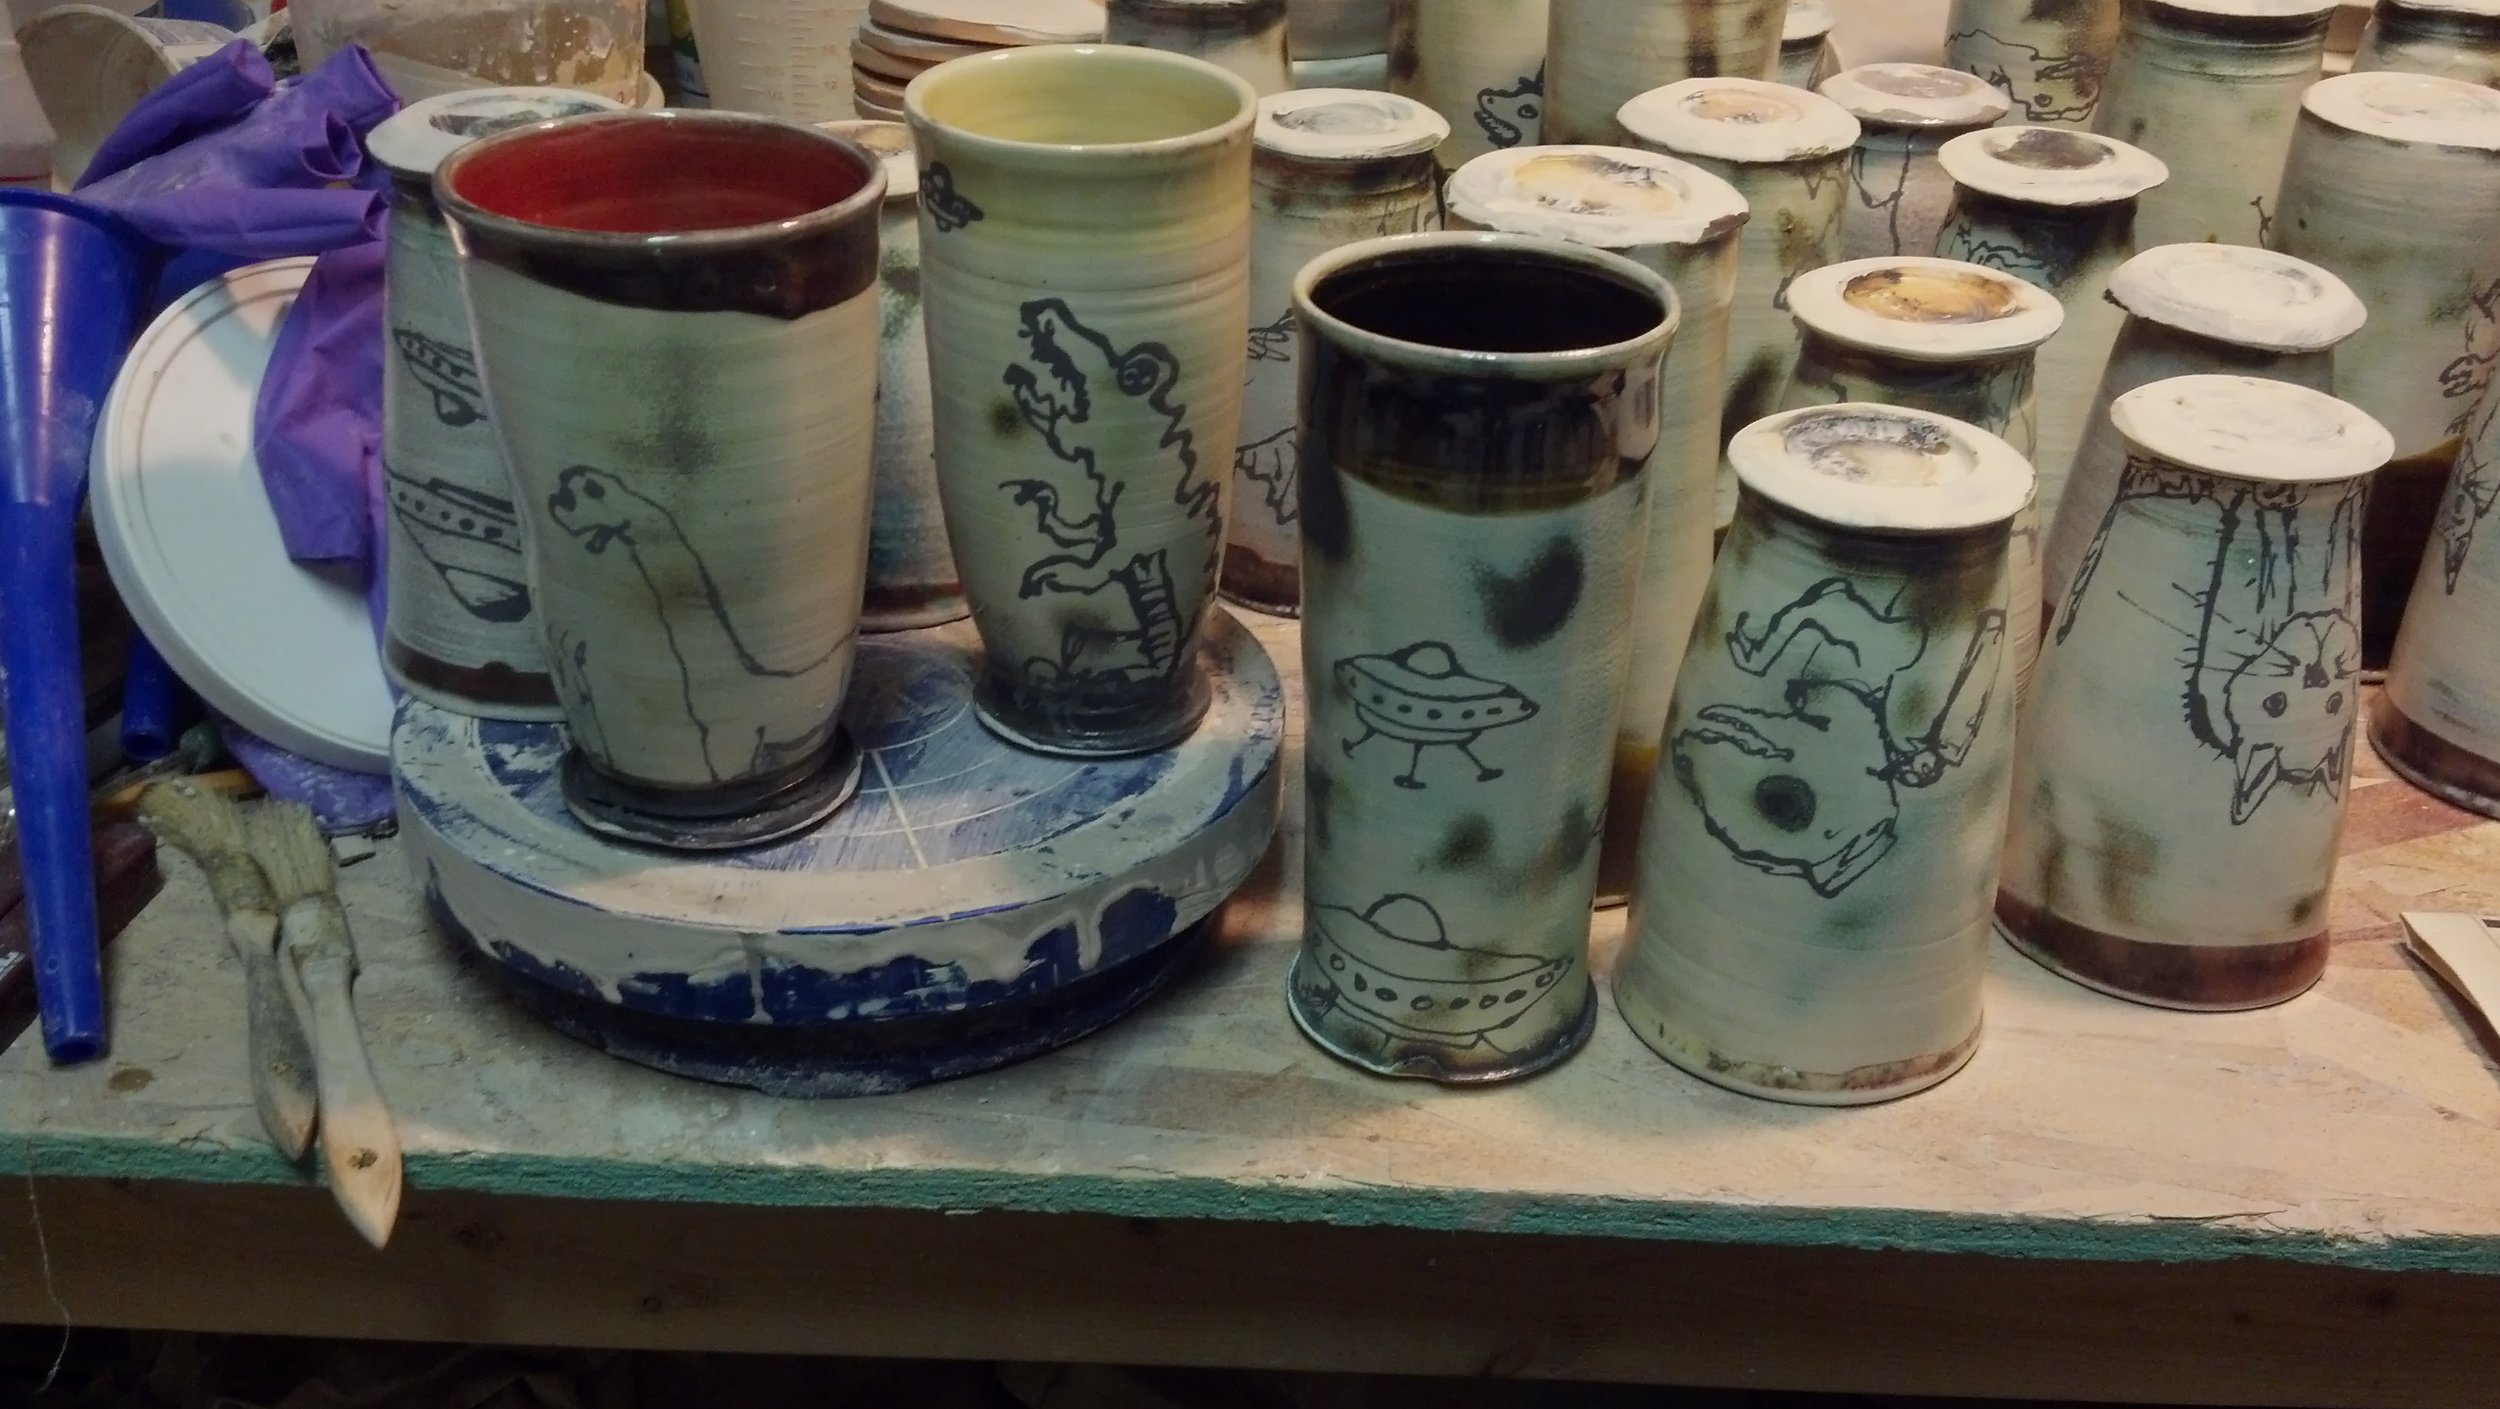
After they come out of the kiln we draw onto the surface with underglaze. Sam doesn't know what the drawings will depict until he sees the pieces after the soda firing, then he reacts to the surface and glaze oddities.

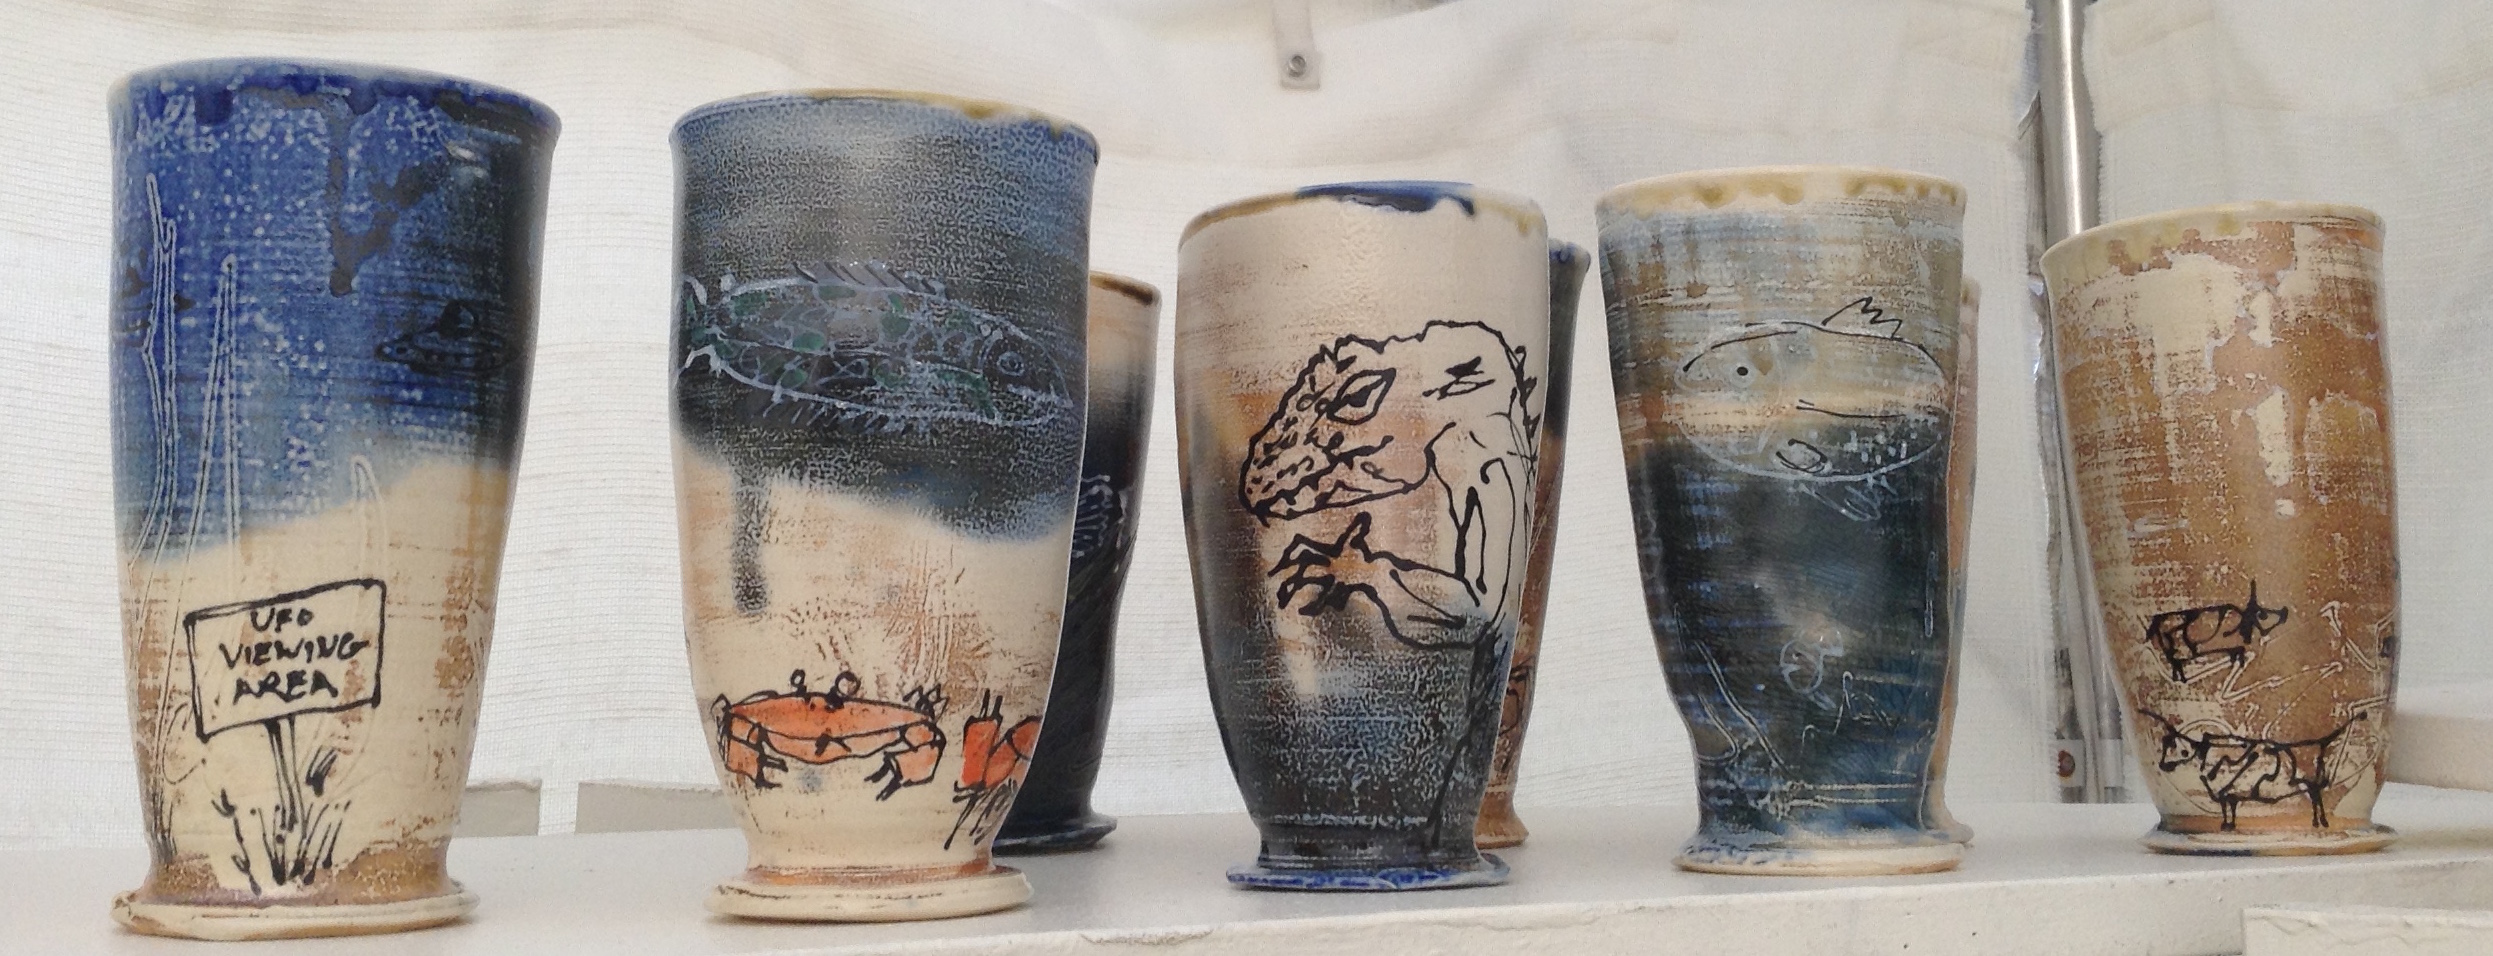
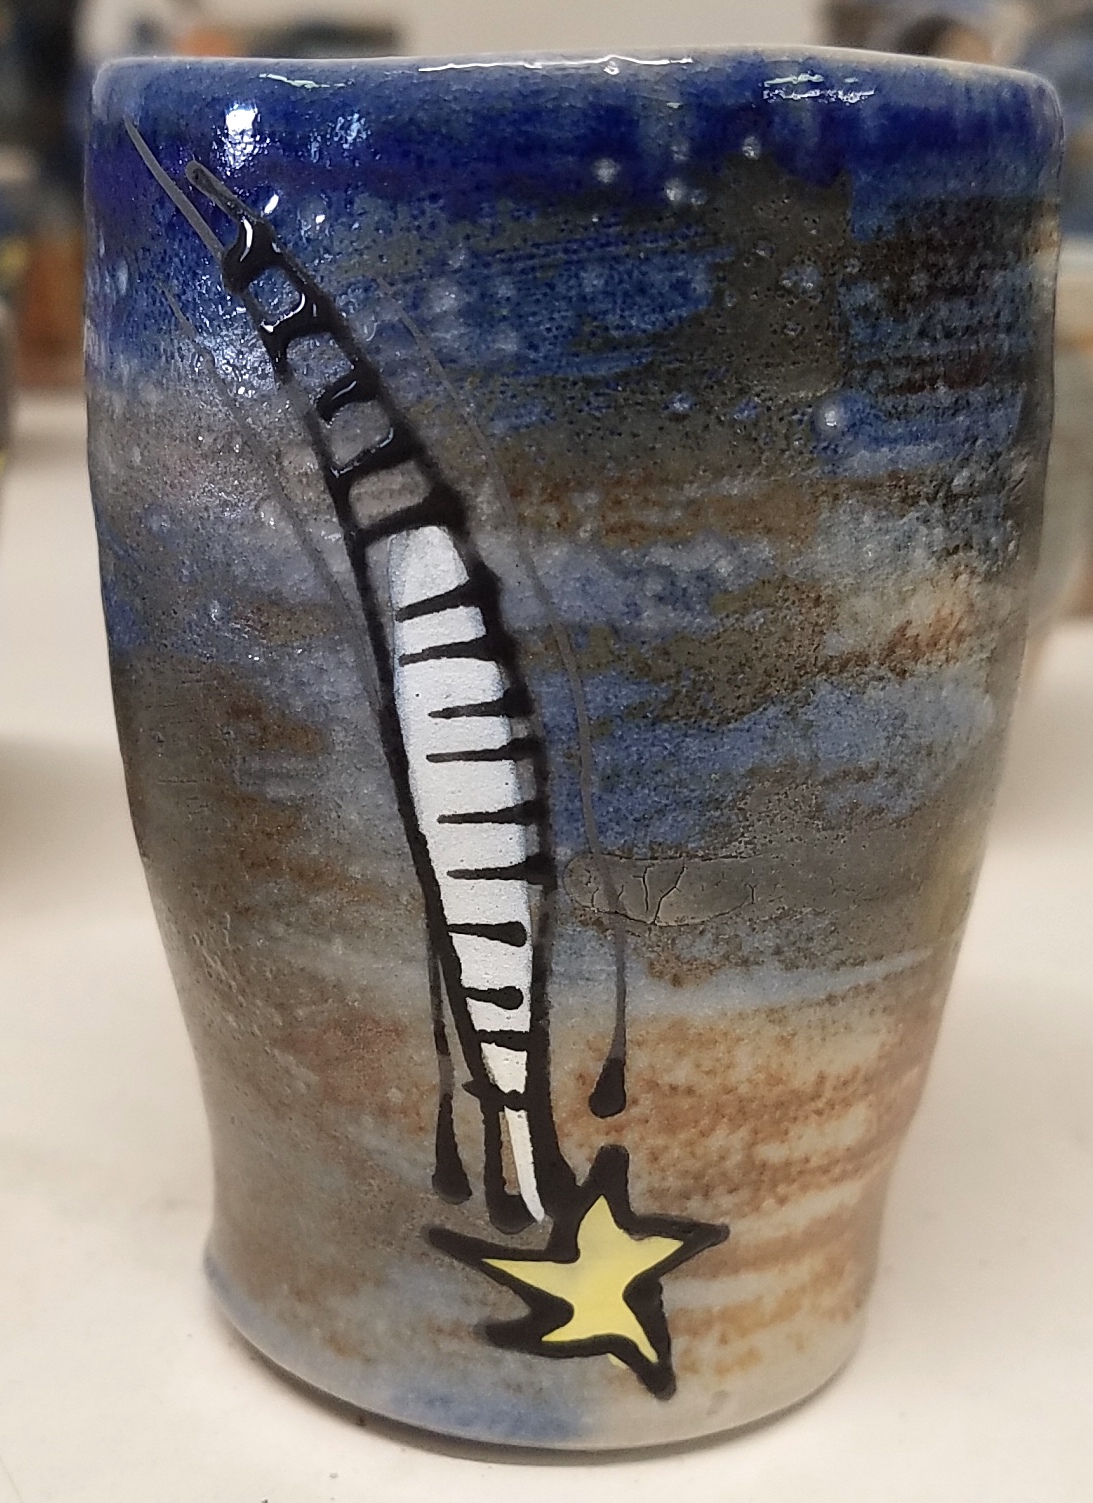
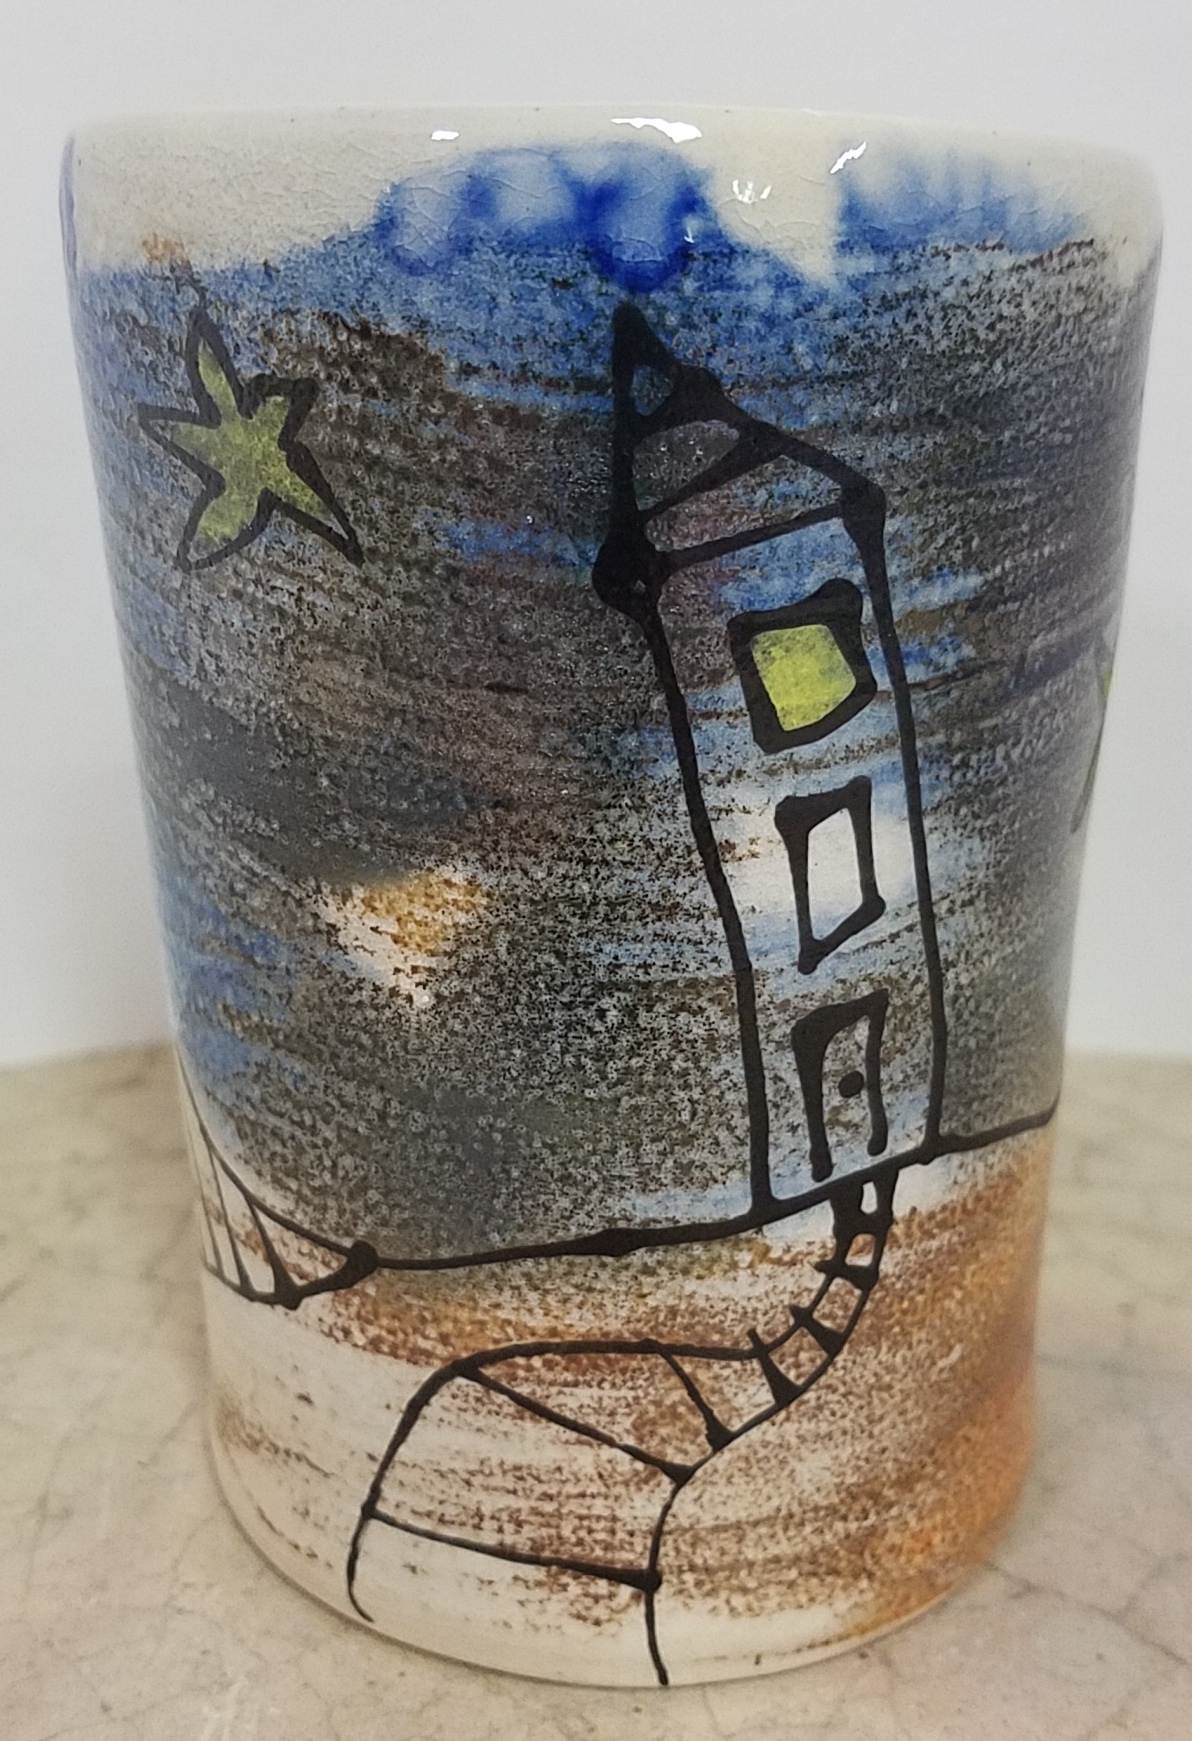
I try to be loose with my designs, reacting to the atmospheric effects from the stains, though I have an idea of what will happen from the beginning. Sometimes there are strange glaze or surface flaws that I can work in (shooting star on right.) This is pretty loose for me, but my drawings are always tighter than Sam's crazy ideas.

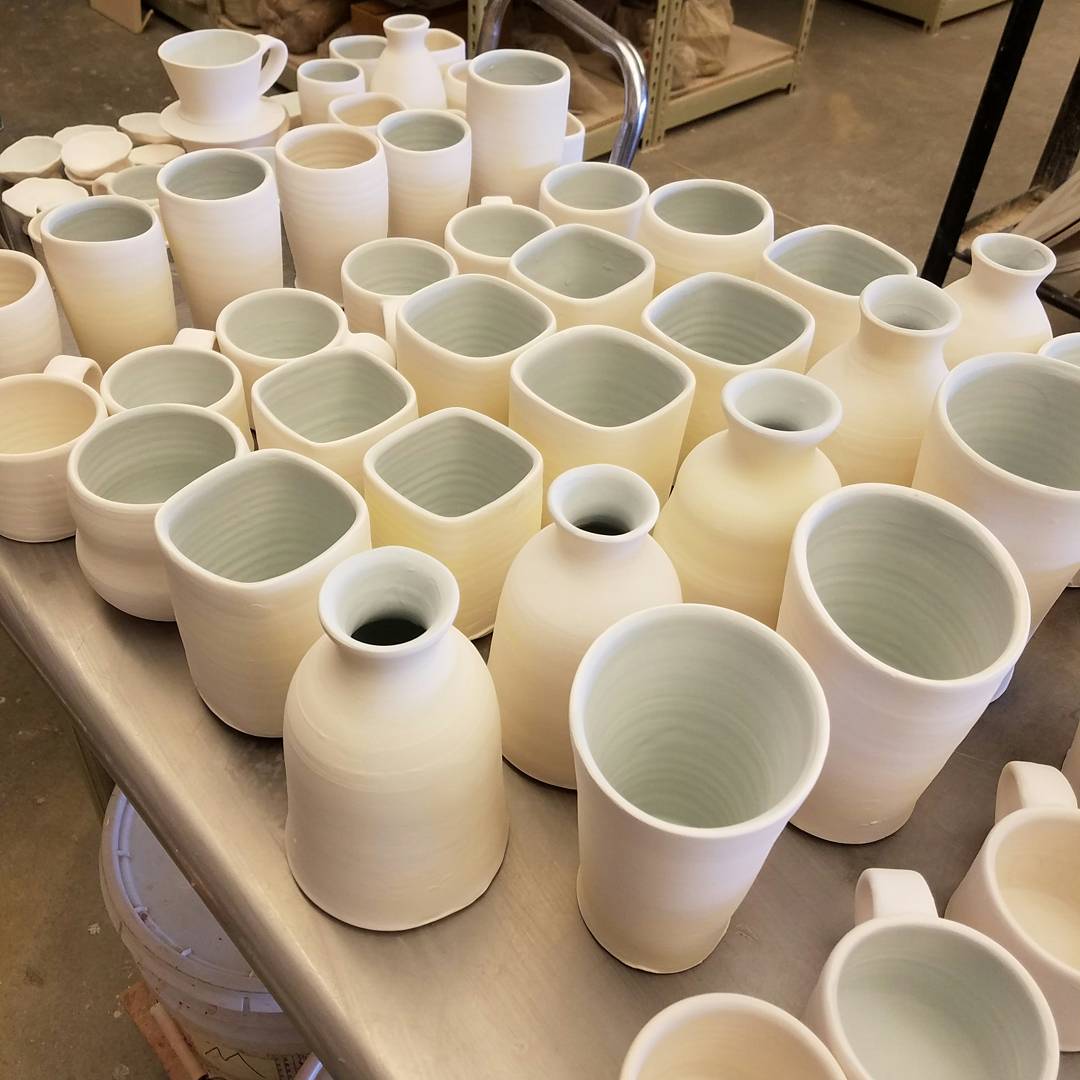
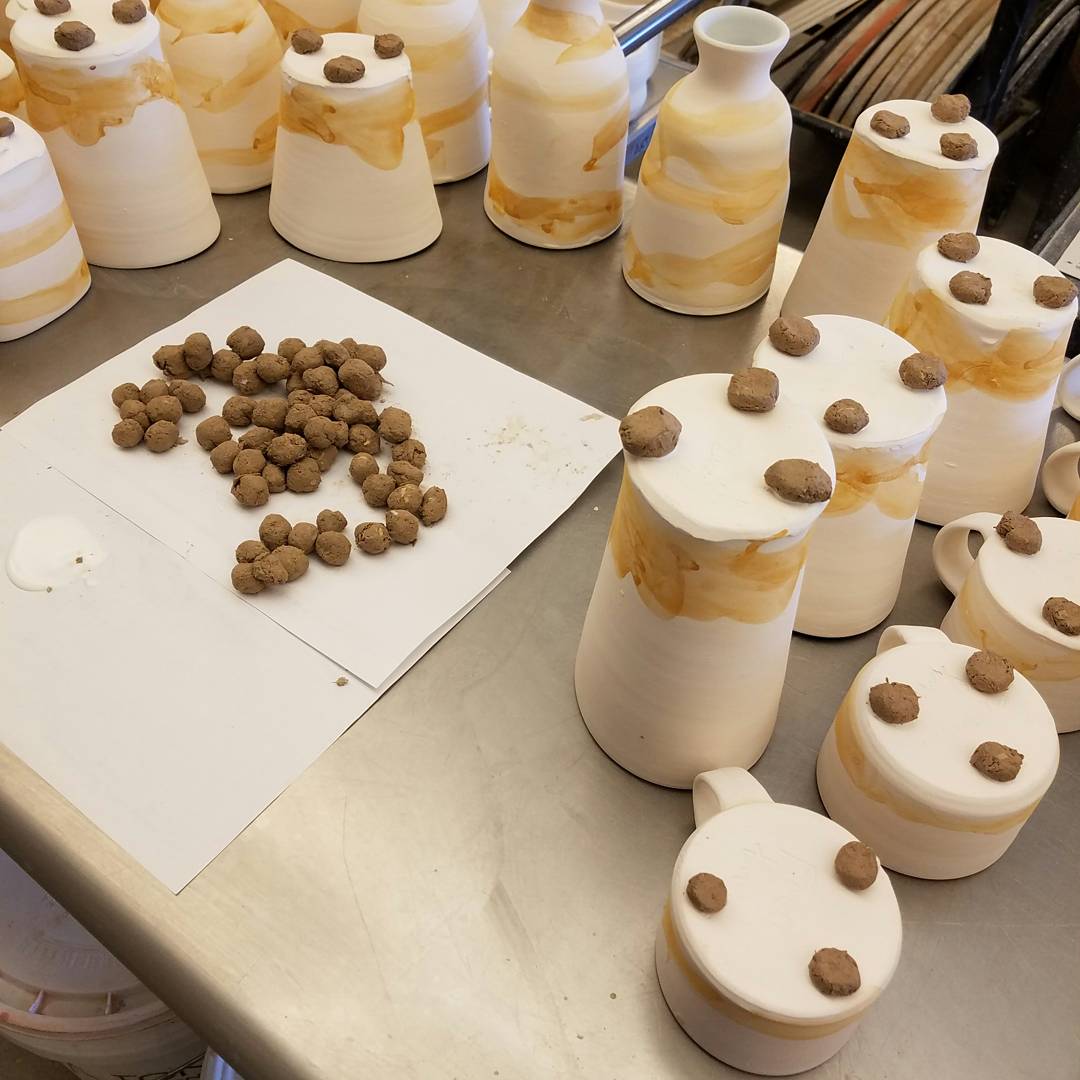
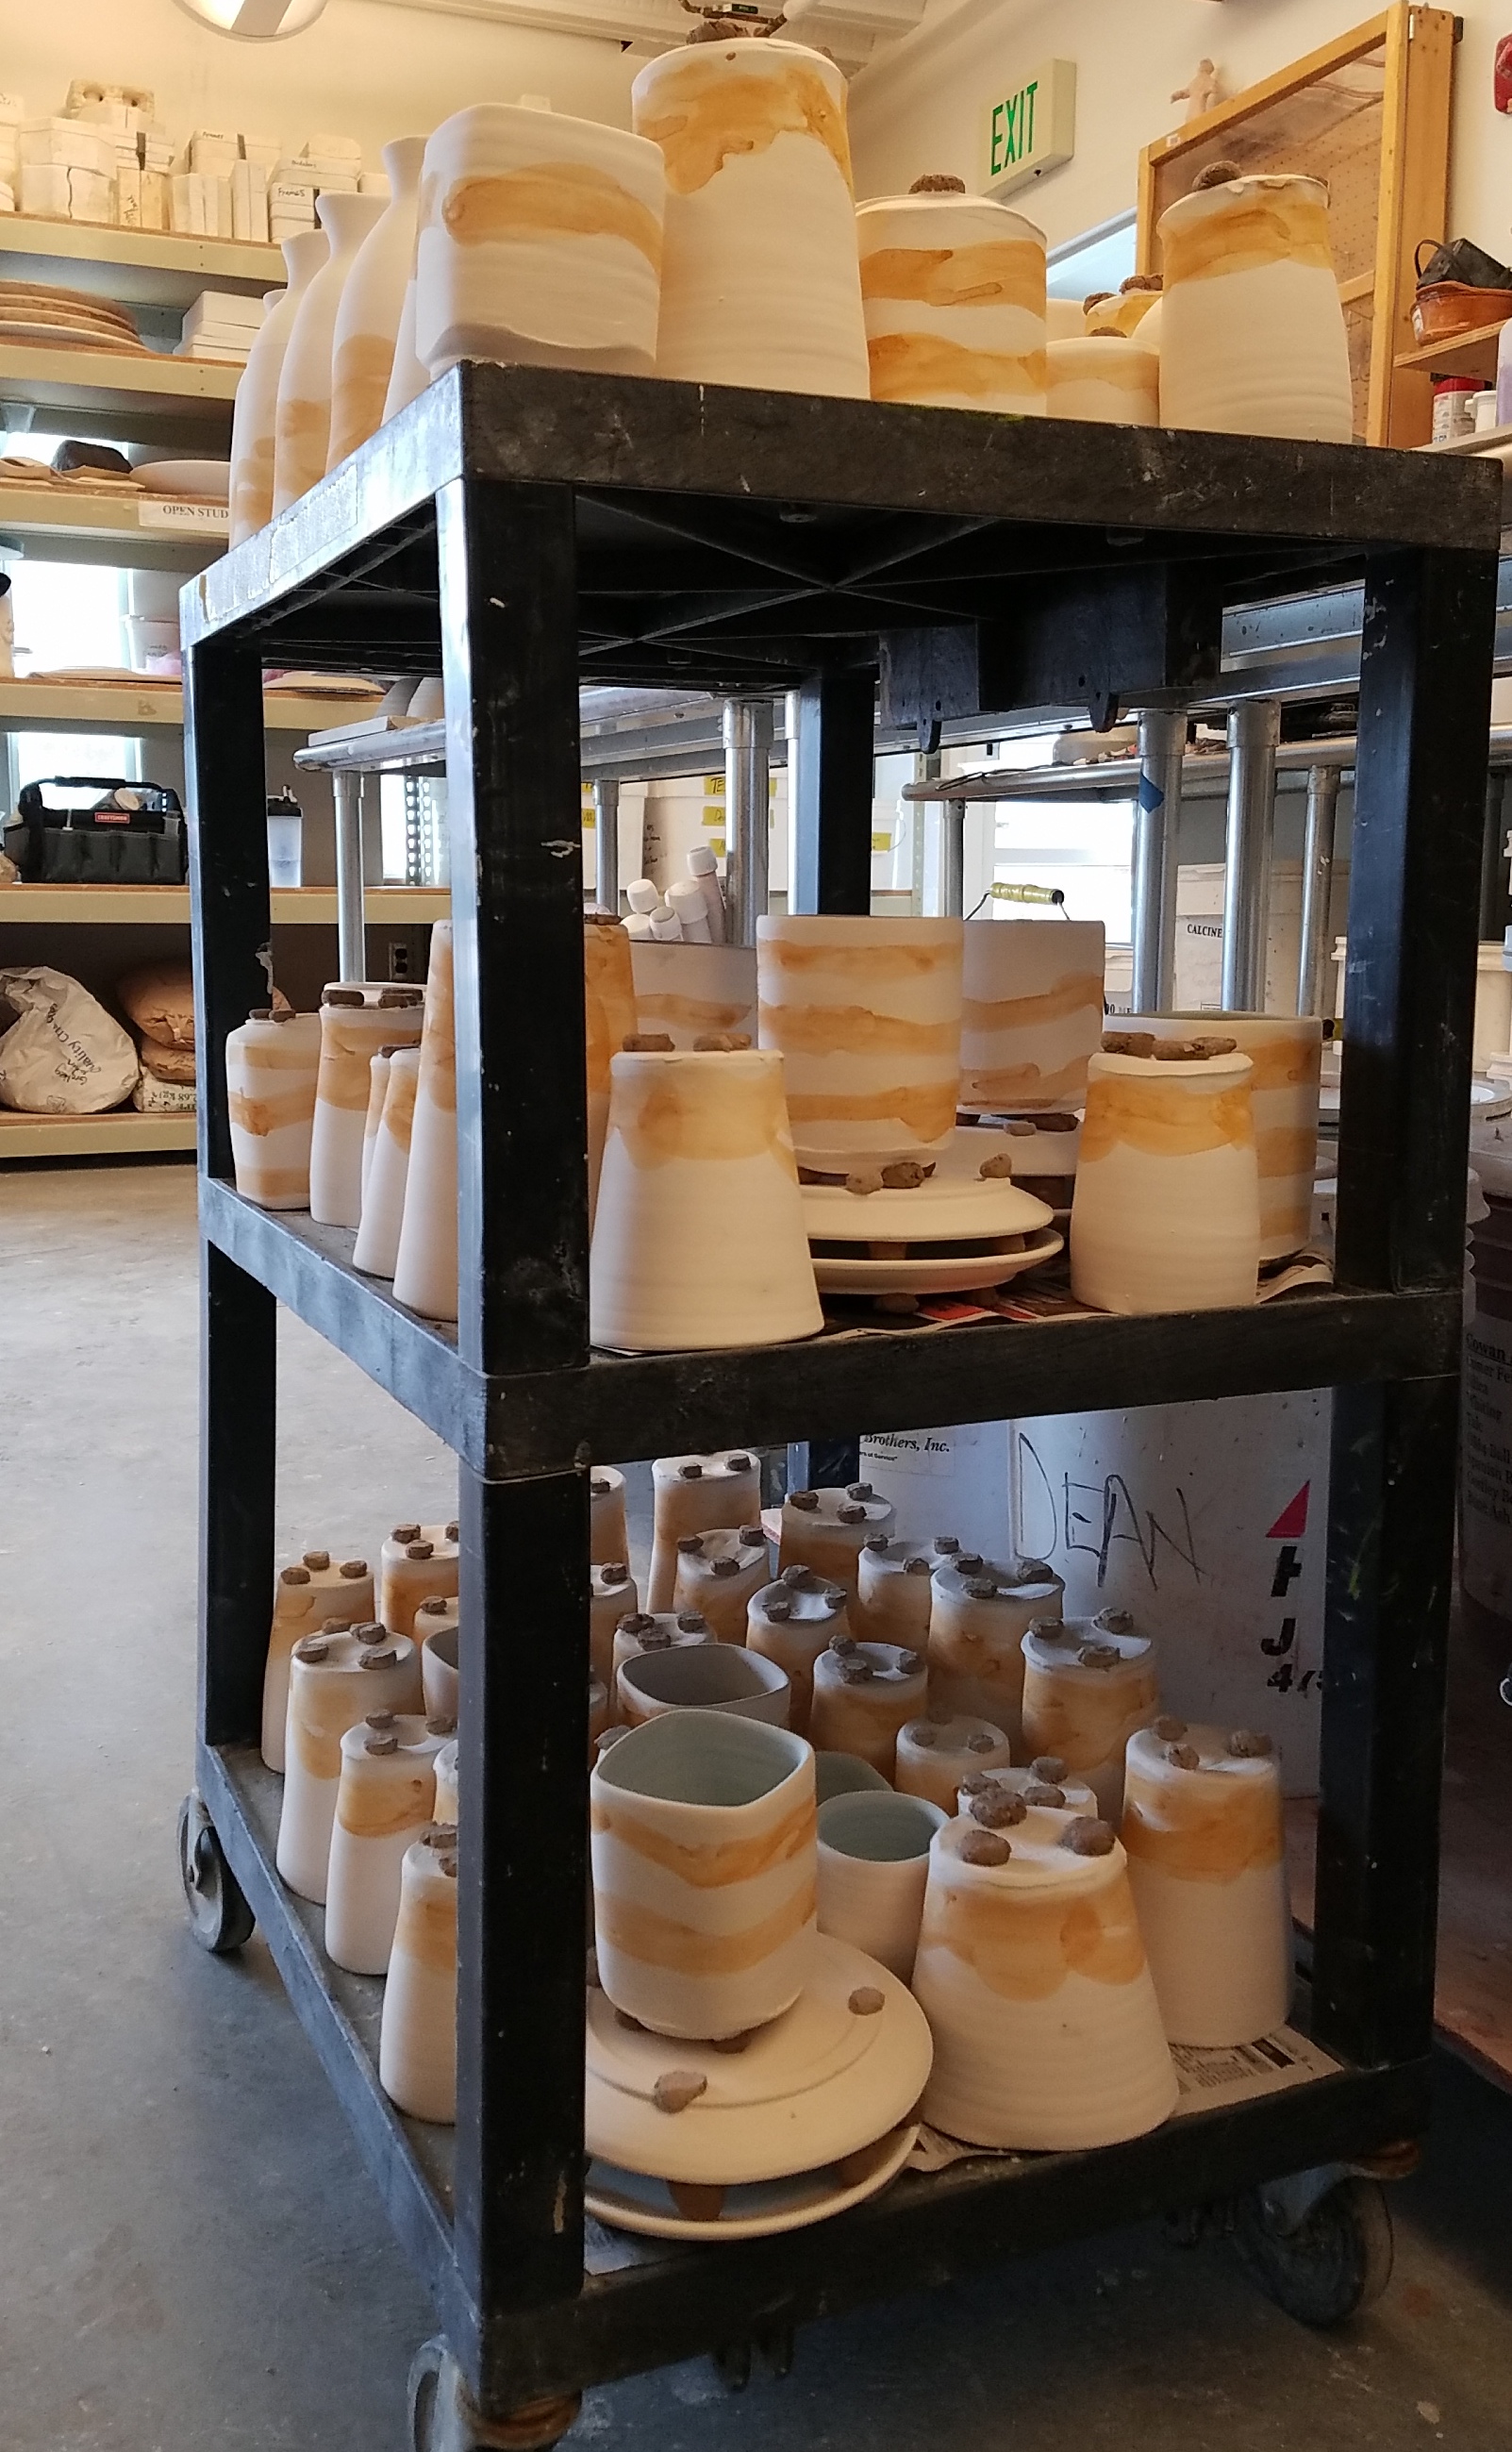
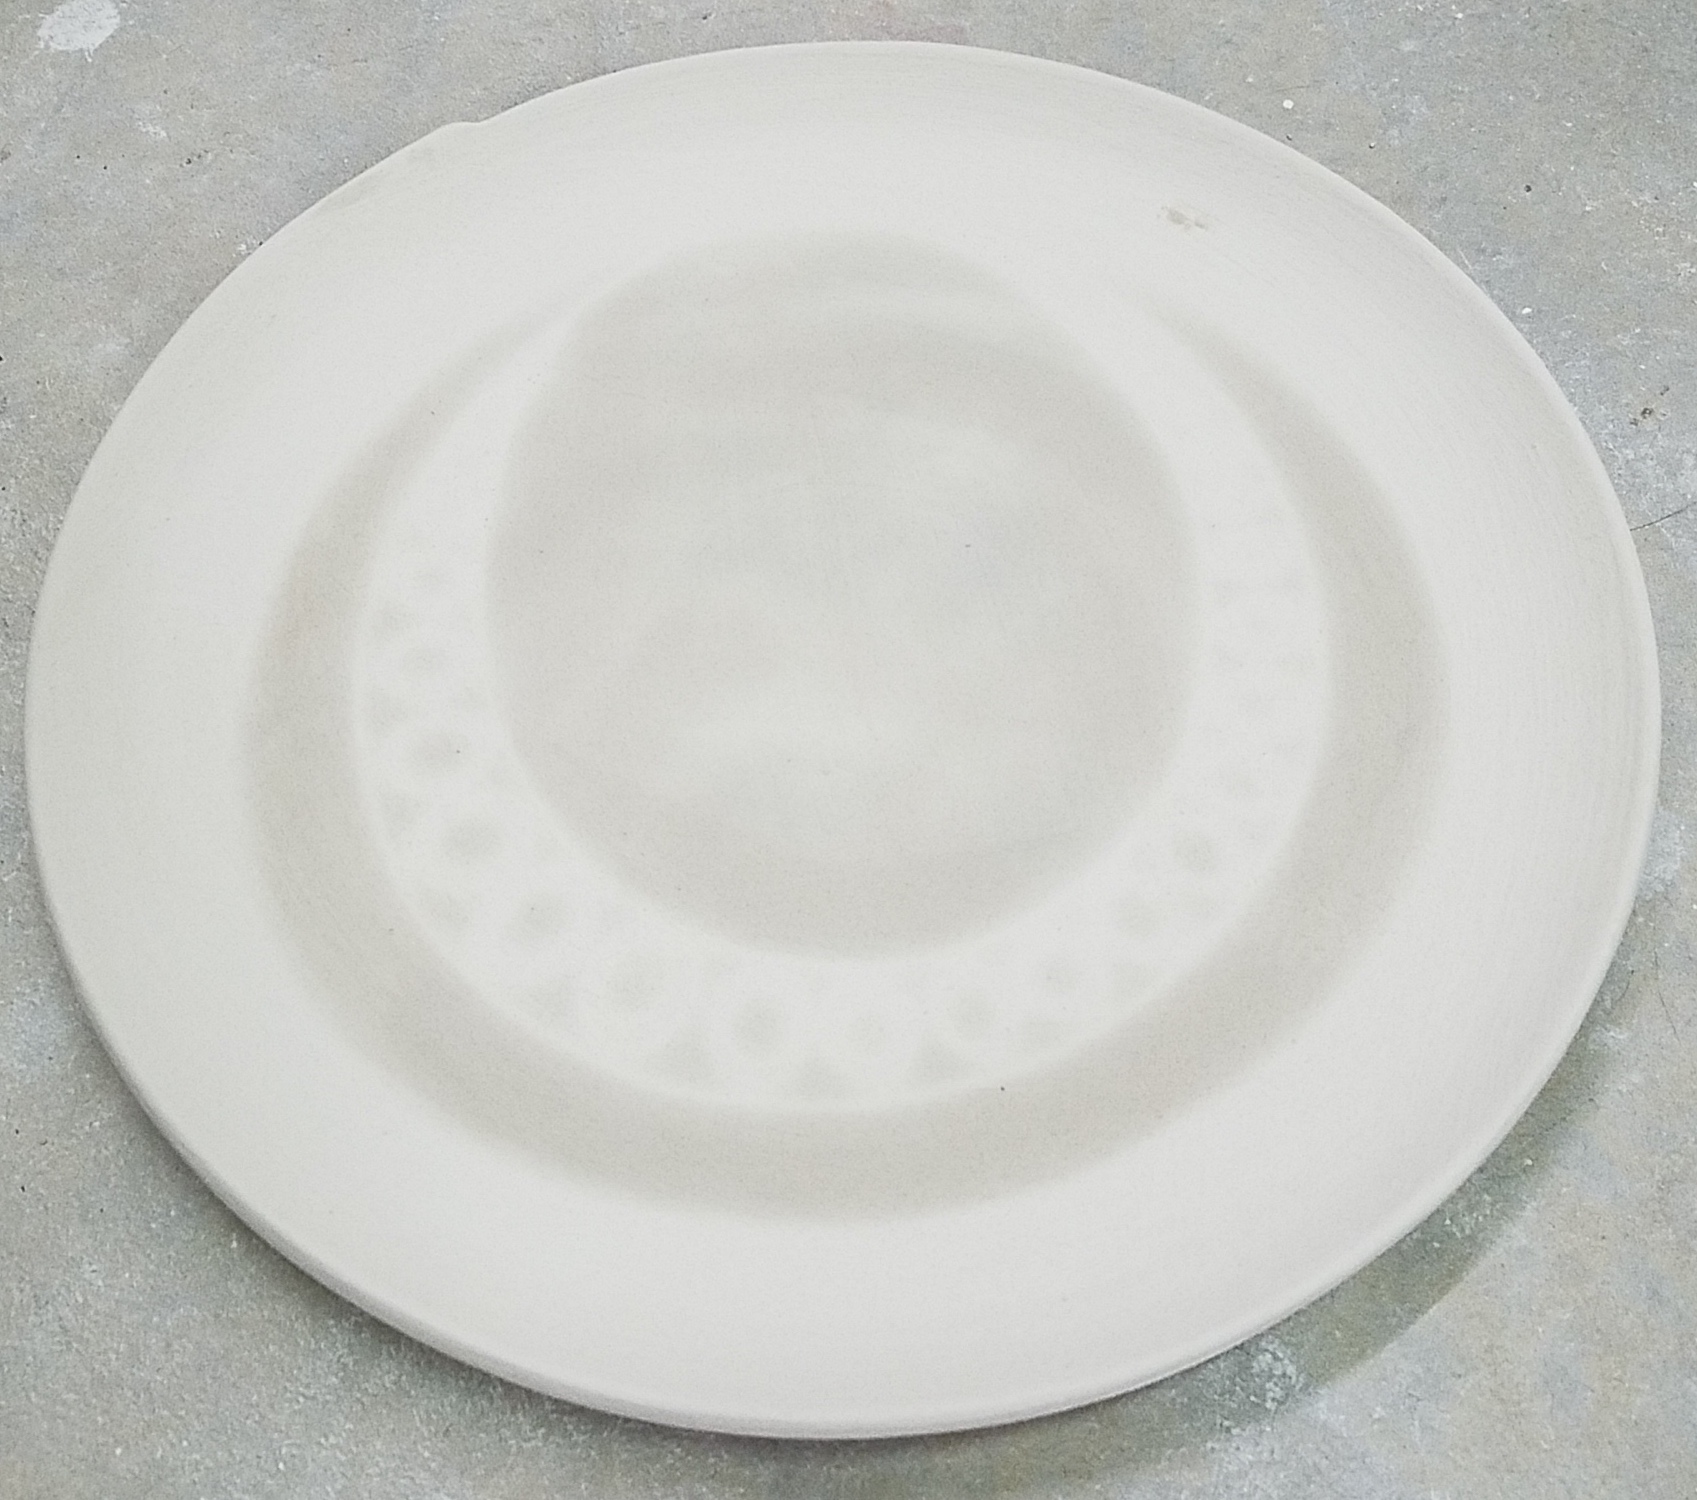
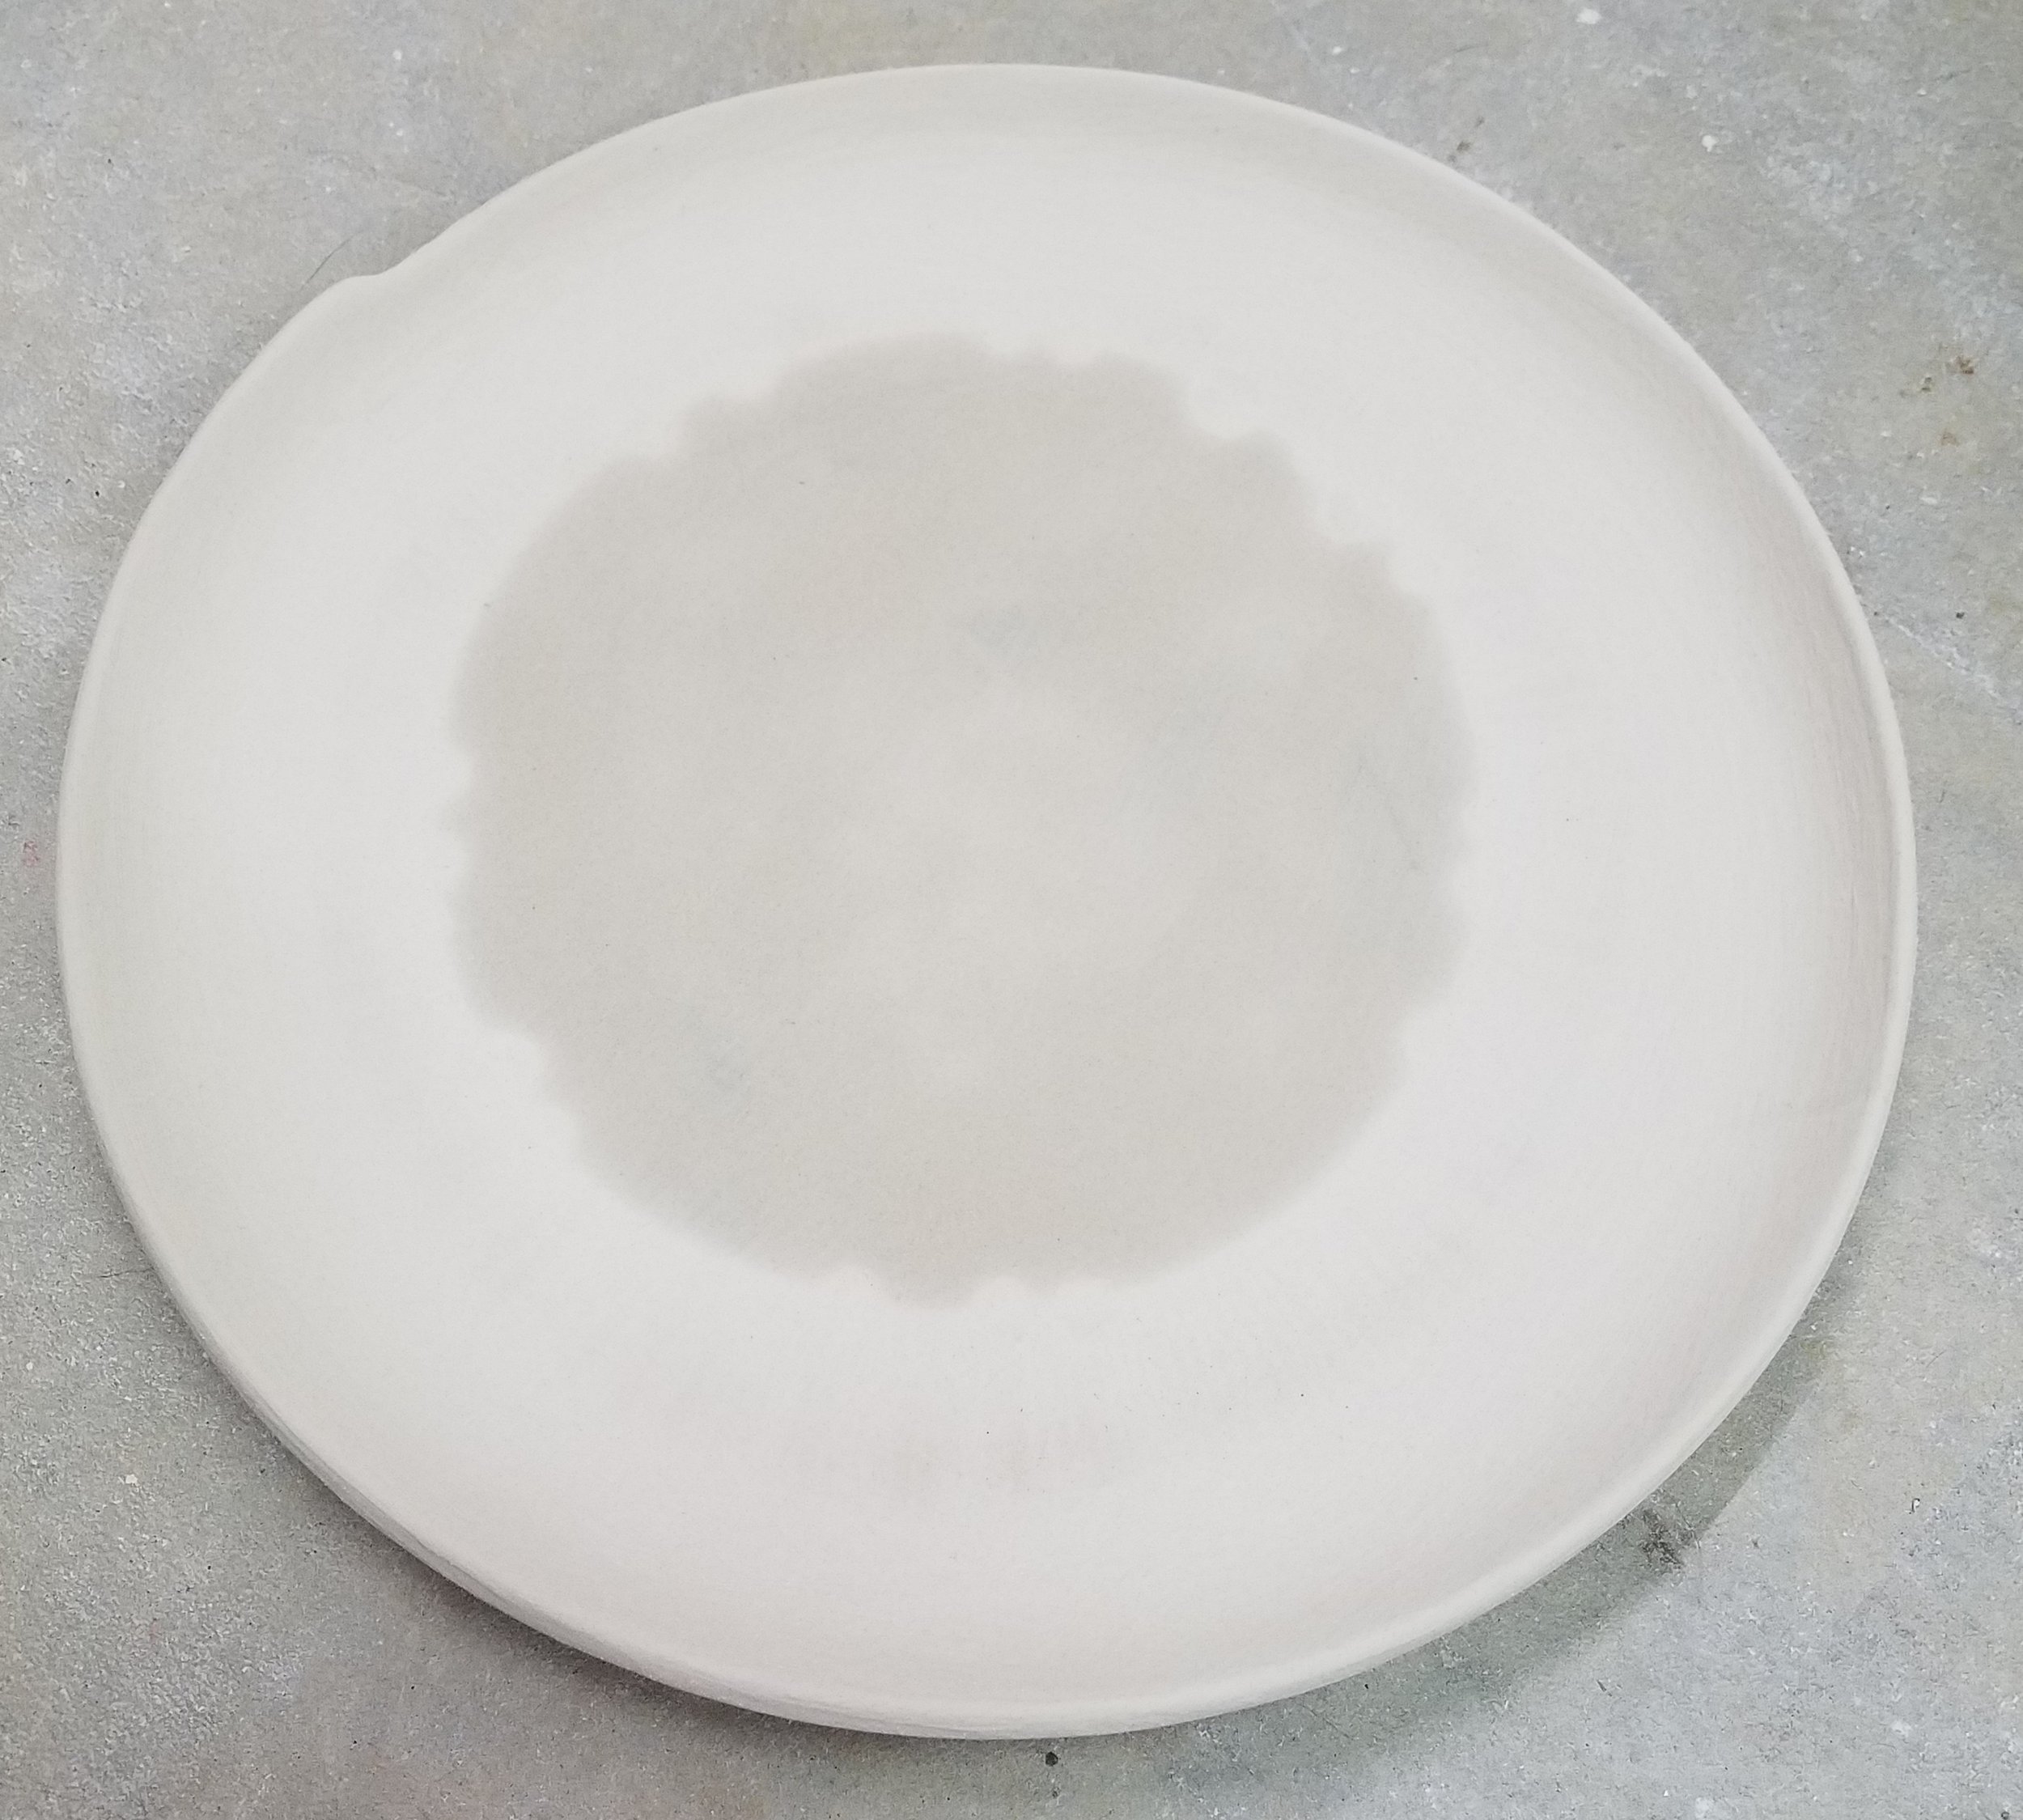
Still not done! Now that the underglaze drawings are dry, it's time to re-fire the pieces. Remember how we had to add wadding to the base of the pots so they wouldn't stick to the kiln shelf? Well, that has to happen again. This keeps the pieces lifted up so the residual soda doesn't stick to the shelf when it remelts during the firing. I keep the bits of wadding so I can save time and resources by reusing them. 

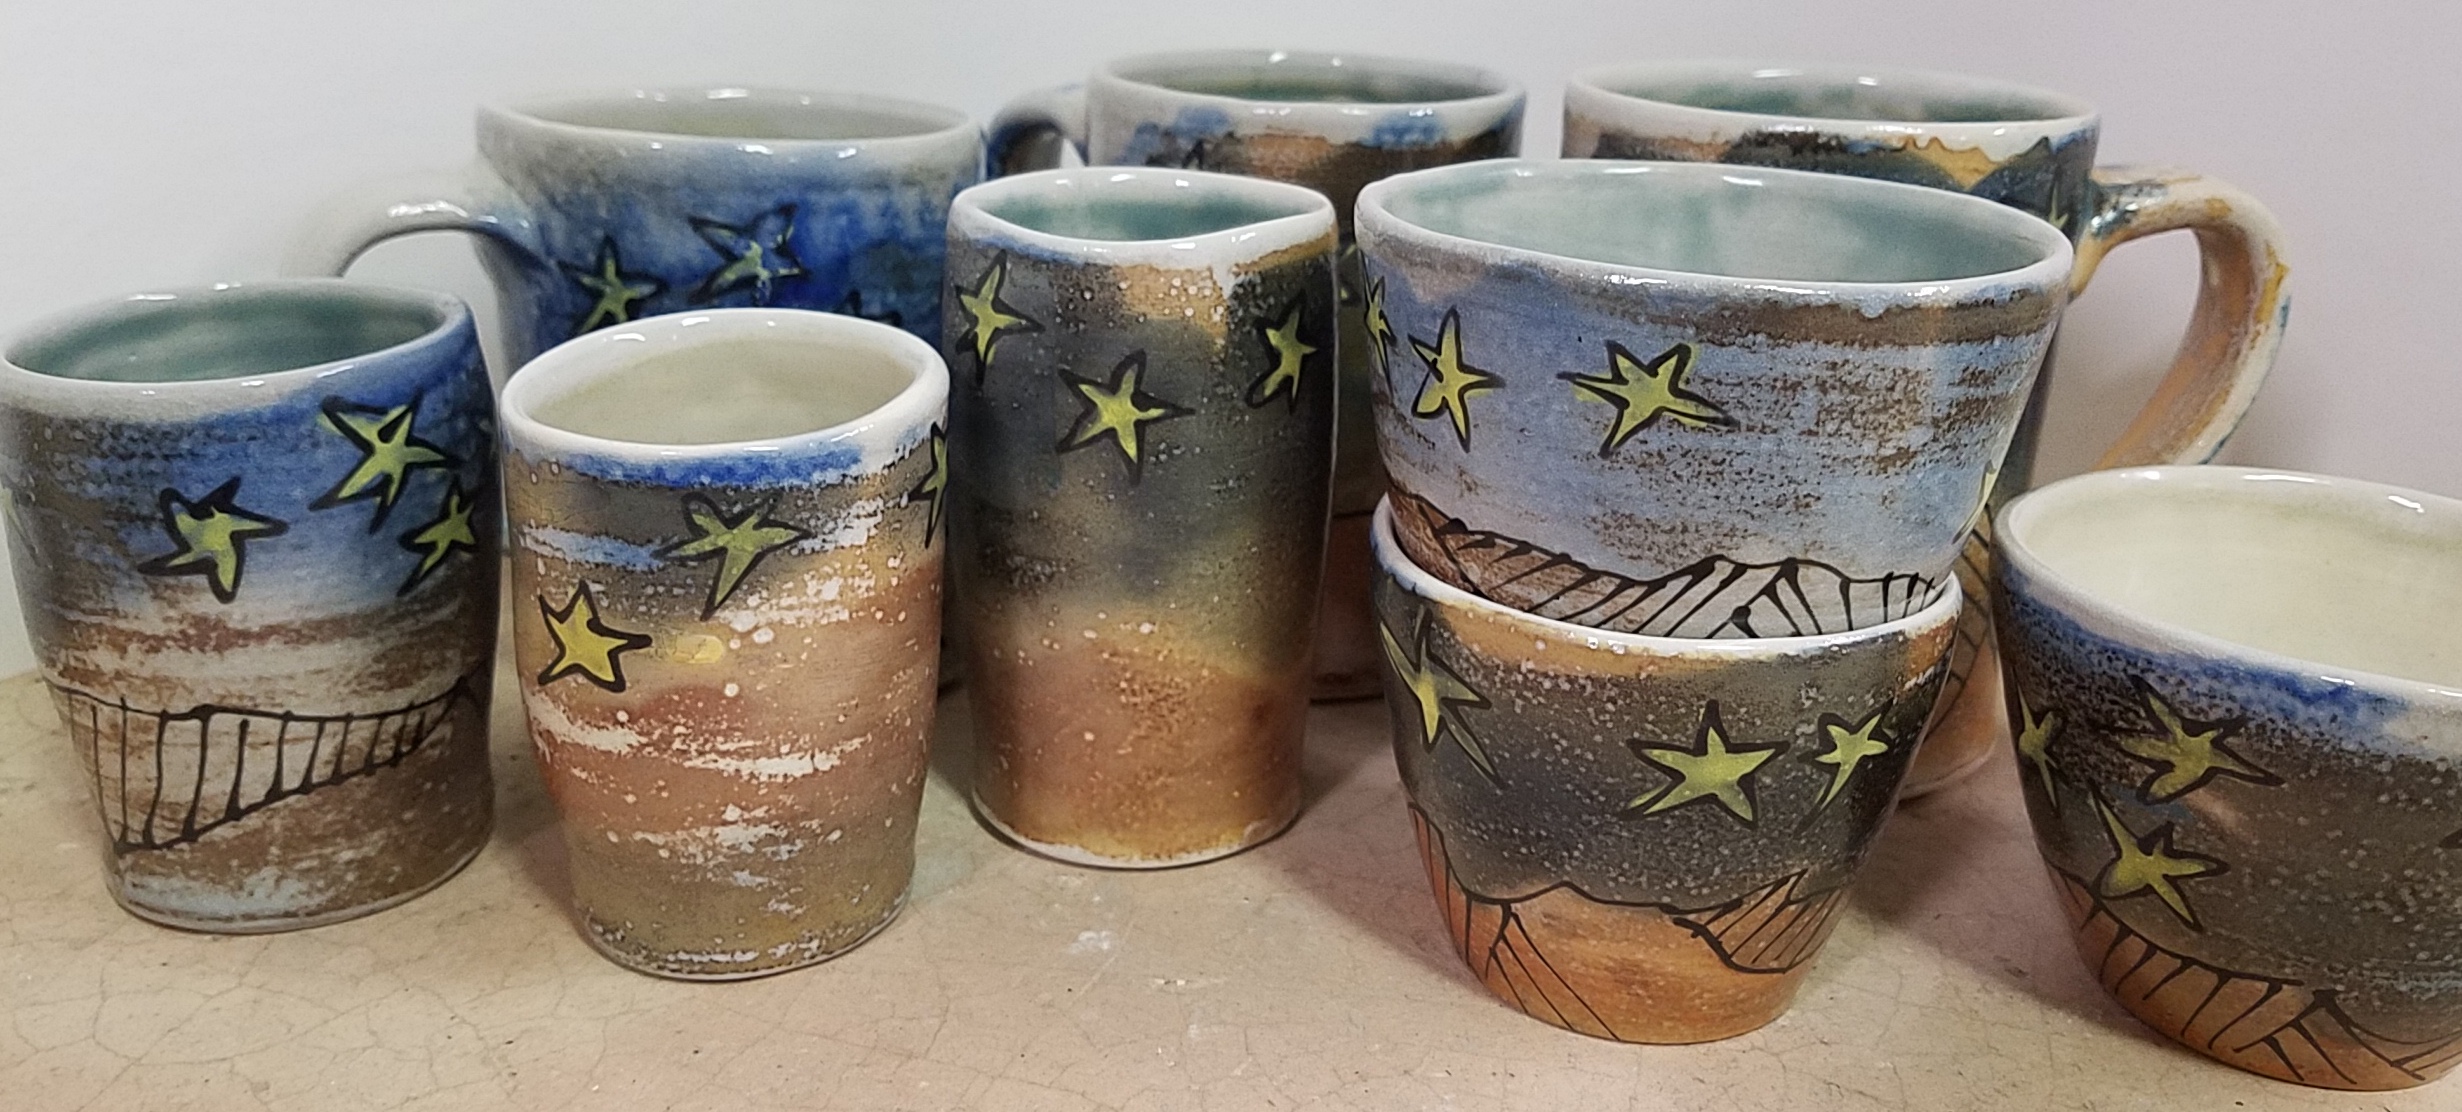
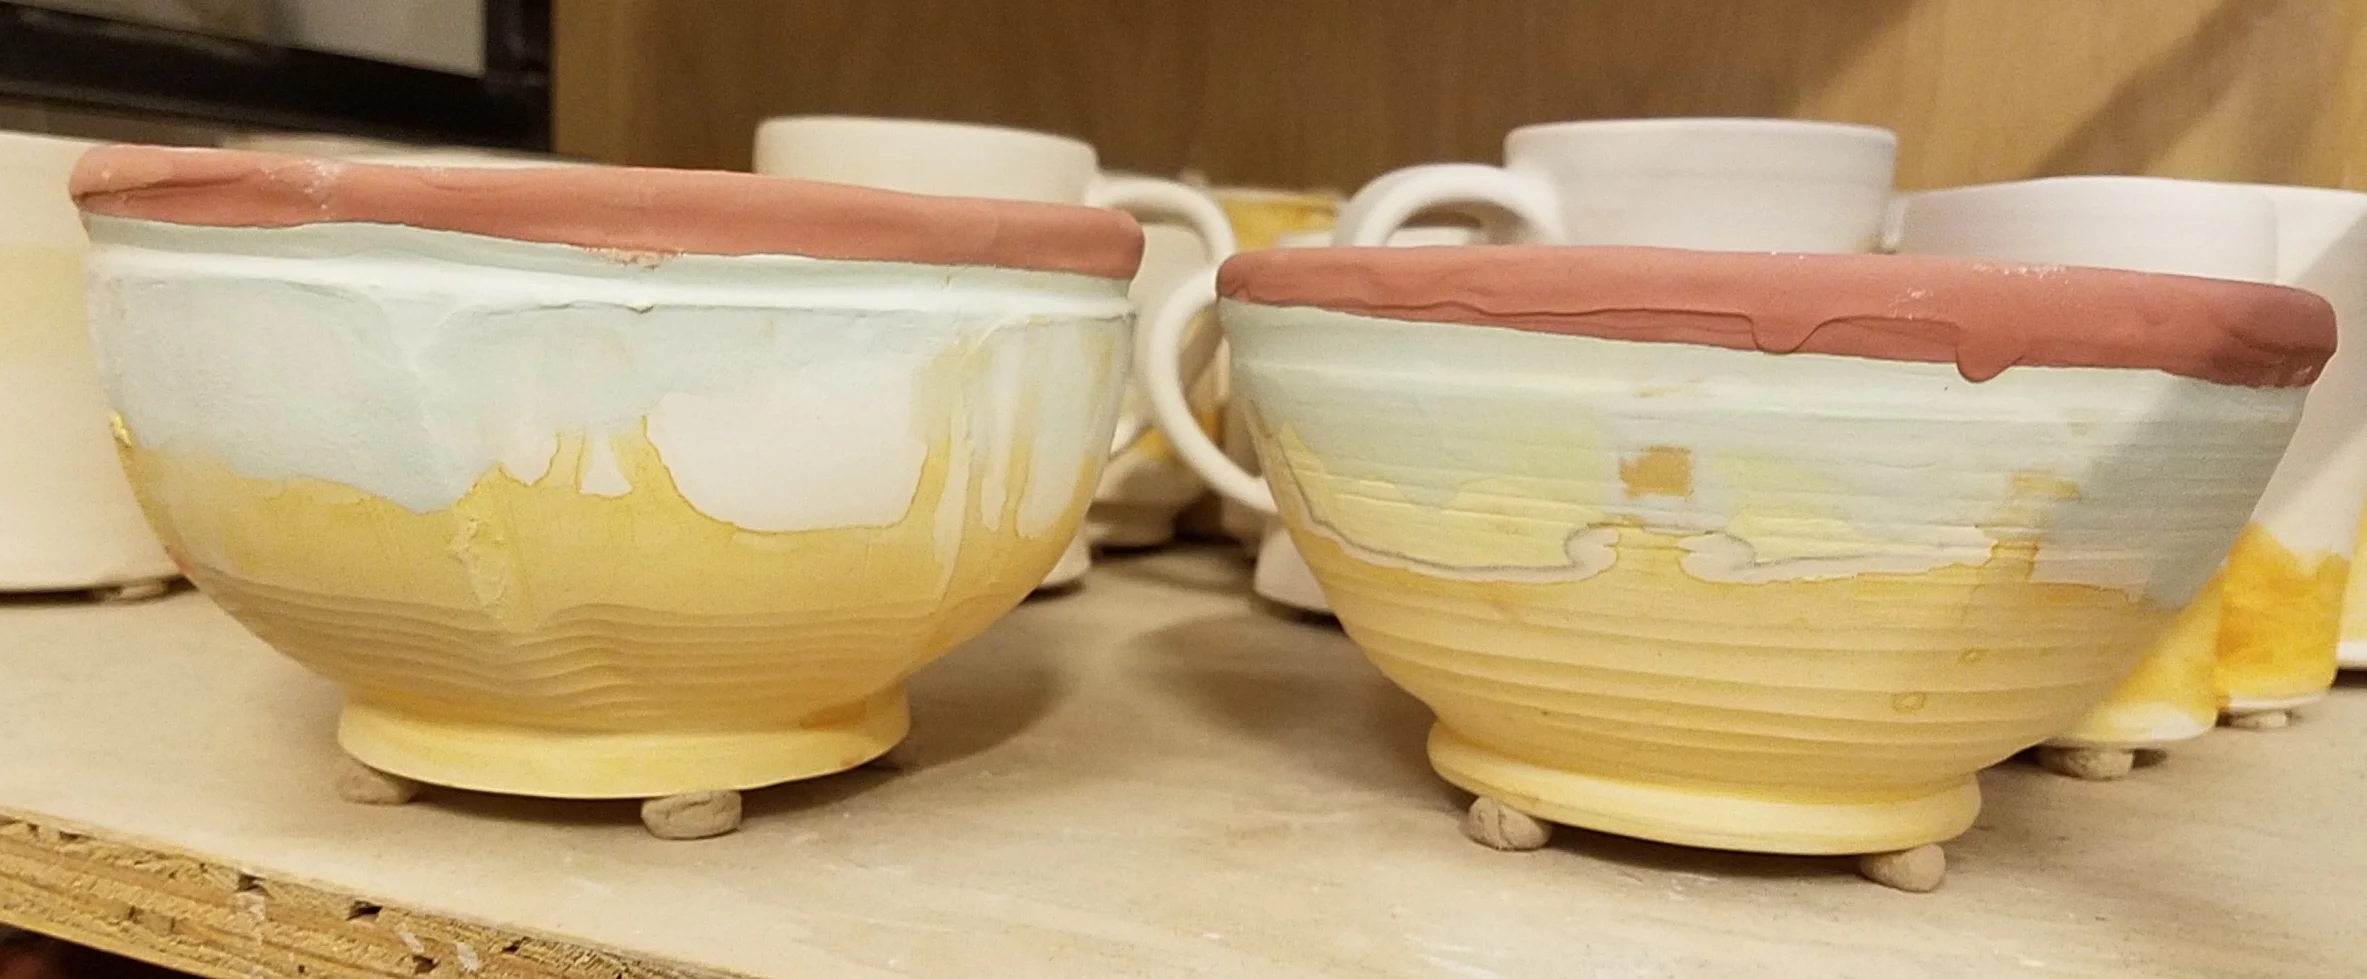
Here are a few, still warm from the kiln! All the work, all the little steps... totally worth it. I'll be adding a new tiny cup with a star to my cabinet today.

Soda Firing: Part 1

Jenny Dowd

JDowd_Staining_1.jpg

I've been building up a lot of pottery over the past year to get ready for soda firing. This is a process that Sam and I both really like, however, it's a lot of work with a crazy amount of steps so we don't do it very often. This time it's been over a year since we've fired this kiln, and we've built up enough work for 3 kiln loads! 

I use porcelain for a smooth white canvas and to ensure bright crisp colors. I start out by layering stains onto the bisque-ware; cobalt oxide (blues) and iron sulfate (browns and golds). These stains end up washy and atmospheric, I have an idea of how they will look but there is a large unknown element which I really appreciate.

After staining, I glaze the inside of the pieces. The soda firing process makes an overall glaze- near the end of the firing, soda ash and water is injected into the kiln. This glaze flies around and makes the final look even more unpredictable, the surfaces end up beautiful and juicy, sometimes lightly textured. Because of this process, wadding must be added to the bottom of the pots so they don't stick to the kiln shelves. (Adding the wadding is aways the point at which I am reminded how much work is ahead.) The wadding lifts the pieces up like little feet and can be knocked off after the firing.

Sam is the one who does all the work firing the kiln, it's a long day but there's something energizing about a fiery kiln. The firing is about 14 hours and then the kiln cools for 2 - 3 days before we open it. 

I'm never super excited about the results after the firing, but I see a lot of potential. The atmospheric quality of the blue and brown stains is exciting, it's a great layer for the next step... stay tuned, they aren't finished!

Process

Jenny Dowd

Sometimes I don't want to think about all the steps it takes to make and finish a piece of pottery. But this process is what I really love.

The past few weeks has found my studio exploding with work, although, nothing is finished. I've been working on 2 bodies of work simultaneously, both porcelain, with drastically different surfaces.

This is just a slice of the process behind what I've been working on:

One set is for a soda firing this weekend (plus a few more in the next month.) The work for the soda kiln is very heavy on process- after the bisque the insides of the pieces are glazed, the outsides stained, the bases wadded (so they don't stick to the kiln shelf.) And that's just the start. (Catch up on the whole process in this blog post from last August.)

Meanwhile, in my home studio, I've been working on another type of porcelain pottery.

This black and white series is a little more straight forward, though still time consuming. While the form is still a little damp, I apply a black underglaze, then scratch through the surface (sgraffito.) Sometimes a funny landscape appears before I finish the design- in the plate on the right the lines made hills and the clay curls turned into m-birds. (It didn't stay this way)

After the bisque firing I apply a clear glaze, which is not clear before it is fired in the kiln. Before the glaze totally dries the black design comes through the glaze just a little, like a shadow.

Whew! And that's only part of it!